Airstream Renovation: Weeks 9-13 - Sealing the Outside, Insulating & Re-Installing Interior Panels
Five weeks have gone by without an update. Goodness. Sorry about that. So much has happened I’m going to just give a quick update of this last month and let you know where we are now.
According to our last update we had just put the back end back together and put on the new wheels! That was all fine and dandy until it rained and we had water coming in the back end. The back end of the 1972 is just a poor design. Glad they have fixed that issue in newer models.
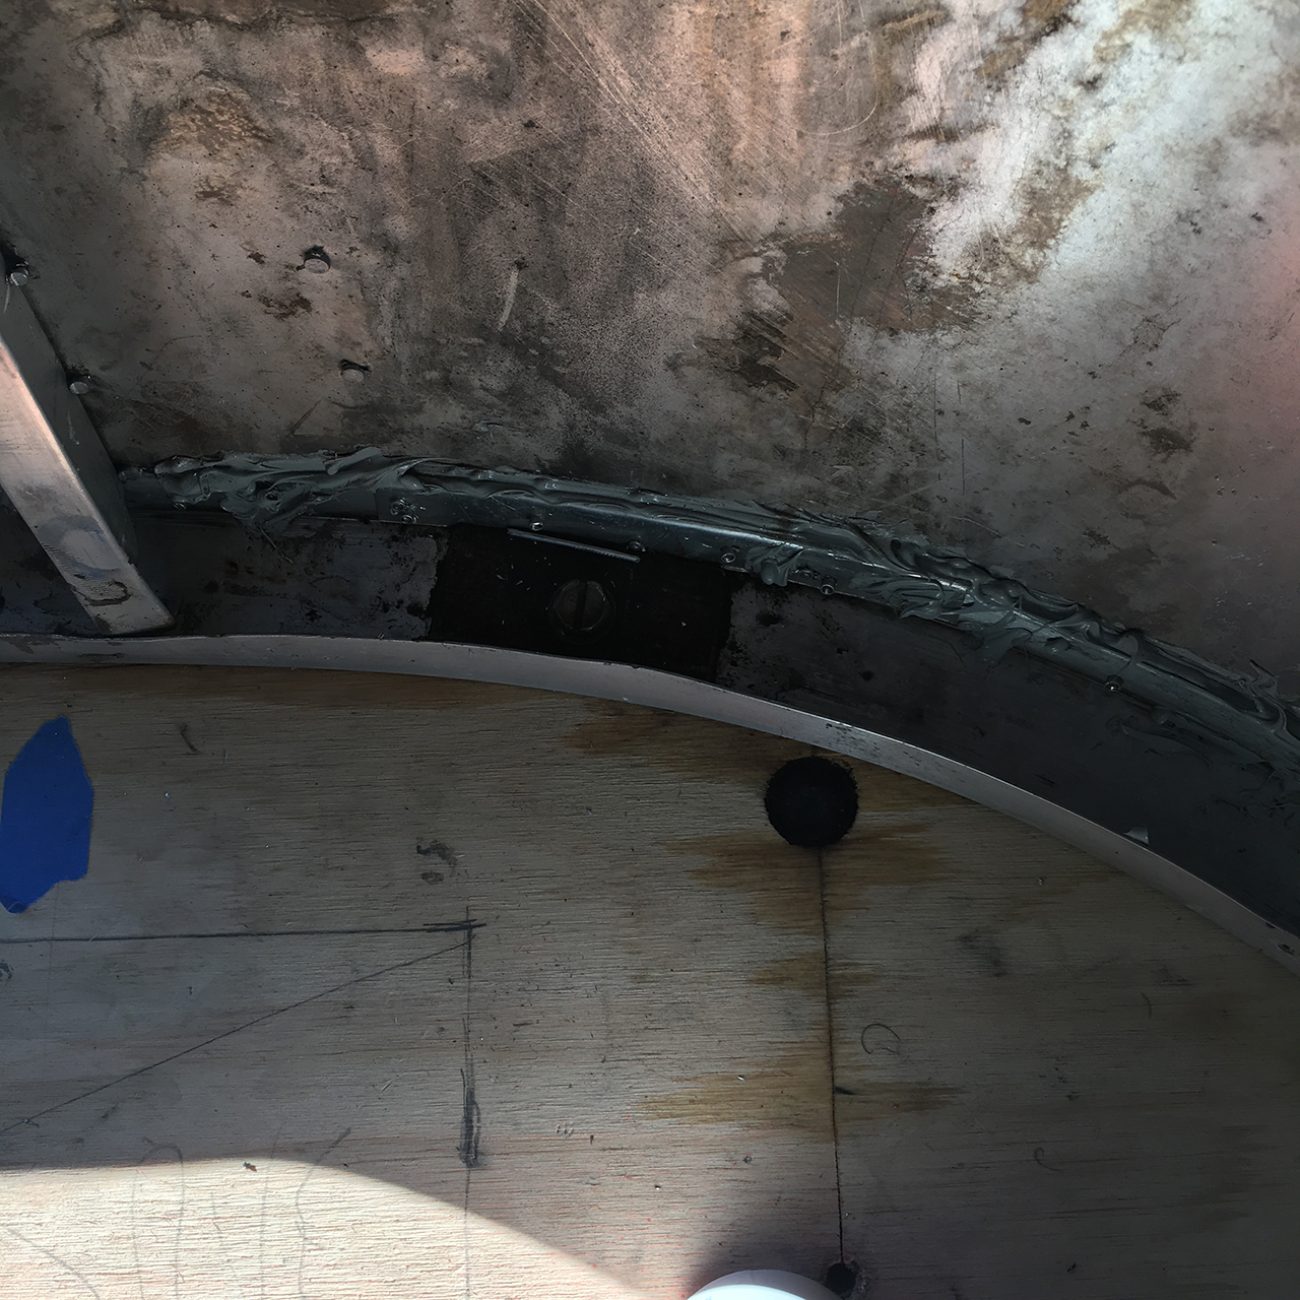
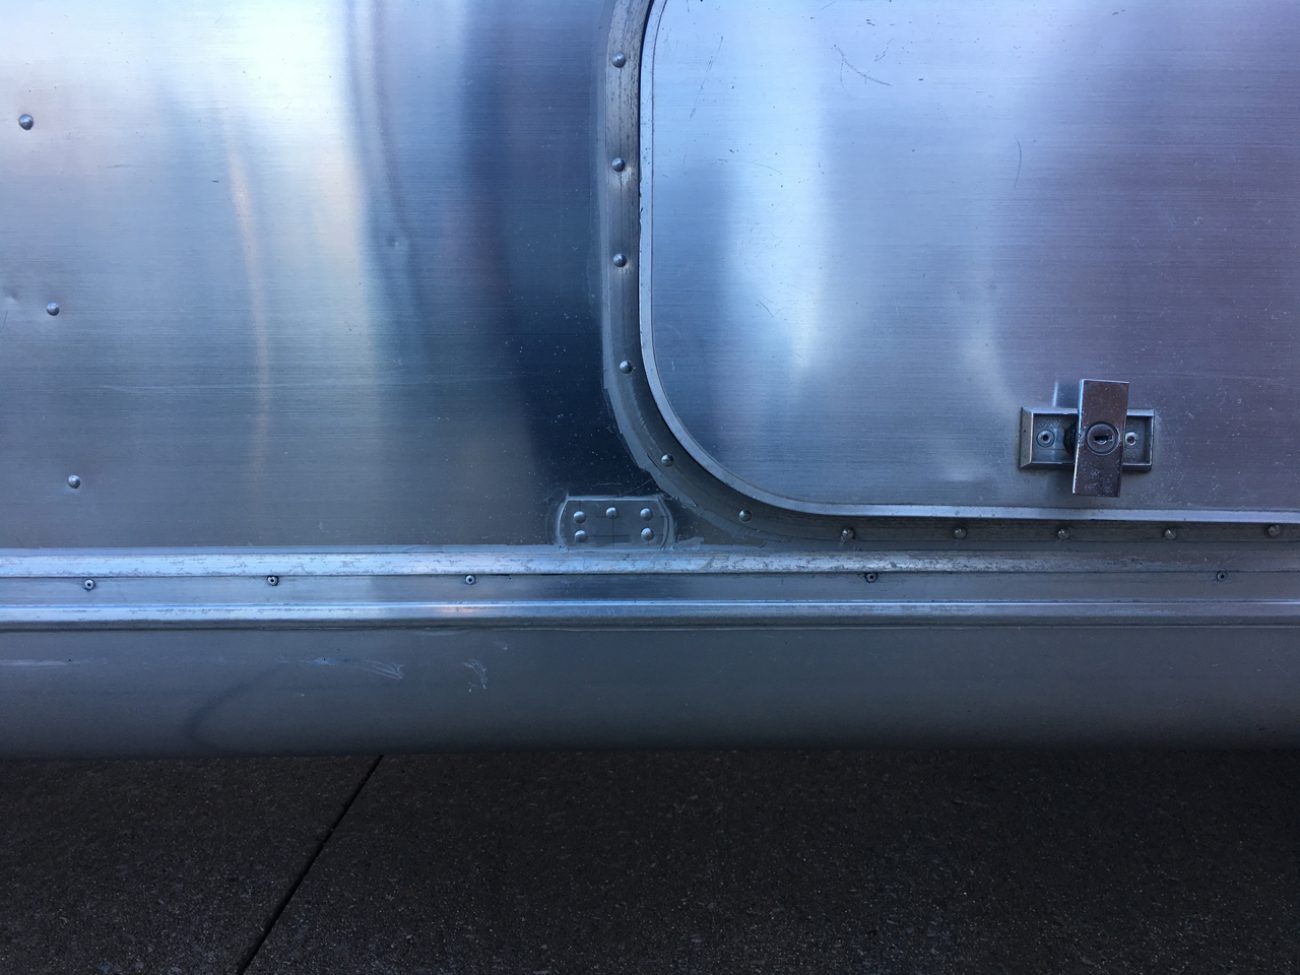
We tried several things. We added caulk, we removed caulk, we took out rivets and put in bolts where the holes were too big for new rivets. The bolts have helped a bit as we were able to pull it tighter. The back, street side of our rig has been replaced at some point by a previous owner and it wasn’t done the best so we’re just trying to fix what they did.
At this point we have fixed most of the leaks except for the back hatch and a mystery leak that we can’t seem to find the source of. The back hatch is just a disaster. It appears that the door is too small for the opening so we have huge gaps between all the corners so water is getting in. At this point we are just taping it off and hoping it doesn’t get too wet as we are expecting rain the next several days. (boo) We have placed an order for one more gasket (we have tried 2 styles from Vintage Trailer Supply and neither of them helped). If this next gasket doesn’t work I’m ready to somehow seal it up and be done with it.
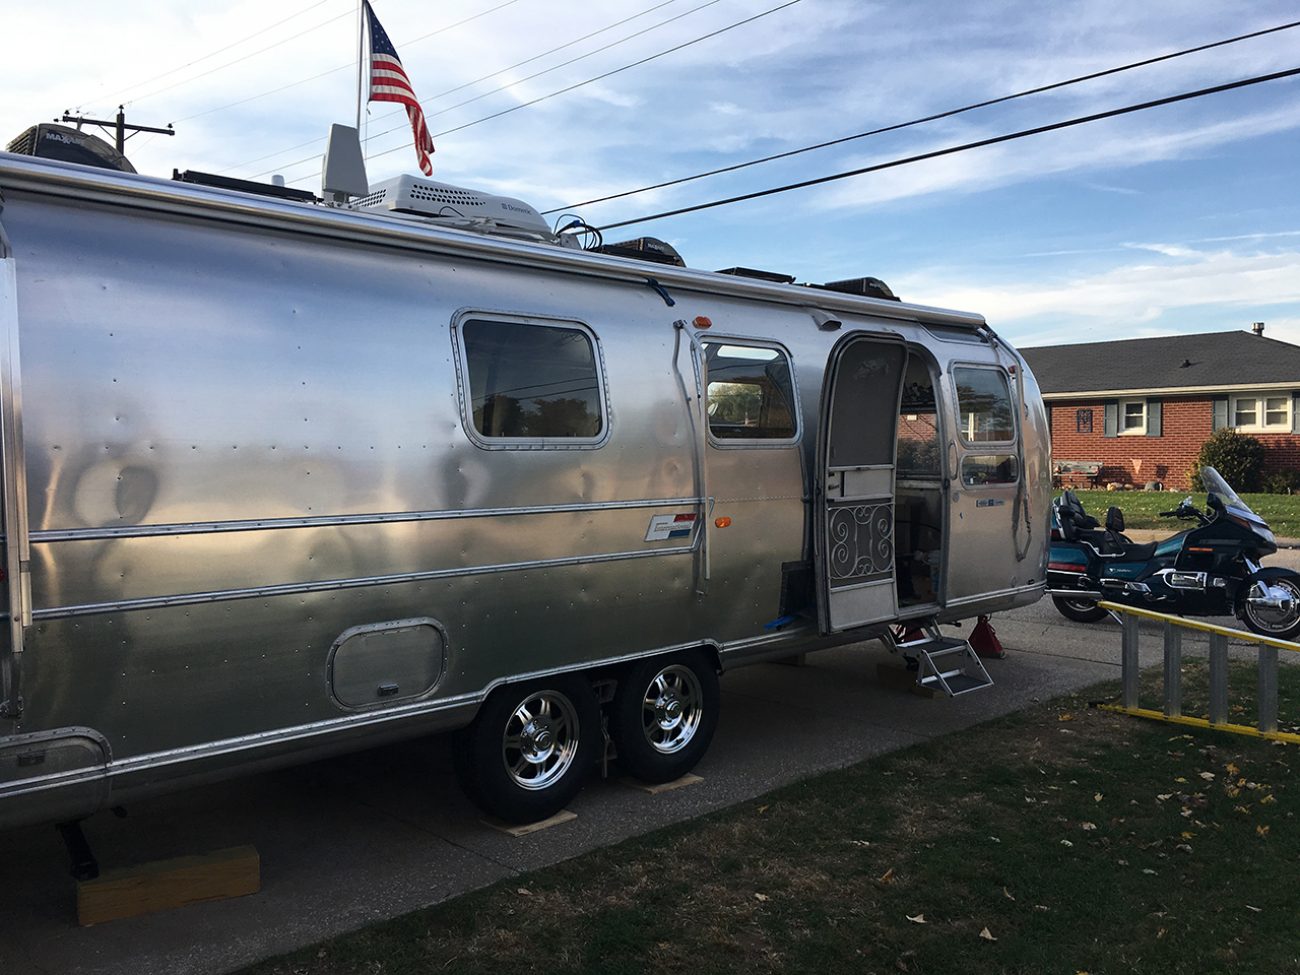
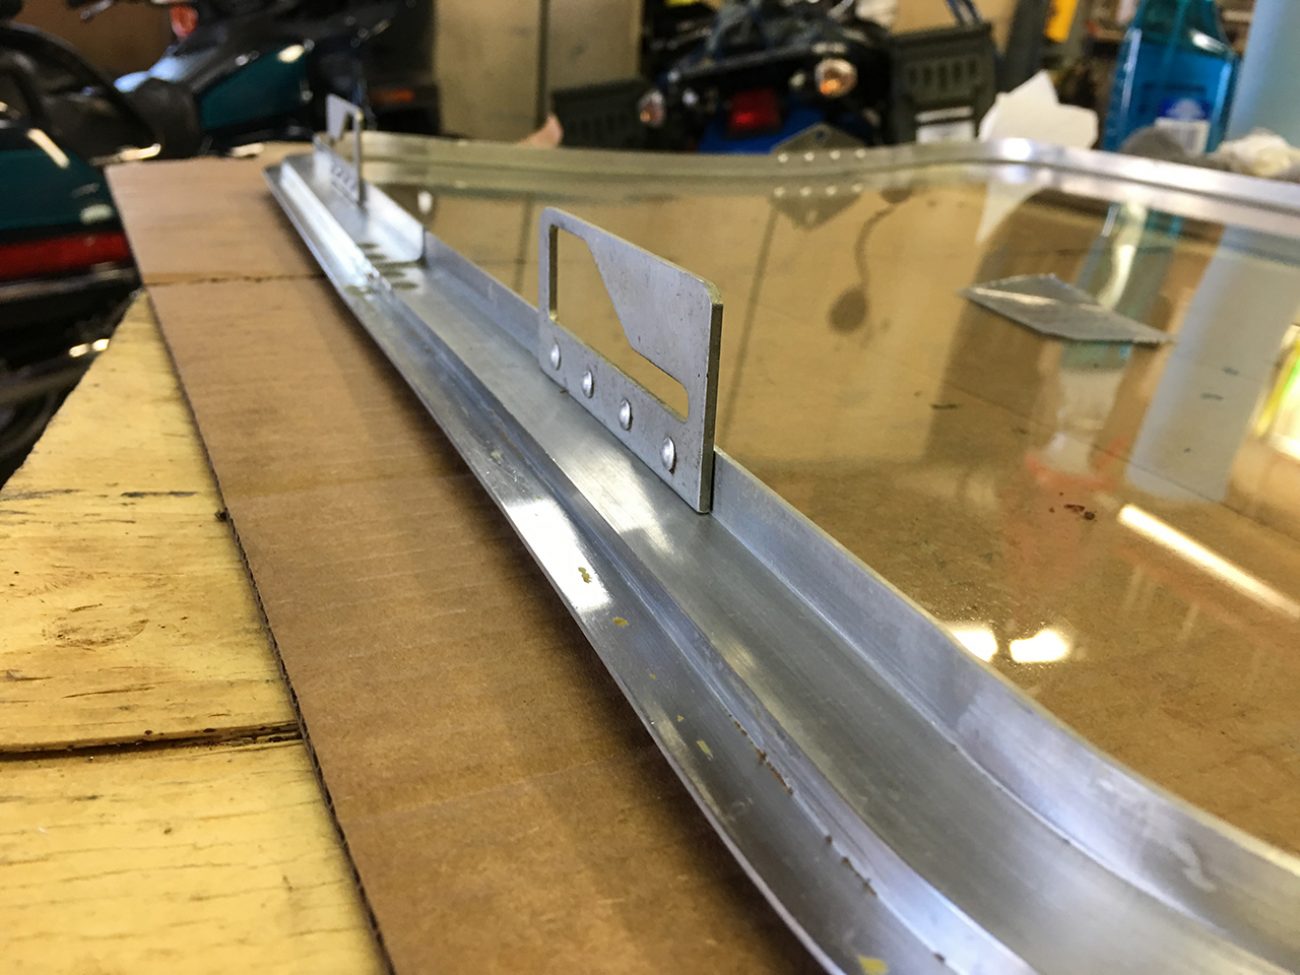
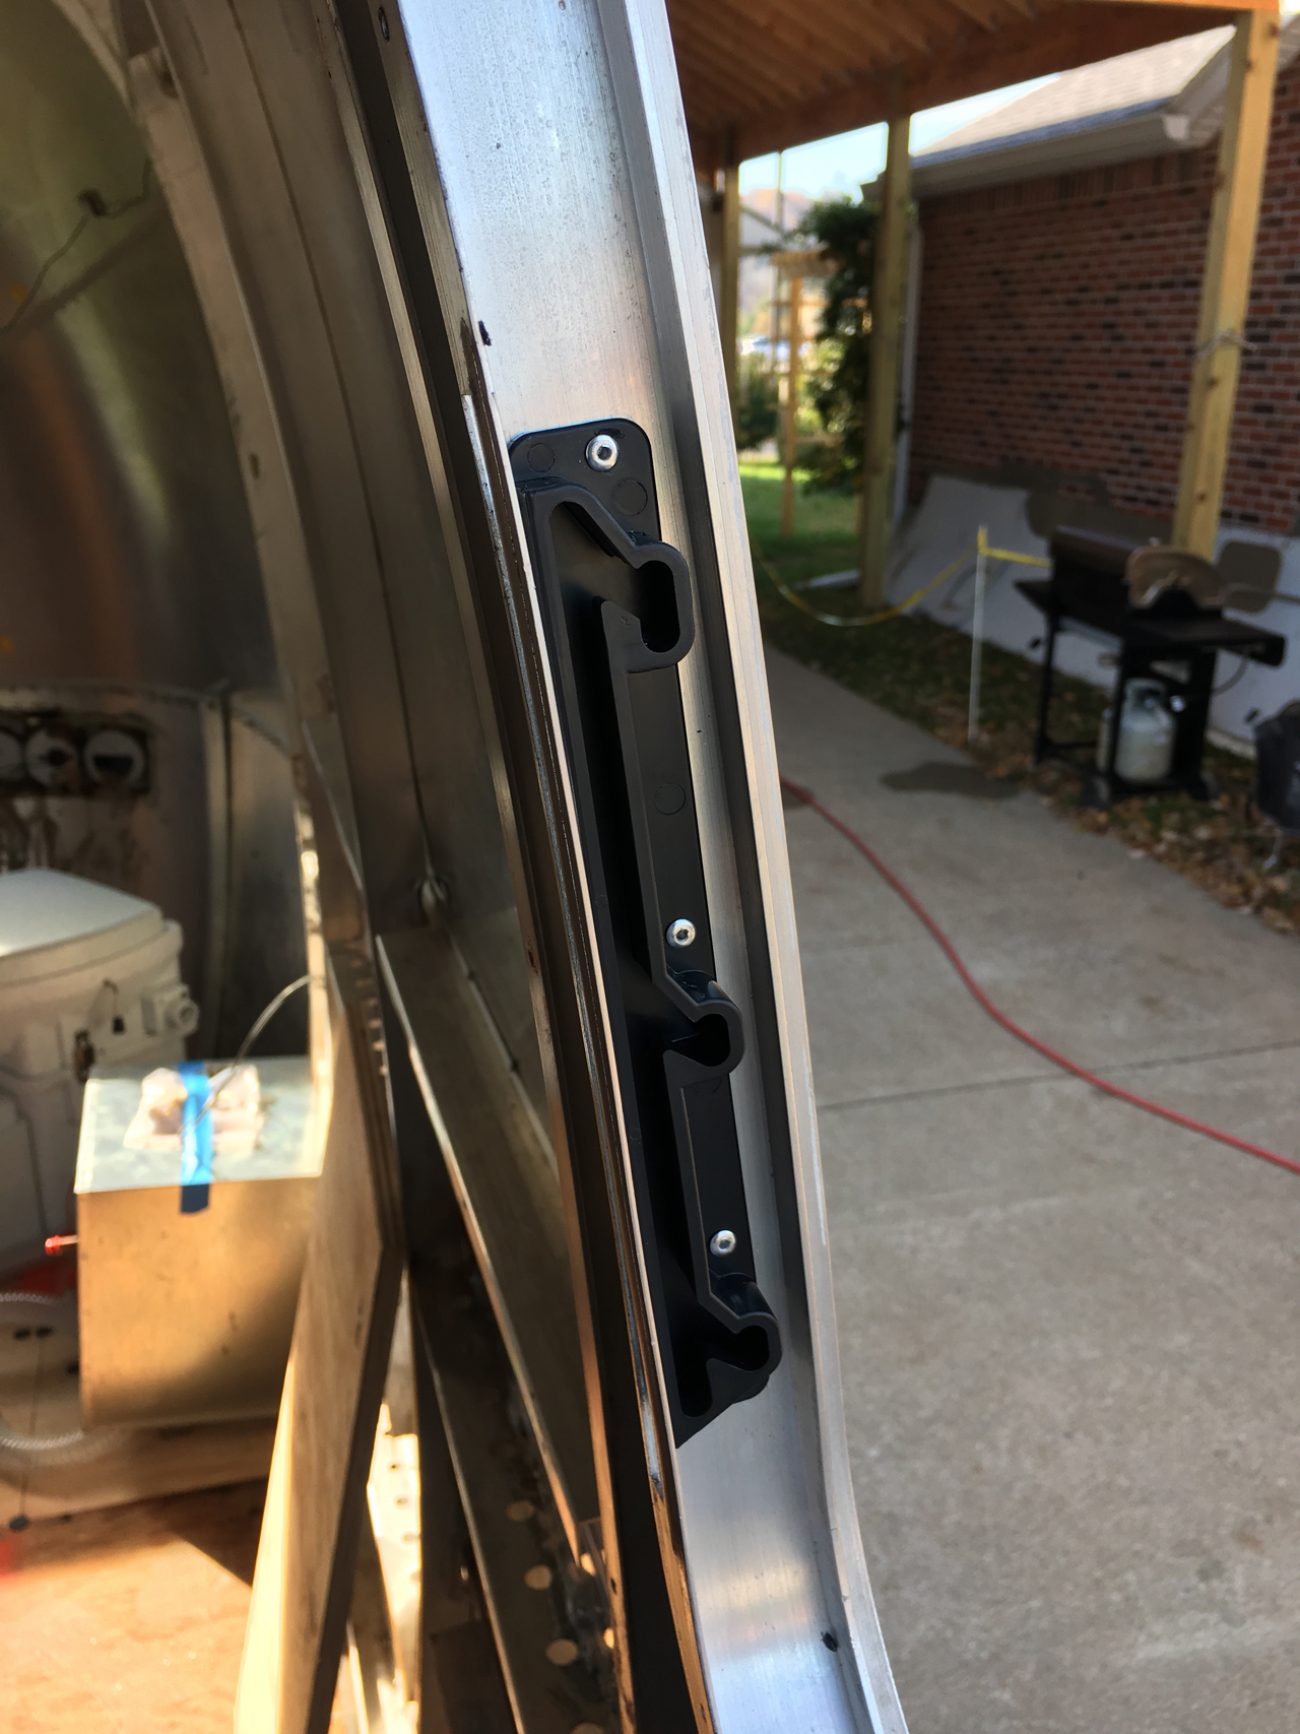
As for the outside...we finished wiring the solar and ran all the wires inside the Airstream (be sure to check out the deep dive on installing our electrical system). The roof is done! We also replaced all the window gaskets/foam/brackets and all the windows are done!
Create Your Own Wire List Guide!
Quickly plan and assemble your very own digital wire list guide with this handy template. Use our exact wiring as a guide, and organize your installation by wire number, color, gauge, polarity, and more.
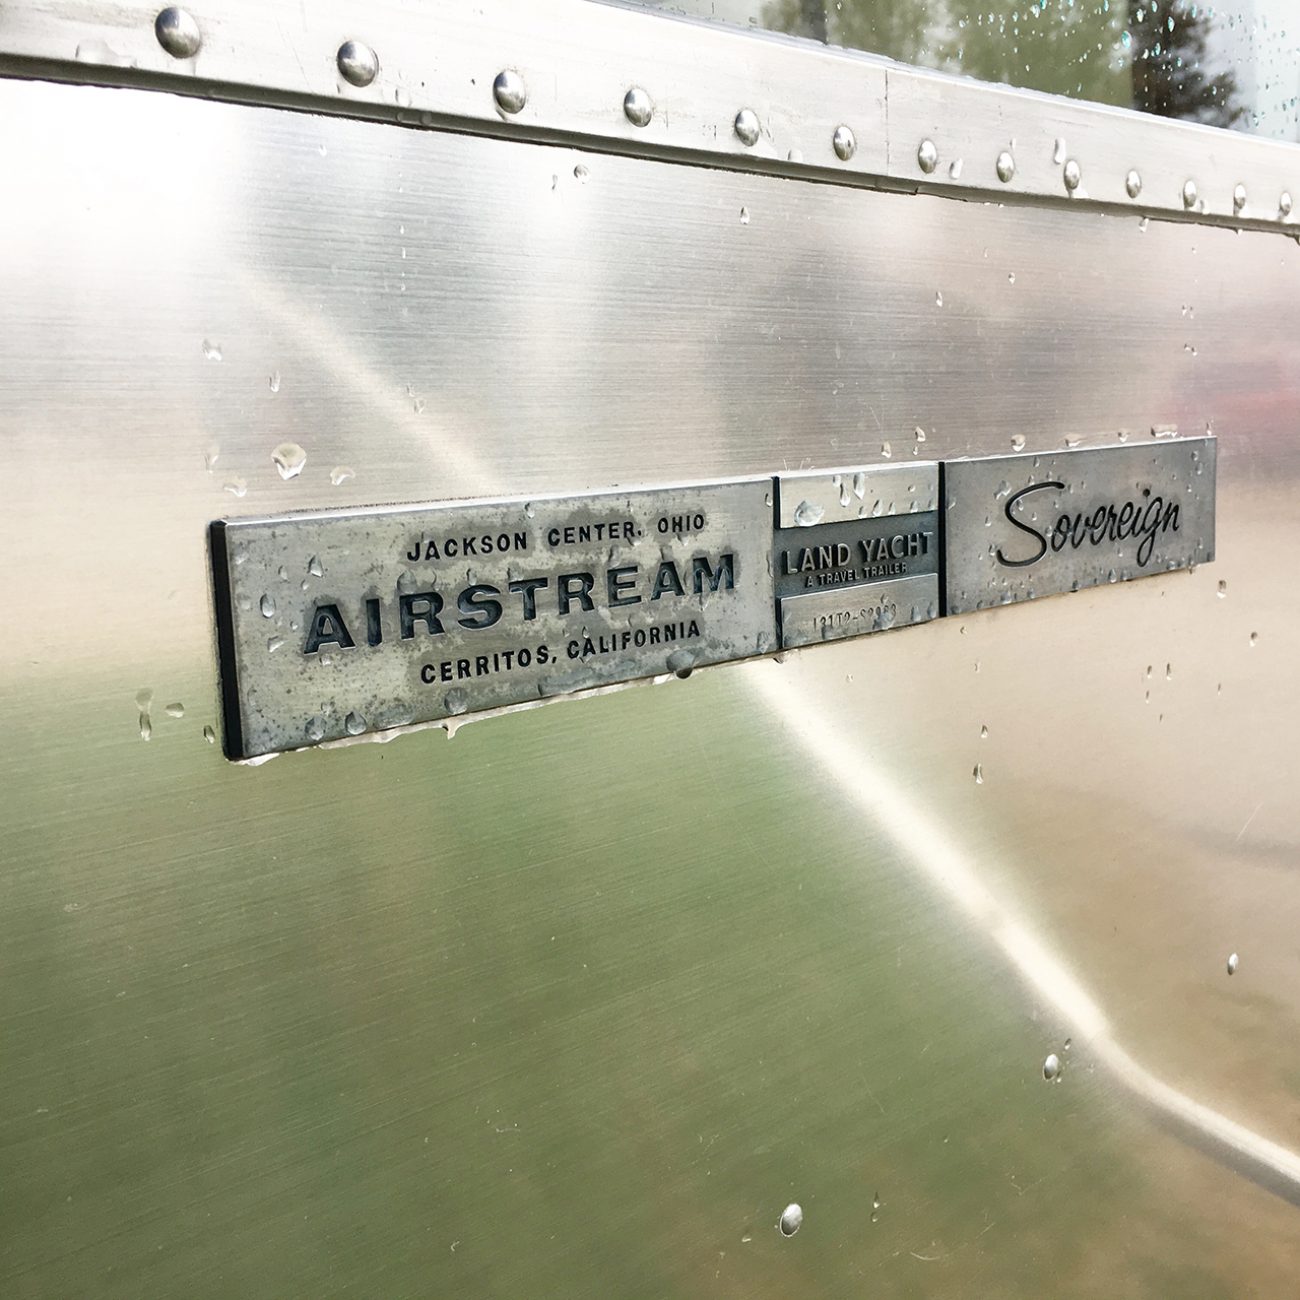
I removed the old ugly plaques from the side of the airstream and stripped the paint off of them. It was all peeling and the colors were not our cup of tea so now they are plain metal, and we love how they look. I also stripped the ugly blue stripe off of the trim around the Airstream. What a difference that made!
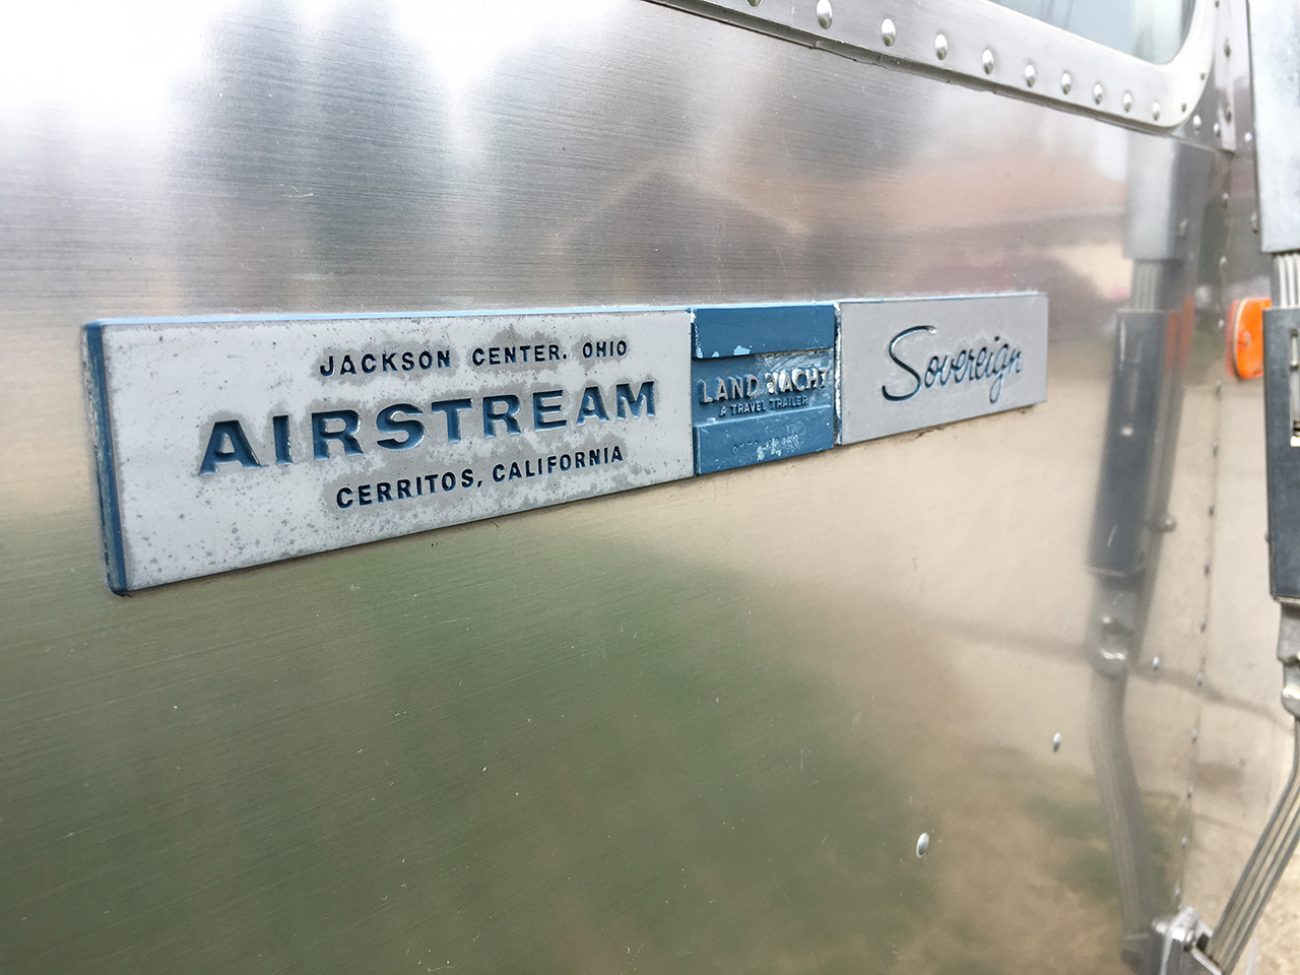
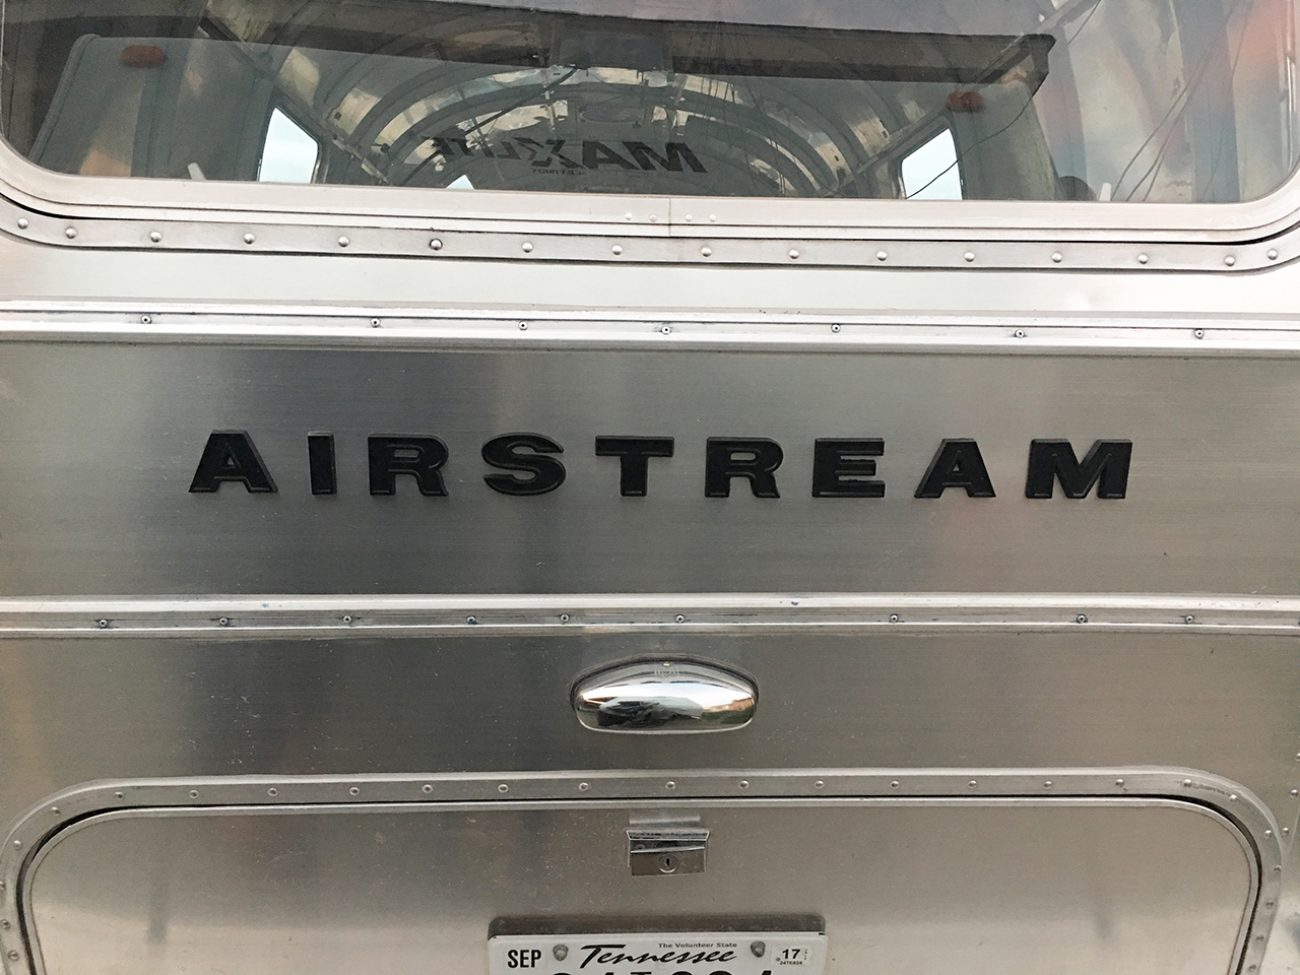
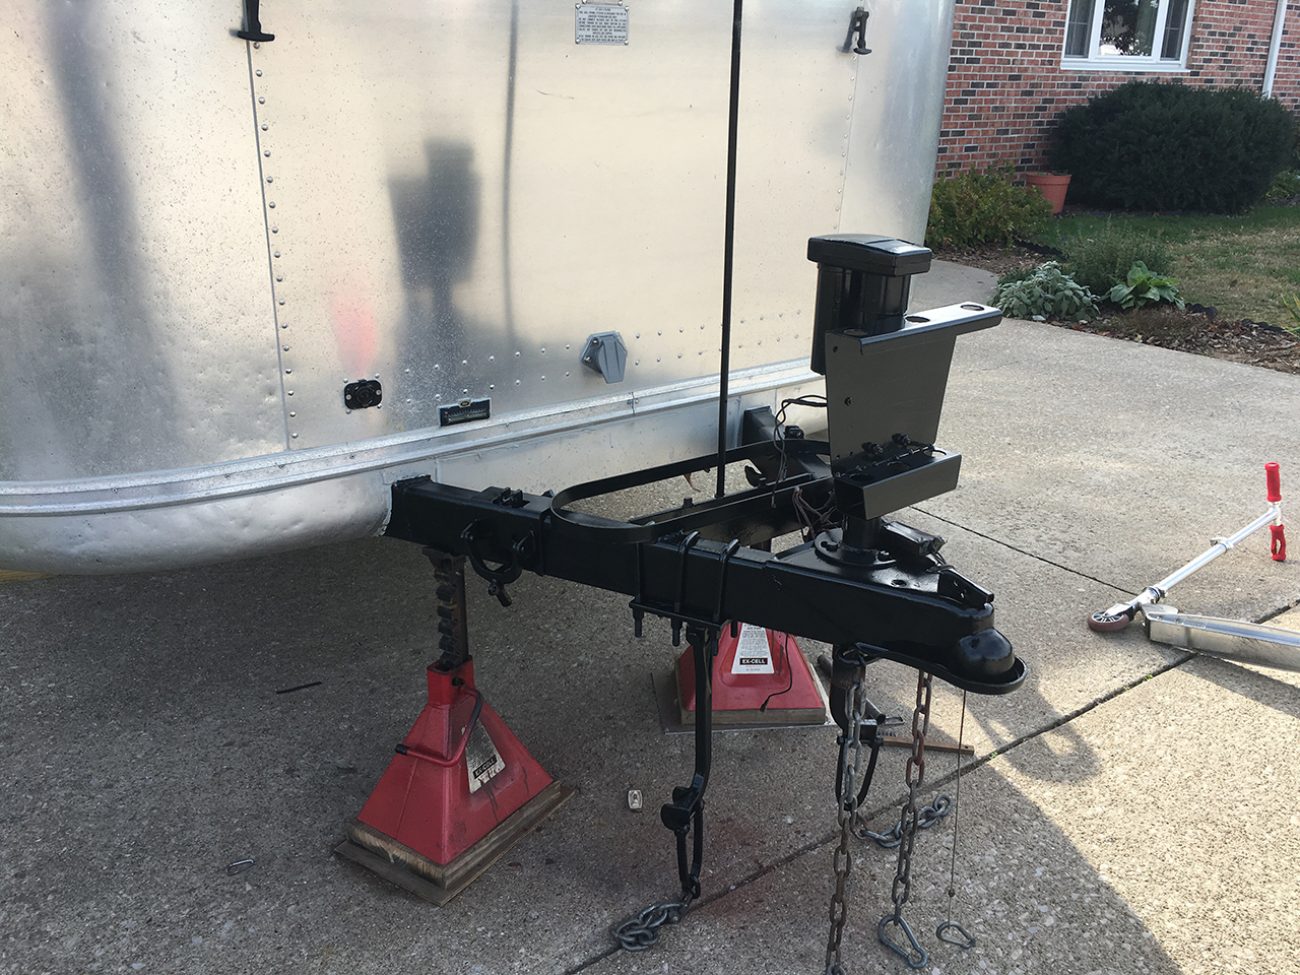
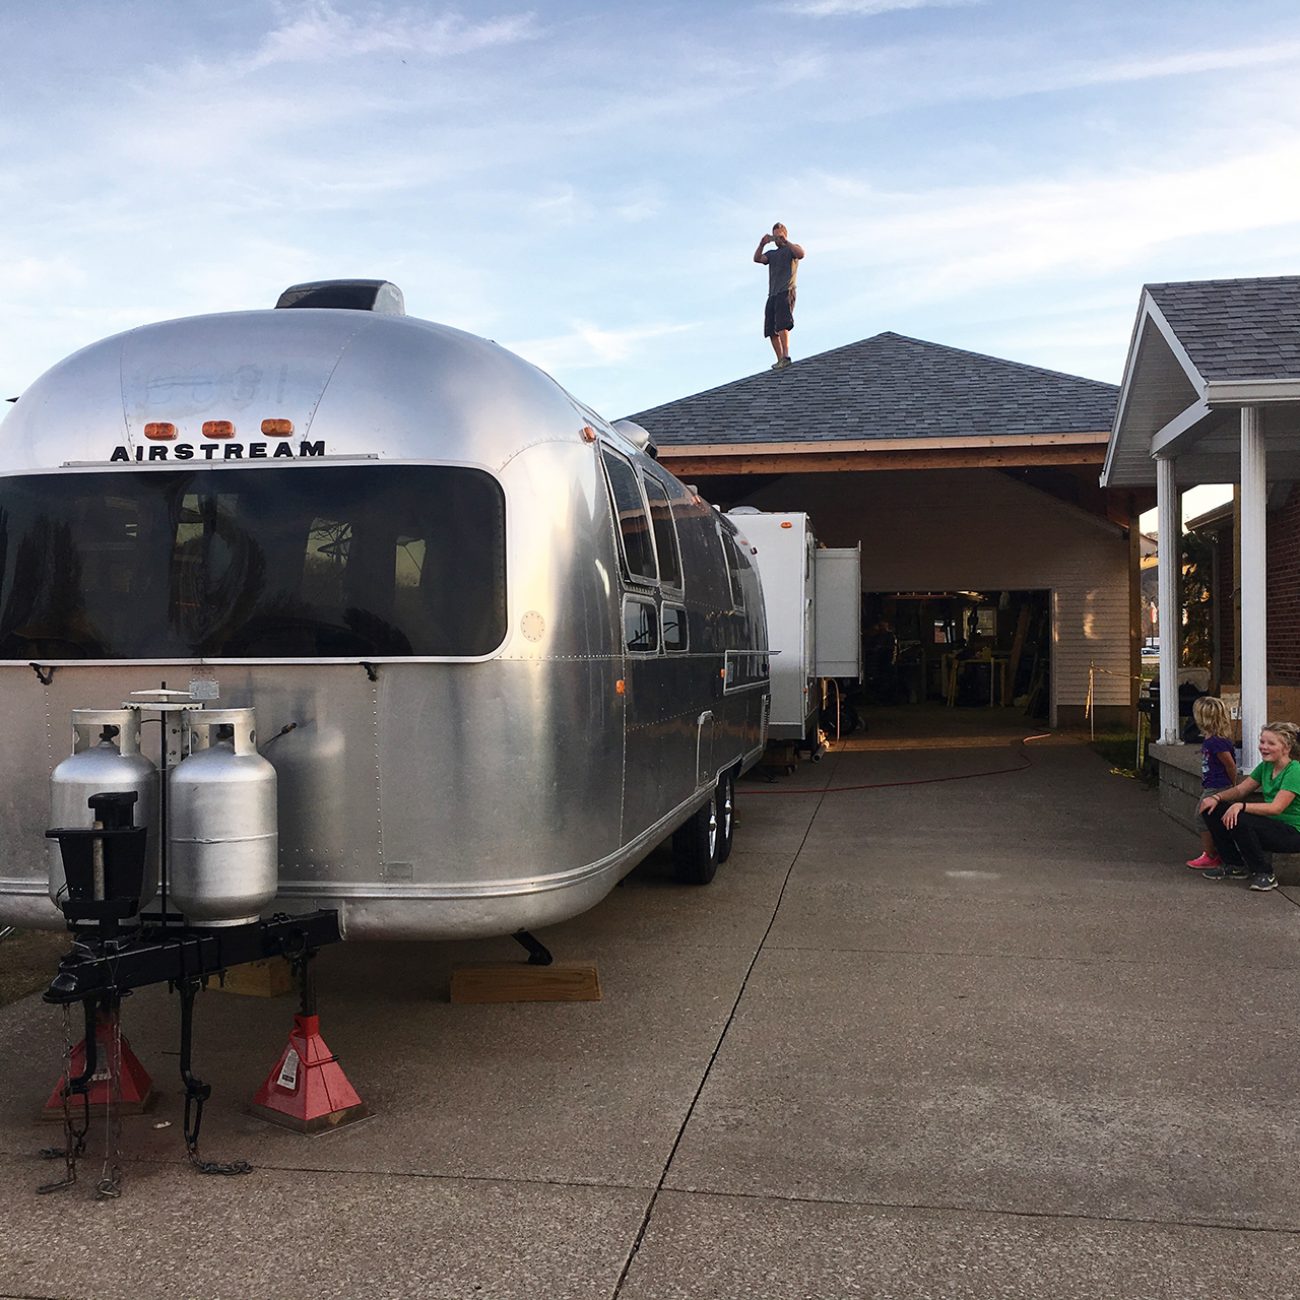
On the front and back we had letters that say AIRSTREAM and they were all faded blue so we removed them and painted them a nice matte black. Looks real nice and simple now. We like simple! We also cleaned up and painted the jacks as well as the hitch. They all got a real nice coat of black paint! It’s amazing what a fresh coat of paint can accomplish.
The Airstream looks so nice without chippy, faded paint everywhere! Now that the outside is DONE, we were able to get to work on the inside.

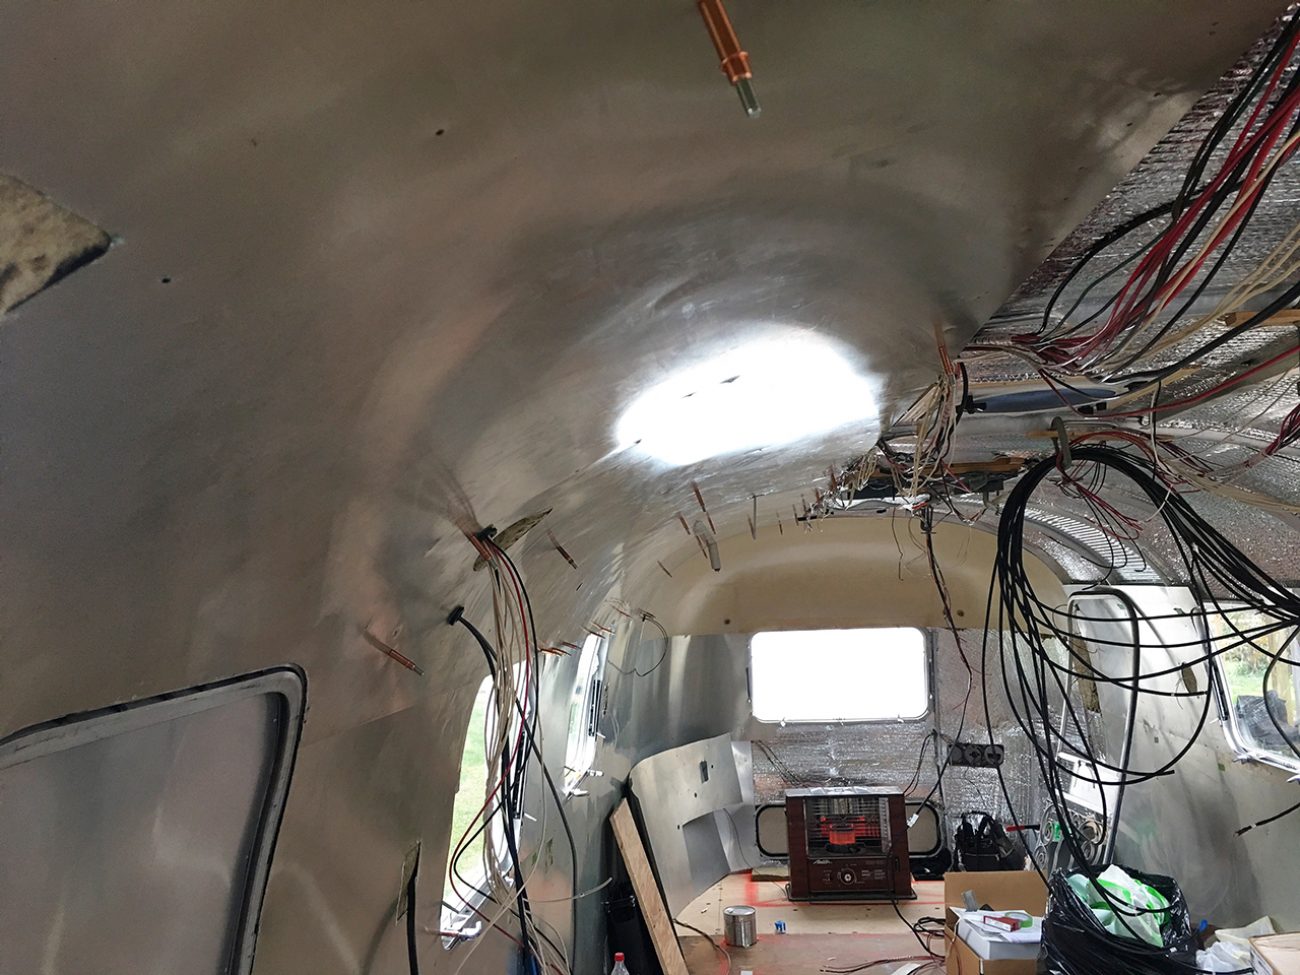
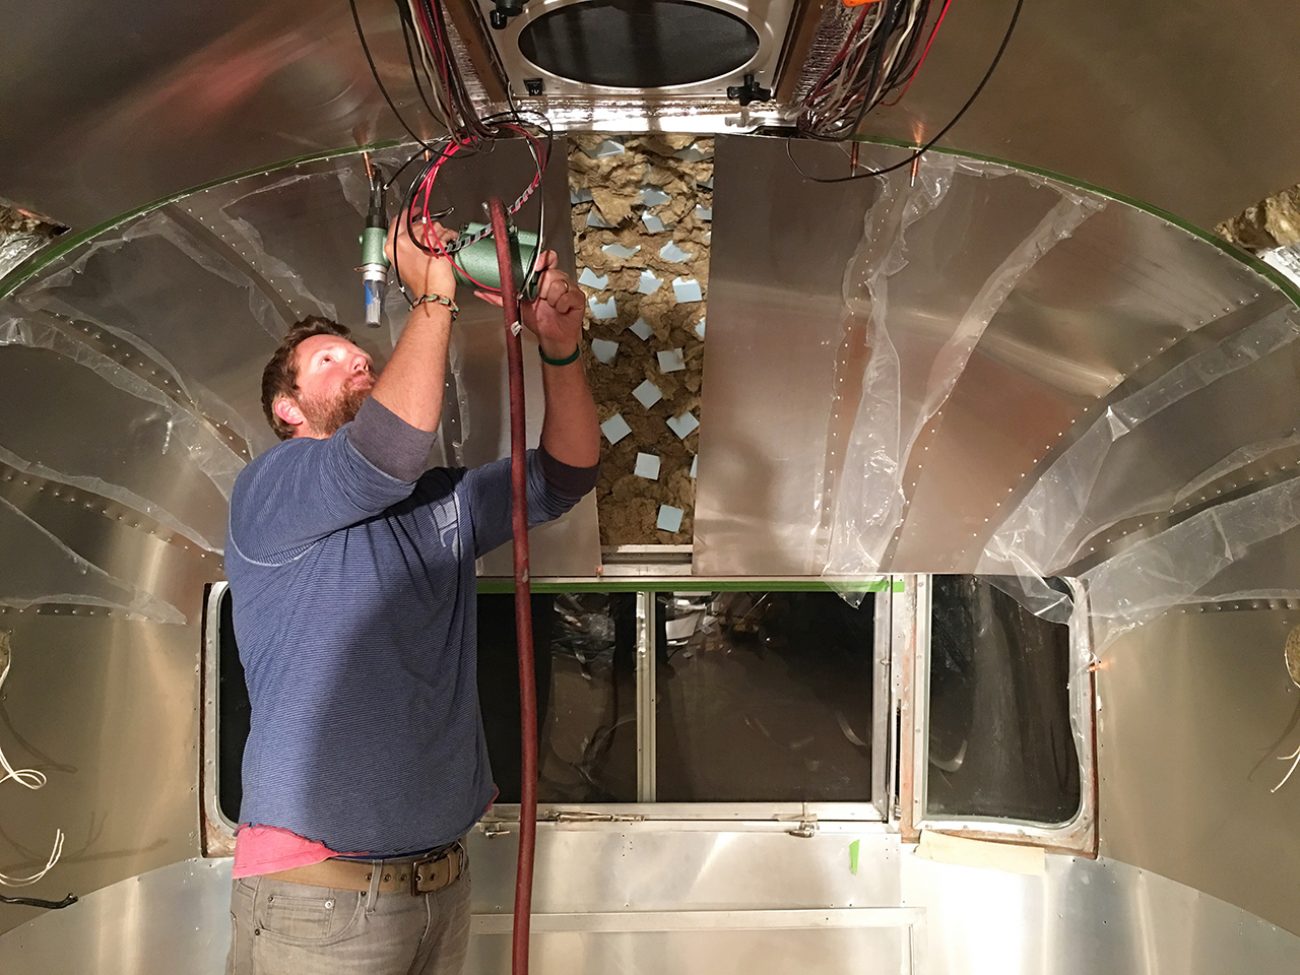
Since we had the walls off, we replaced all the bad rivets with buck rivets. With that job being done, we were able to start on insulation! We cut Reflectix to size and put that against the walls. We had originally planned on using spray foam insulation but with it being winter and cold, plus the hefty price tag, we opted for Reflectix and Roxul. Once the inside was insulated, we were able to run wires. Everything is numbered and labeled so we know exactly what each wire is for. That will make things much easier when we start hooking up all the electrical stuff!
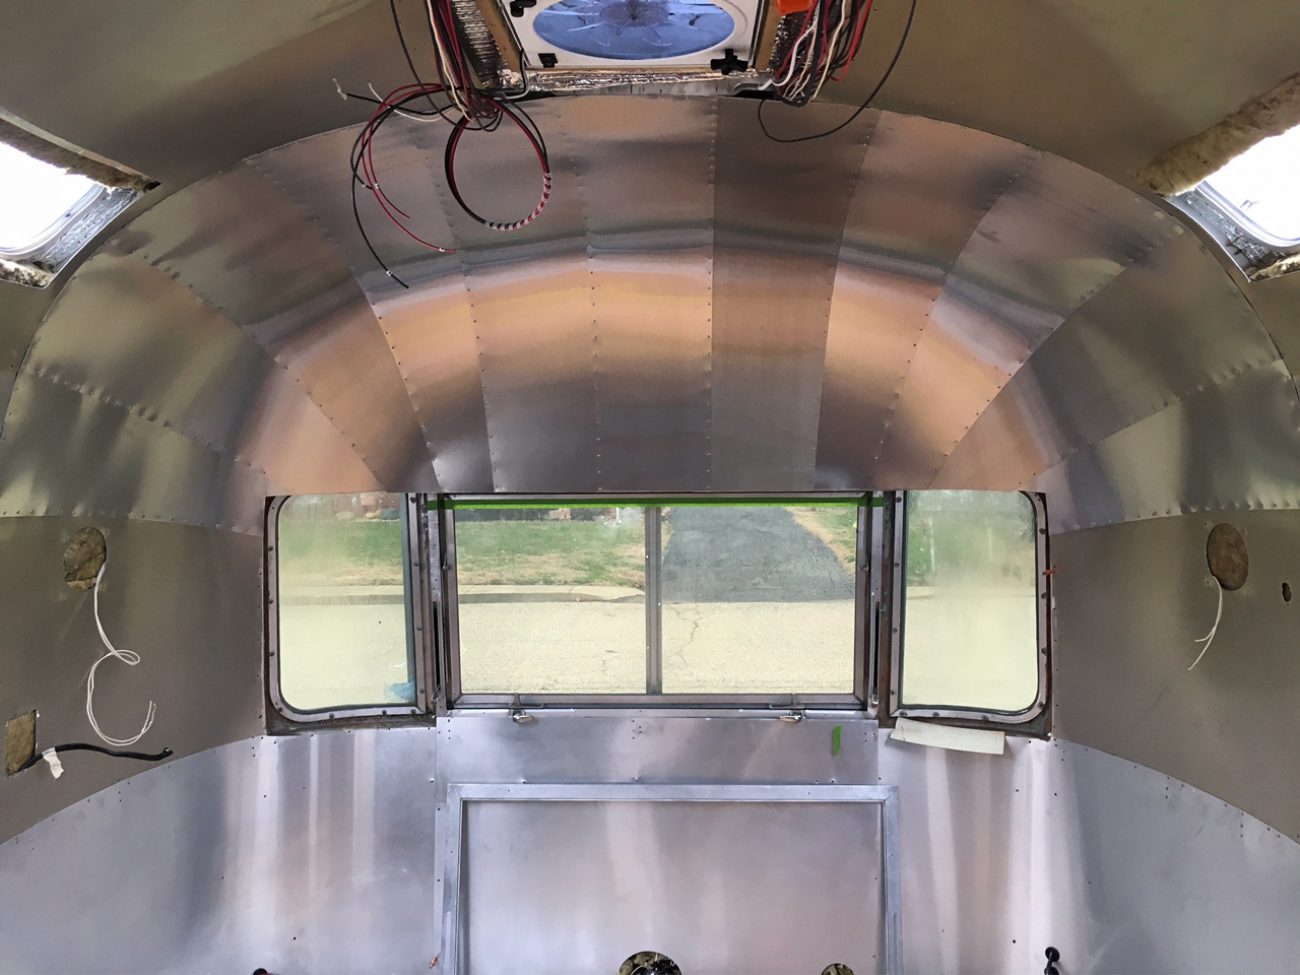
Once the insulation and wires were in place it was time to bring in the interior panels! We had been waiting for this moment for what seems like forever. It was such a good feeling when we got that first piece installed. Each one after went a bit smoother, until it was time to put on the ceiling panels which ran the entire length of the trailer! It took 4 of us, and two cleco tools, to hold it up and get it in place to be riveted but we got it done! It’s so nice to see the inside walls *almost* all put back in place.
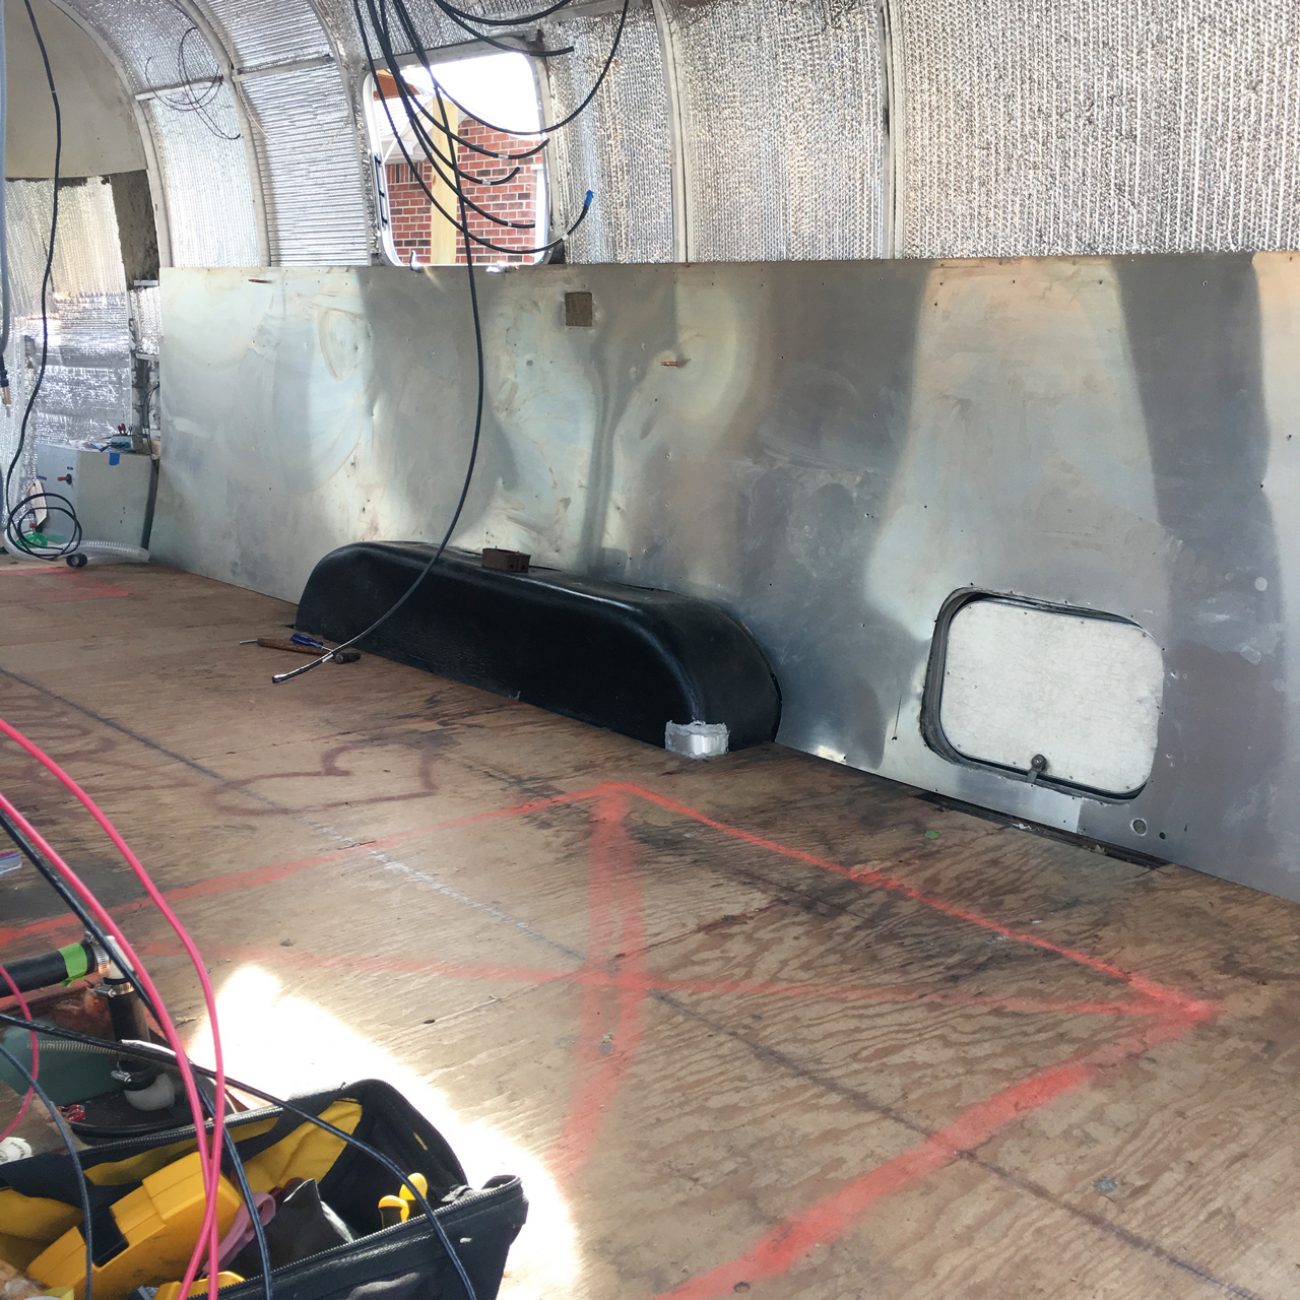
We have yet to finish the very back due to that stupid mystery leak. How long does it take for wood to rot? I vote for keeping a dehumidifier back there when it rains! Problem solved ;)
So, the interior walls are back up and looking mighty fine but we were left with the stupid plastic end caps that we just are not fond of. We made the executive decision to keep the one in the bathroom since it’s not a main focal point, and we chopped up the front one and sent it on a ride to a magical waste land!
We purchased some new aluminum and concocted a plan! With lots of research and planning, my dad was able to come up with this fantastic way to get these panels in. It’s super complicated and deserves its own post (which we will get to another time) but look at the final product!

We love it! We will be adding a narrow shelf above the window to close the gap from the old plastic window frames that we can’t escape from. It will look really great with some super cute curtains that I have planned in my head.
Other little things that we have worked on have included several patches.

Installing the first switch plate.
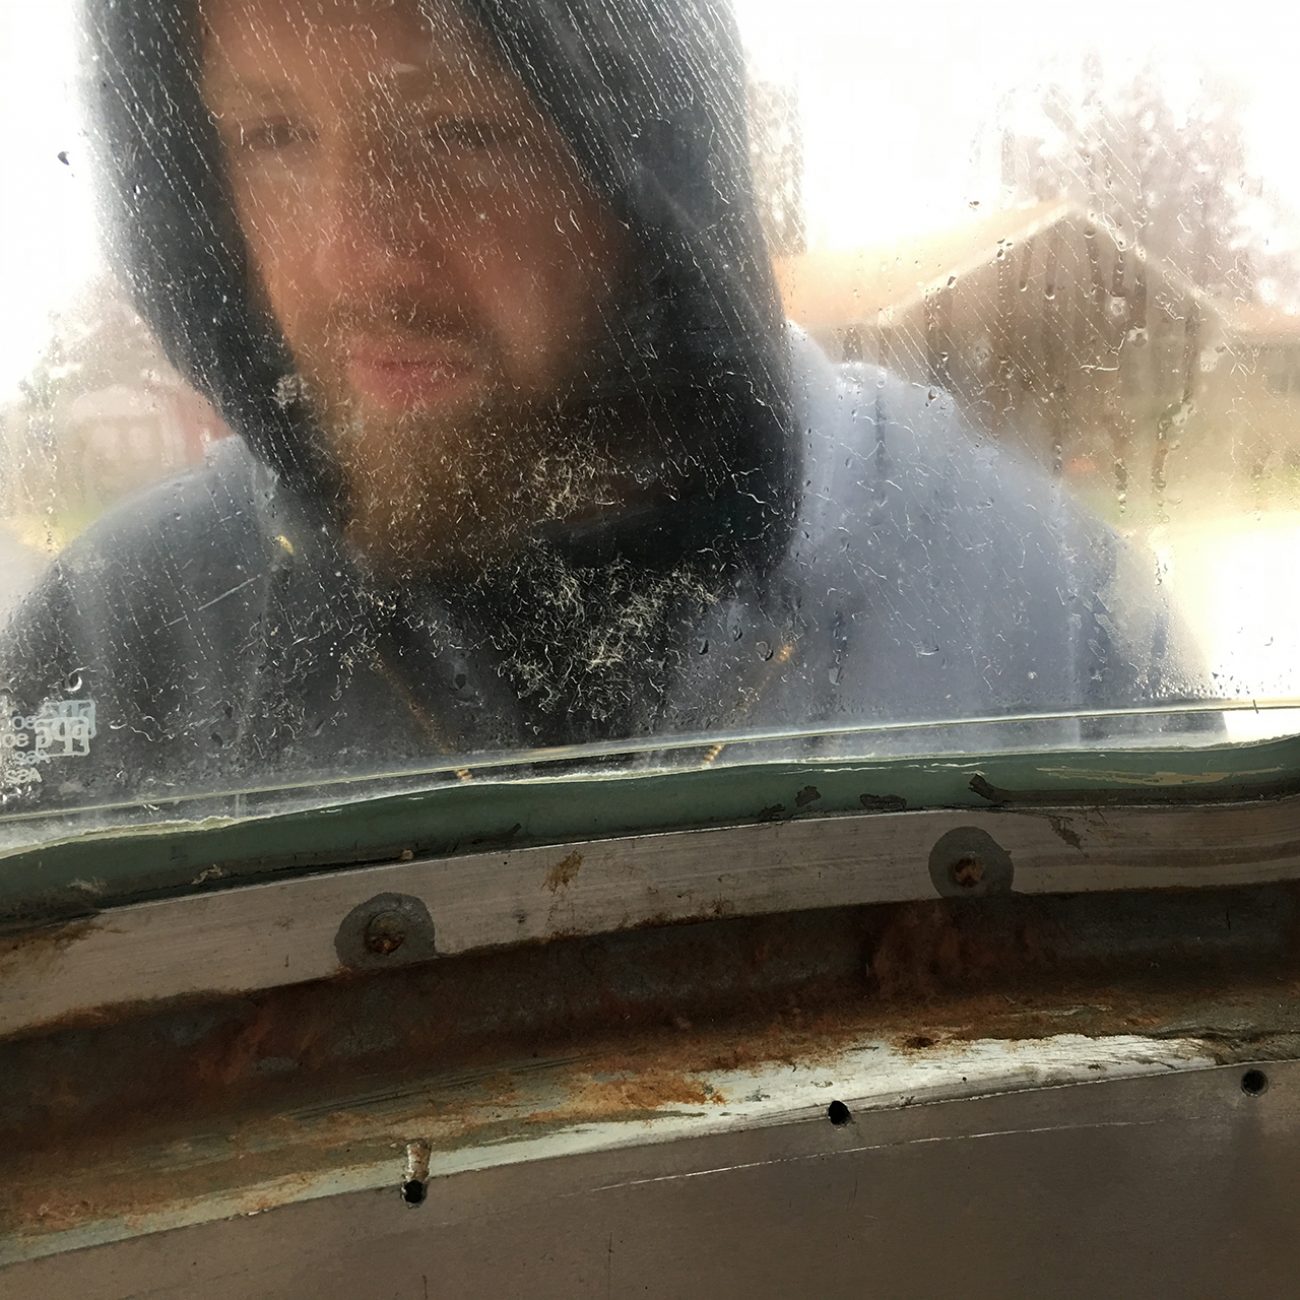
Removing water from a leaking window.
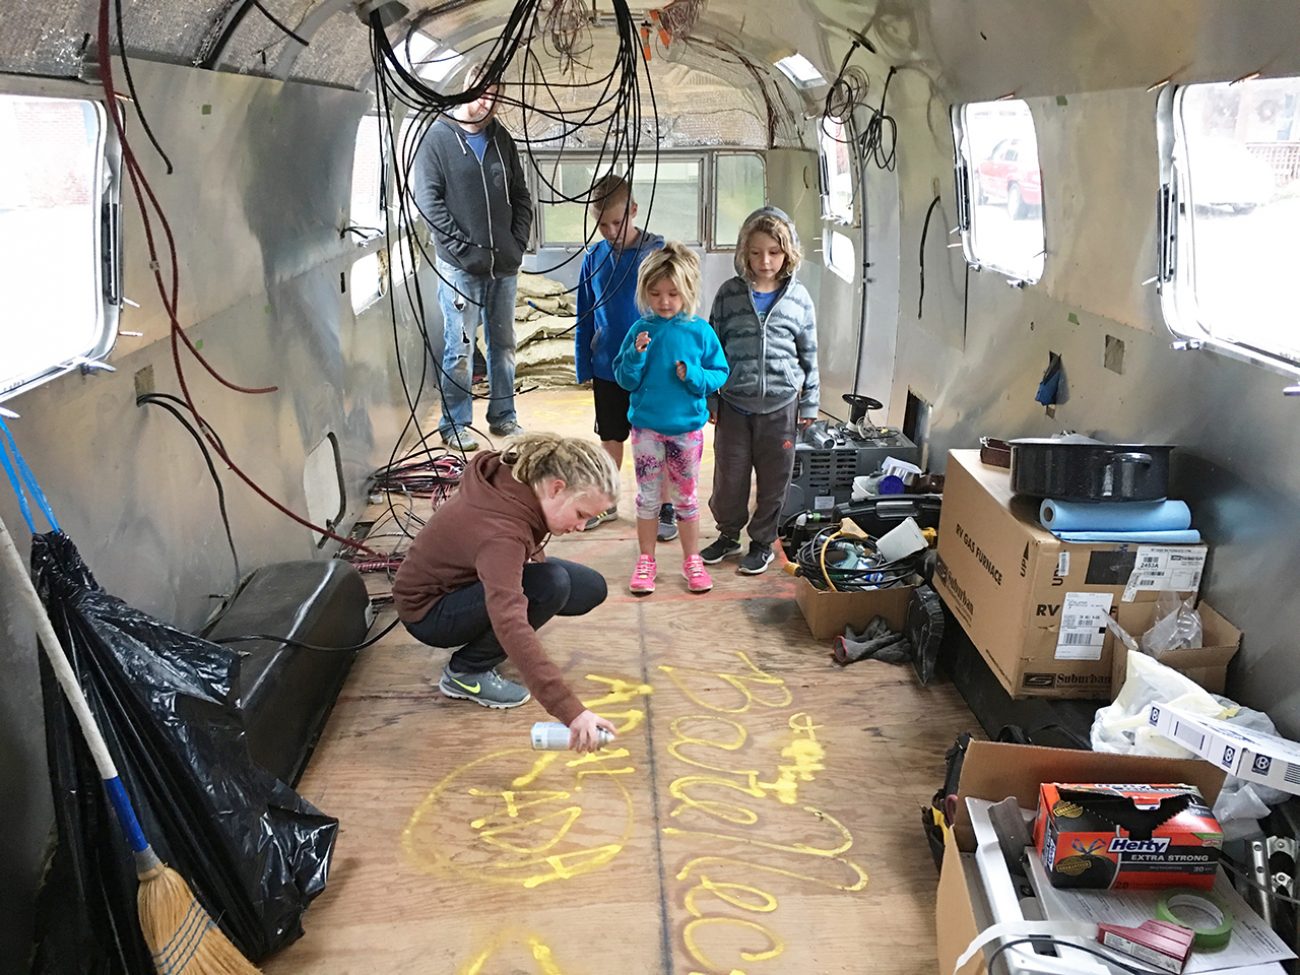
Leaving our mark on the floor.
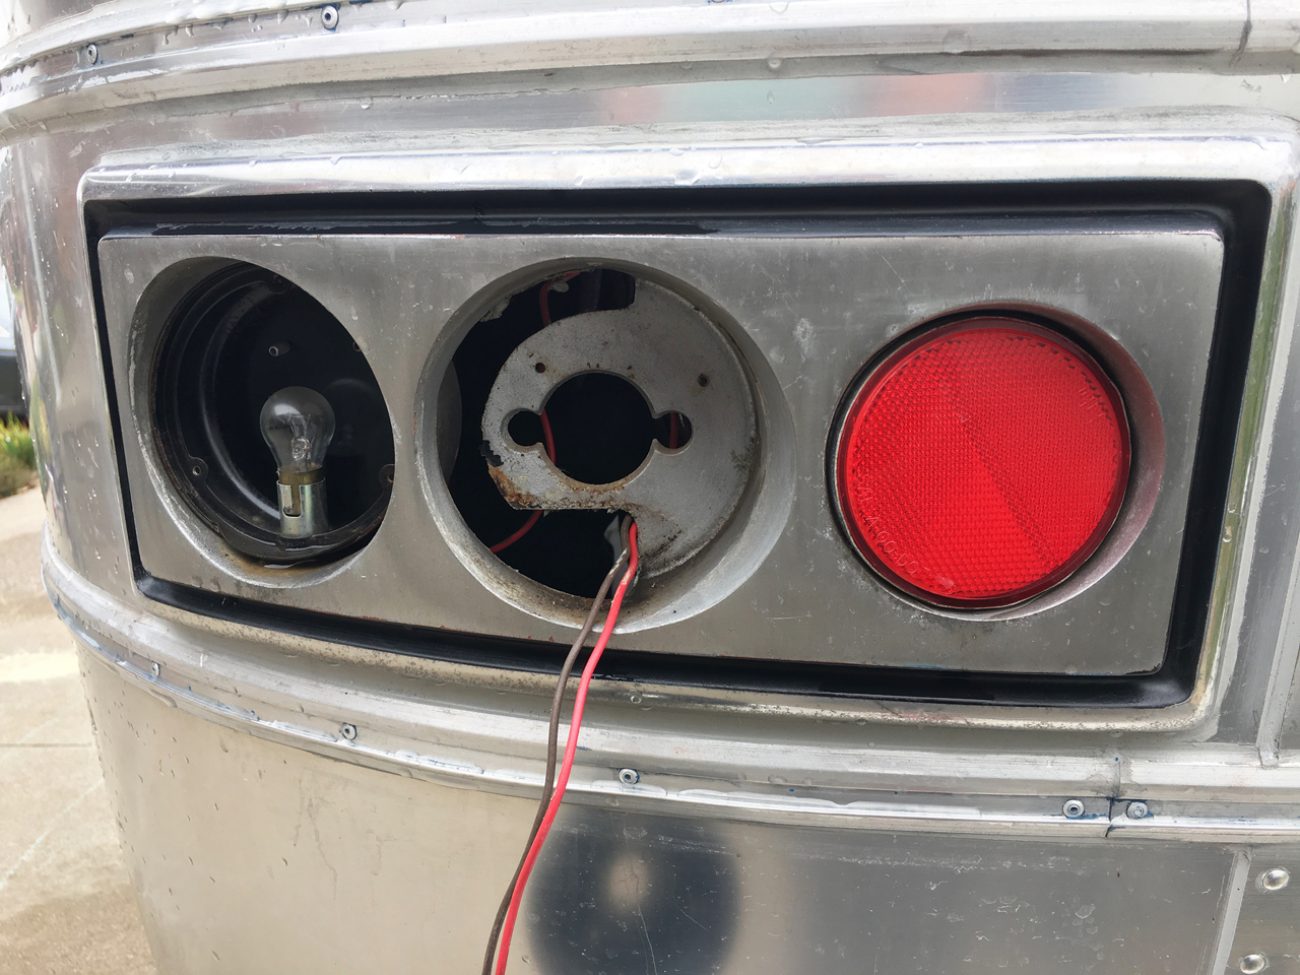
Fixing leaking lights and painting over the blue with a nice black!
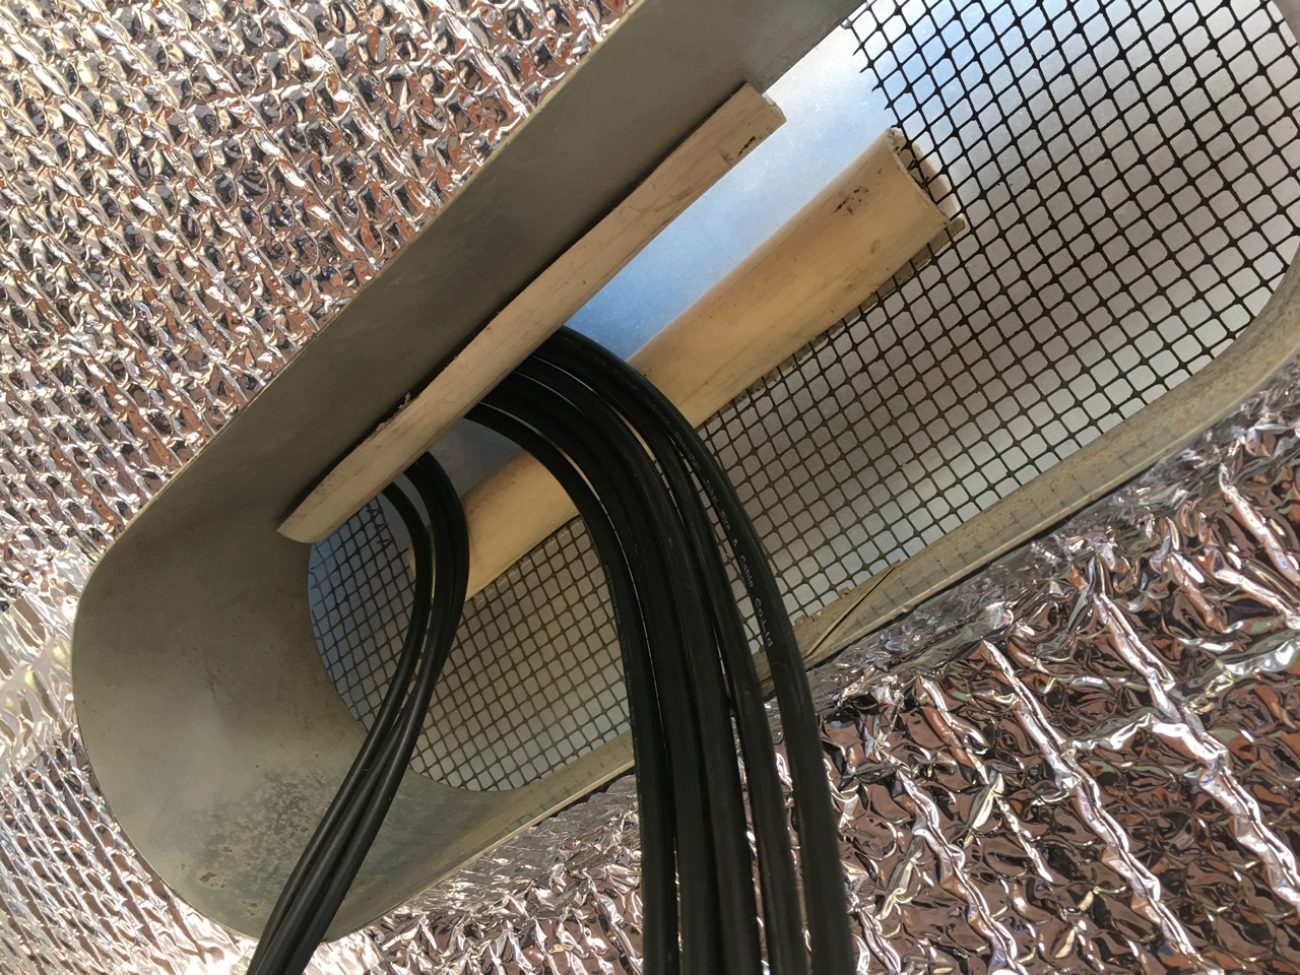
Pulling all solar wires in and making this contraption in the old refrigerator vent so the wires won't rub on anything.
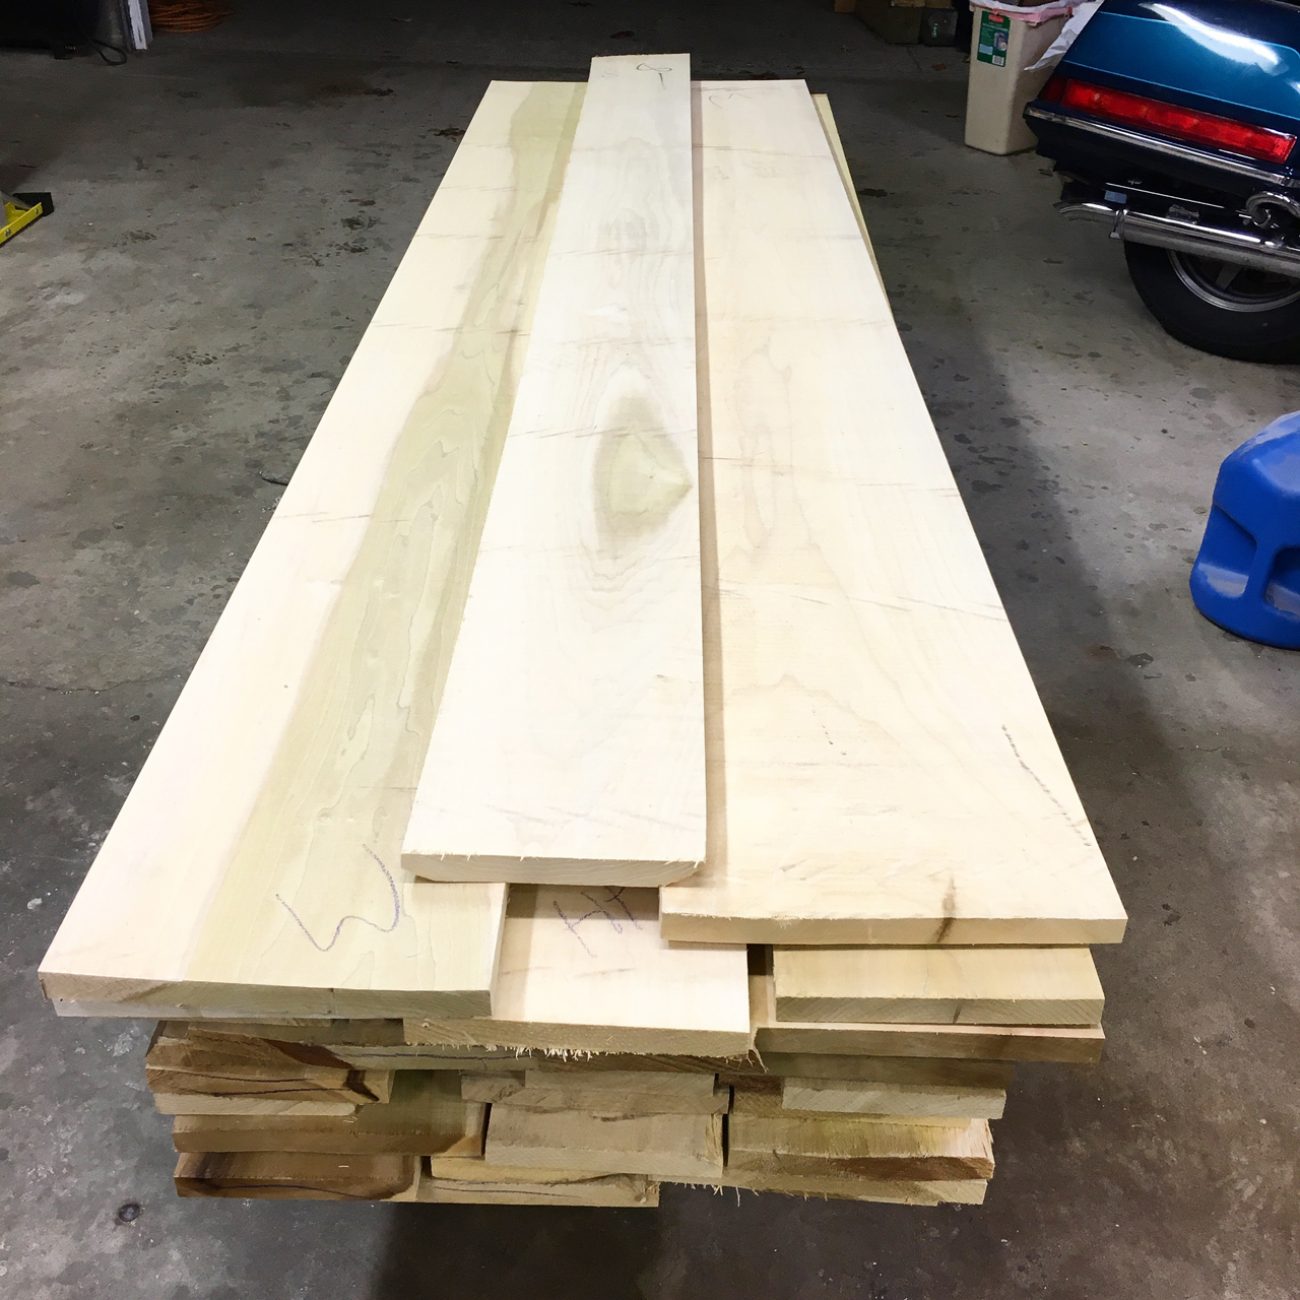
Bought and planed 200 board foot of poplar to use for cabinetry.
Replaced 500 rivets because *someone* bought steel instead of aluminum! Oops! It's ok though, we got it taken care of! We are getting really good at drilling out rivets:)
We are super excited to be getting close to building the dinette/bed, table and wheel well covers because that means we’ll be close to getting to build the kitchen!
December is all about the inside! Our first thing to build will be the wheel wells. Then we can be done with all the insulation and have that out of the way. Next will be the dinette/bed. I’m hoping I get to take the wheel with the table top! I have a vision for what I want, but I also don’t want to spend too much time on it because we have a lot to get done and Indiana is COLD. We’re not a fan of cold!
So, November was a crazy productive month. On top of all the remodel work, we celebrated Adali’s 11th birthday and Jonathan’s 37th birthday! When asked where she wanted to go for her birthday, we were super bummed that we couldn’t make her beach birthday dream come true! We have made promisees to all the kids that as soon as we’re done, we’re headed south to a beach!
In all or our spare time (ha) Jonathan has built a curated store on our site! Have you seen it? We will be adding to it on a regular basis. We want to have a place where people can buy really great items for their home on wheels (or any home, really). We are putting together some of our favorite things and it’s satisfying my craving to buy things. I can just put them in the store and it feels like I went shopping, but I didn’t spend a penny! Check it out and let us know what you think!
Next up, we start building the bunk beds and dinette!
How much will your Airstream renovation cost?
Get a better understanding of what your project will cost with our renovation calculator!
Besides the intelligent spreadsheet, it includes includes links to everything we bought for our renovation + over 20 short videos where we share behind the scenes thoughts, details, & tips!
Apparel
Grab a fun, comfy t-shirt & help support our family.


About the Author
Ashley Longnecker is the fiercely independent tattooed and dreaded half of Tiny Shiny Home. She's a woodworker, photographer and maker of delicious baked goods. She loathes schedules and makes every day an adventure.
comments powered by Disqus