Airstream Renovation: Weeks 3 & 4 - Removing Interior Walls, Checking Wires, & Installing Vents
Goodness. How has it already been 1 whole month that we have been here in Indiana? The days and weeks are flying by. We are still a bit overwhelmed with this whole renovation. Perhaps we were a bit overly optimistic with our budget and time frame, but let me catch you up to speed on where we are now.
We removed the bathroom floor back in the 2nd week and it hasn’t changed since. We are still waiting on our repurposed black tank and new additional gray tank to get made and shipped here before we can put the floor back in and seal it all up. So, we moved on to the next phase.
We bought ALL THE THINGS! Seriously, if you are planning a renovation project and you think you have a budget, just go ahead and DOUBLE IT! Holy Smokes! We have purchased so much I think I'm just weeks away from serious ulcers. Also, know that you'll spend close to half of your time researching.
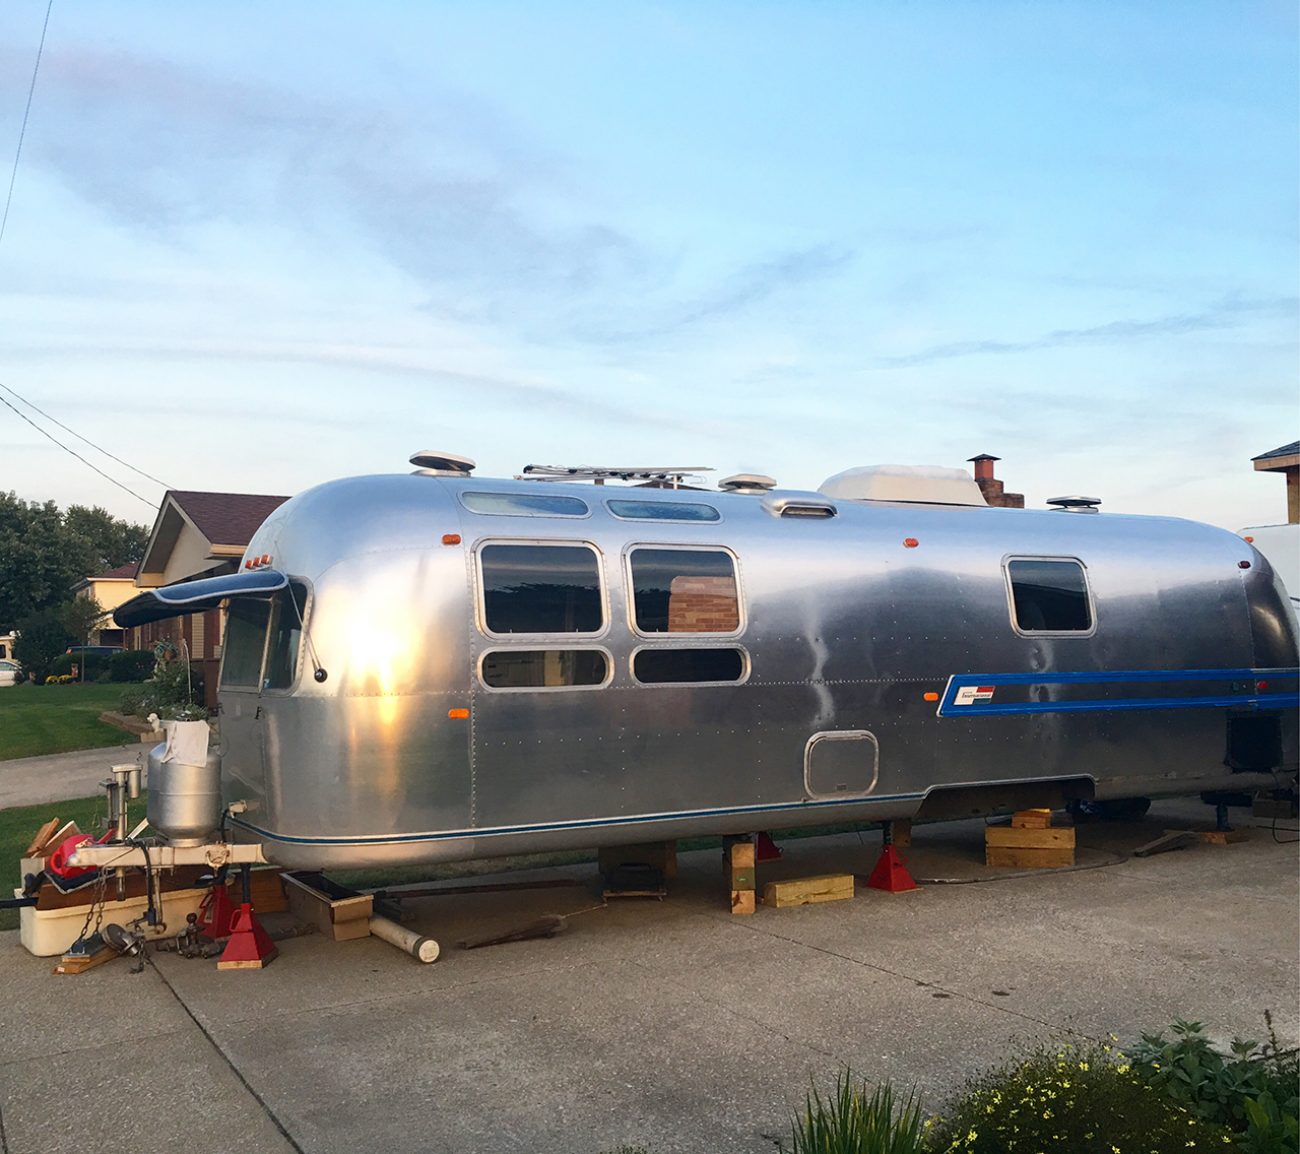
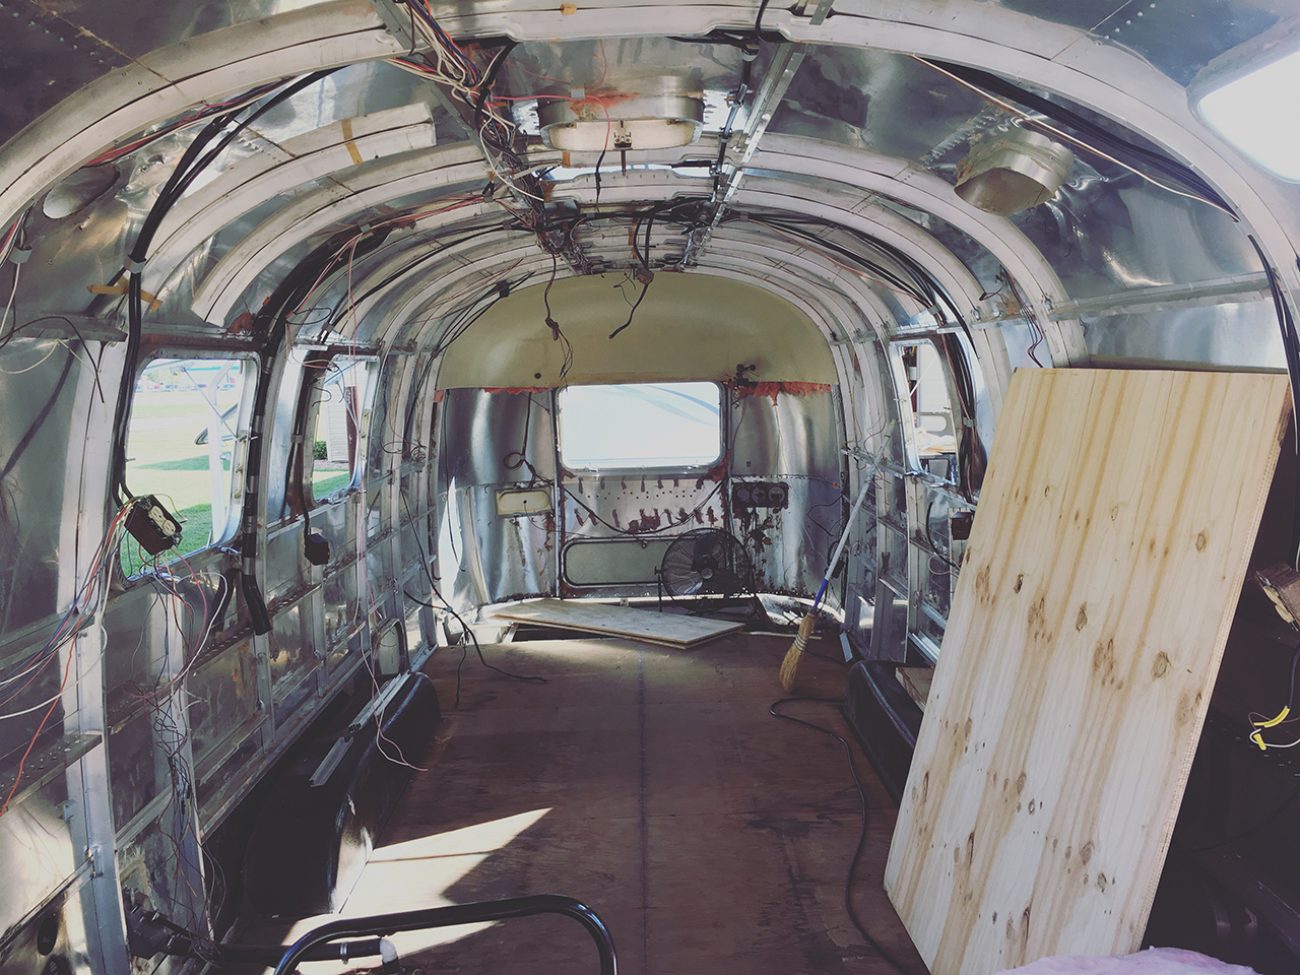
We removed lots of vinyl from the interior walls but we really needed to get into the walls to have a look at wiring and find out where some leaks were coming from. So, we removed all of the interior panels and the pink insulation which was surprisingly in great shape.
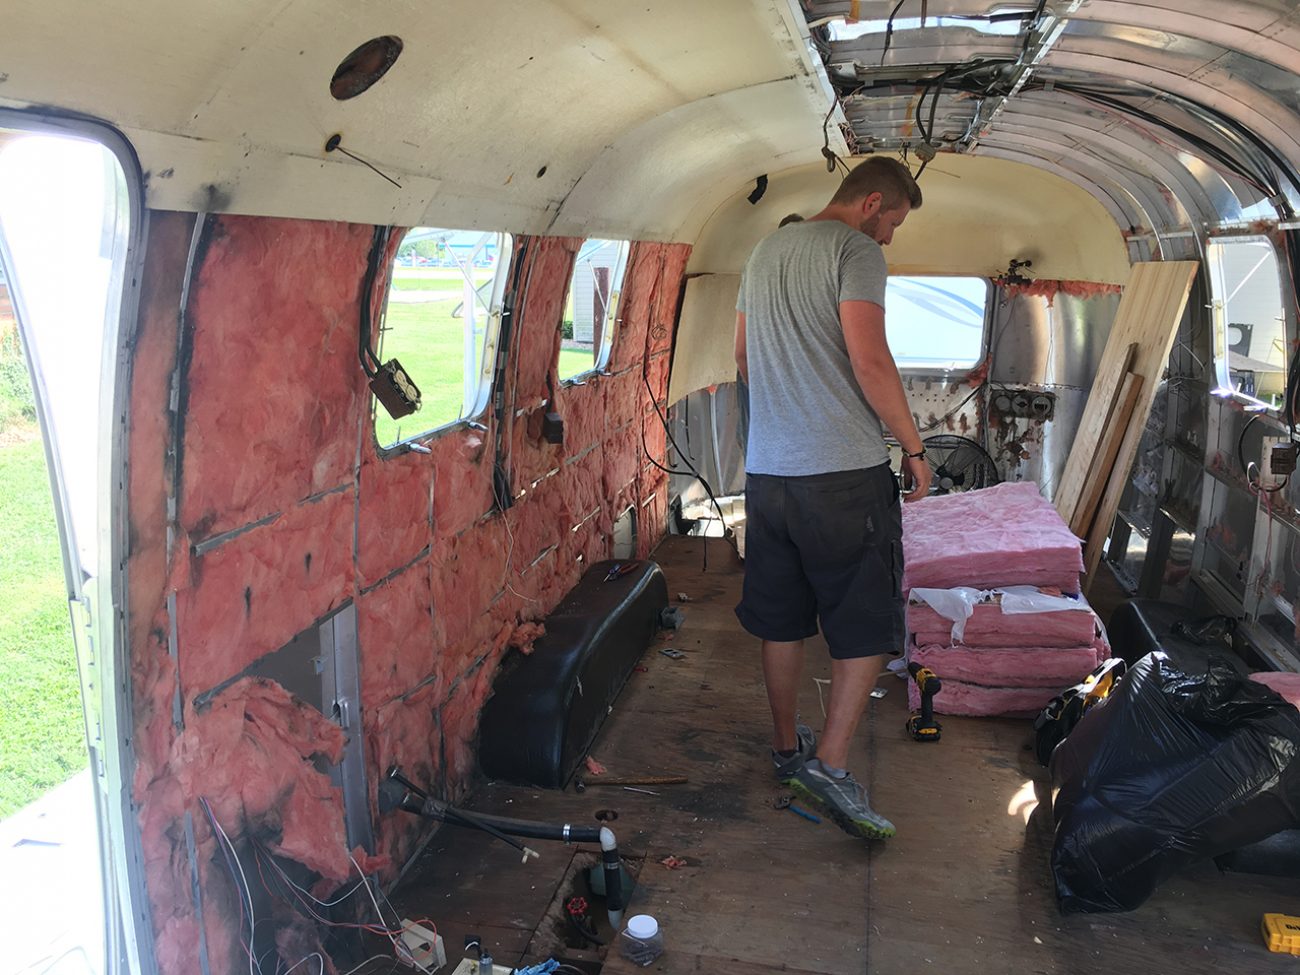
I thought we would find at least one dead mouse but no bugs or mice were found, thank goodness! My dad labeled and traced wires and is currently figuring out a solution to make things much simpler when we reinstall them. He’s got a good plan. We took out all the extra wires after they were labled and diagramed and I cleaned up the inside of the extrior panels to get all that nasty pink insulation off.
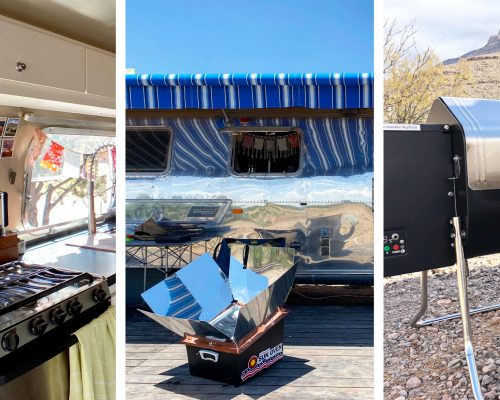
Yesterday we installed one new Fantastic Fan! We love these fans! We had a few in our other RV and they were so helpful. The install when a lot easier than I thought it would.
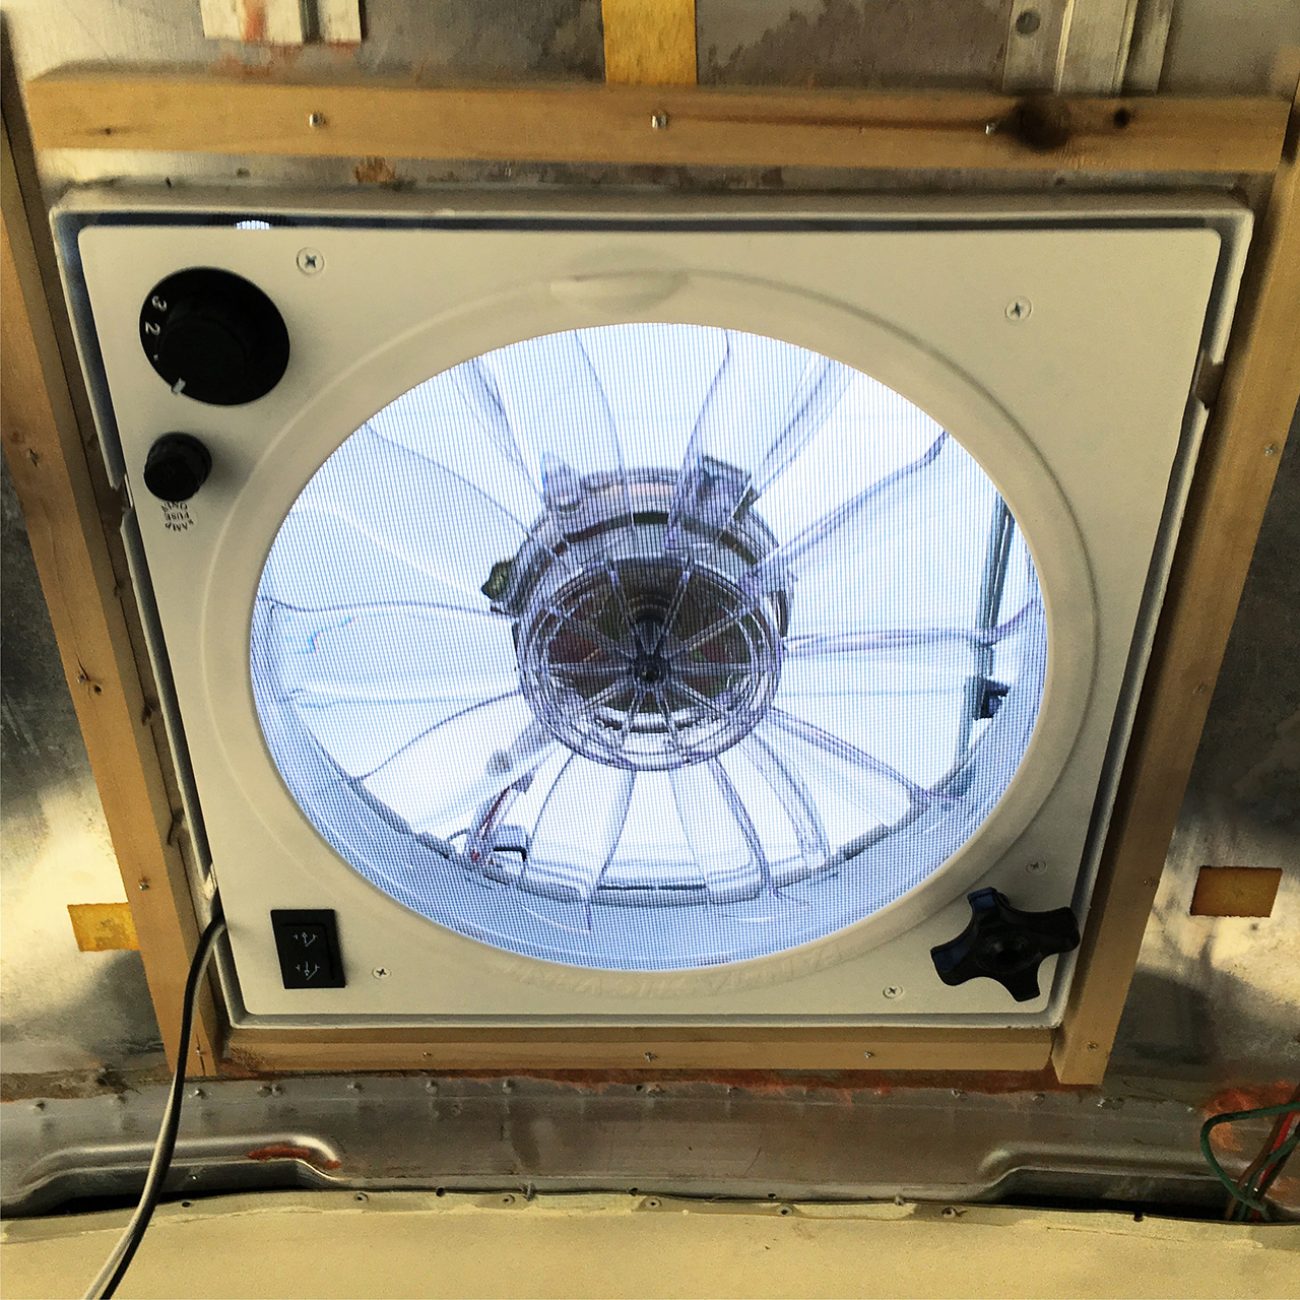
We drilled out the rivets holding in the old vent, measured and cut (with tin snips) the opening a bit bigger for the new fan, cleaned up all the old goop and set the new fan in. We opted to use Butyl Tape (1 inch), pre-drill holes and we used pieces of wood for the screws to have something to actually grip into. Once we have another nice warm, sunny day, we will cut off the excess butyl tape and caulk around the fan. Then, we’ll place our Maxx Air Vent Cover on top. We still have two more fans to go but now that we know how it’s done, I think the next two will be even easier than the first.
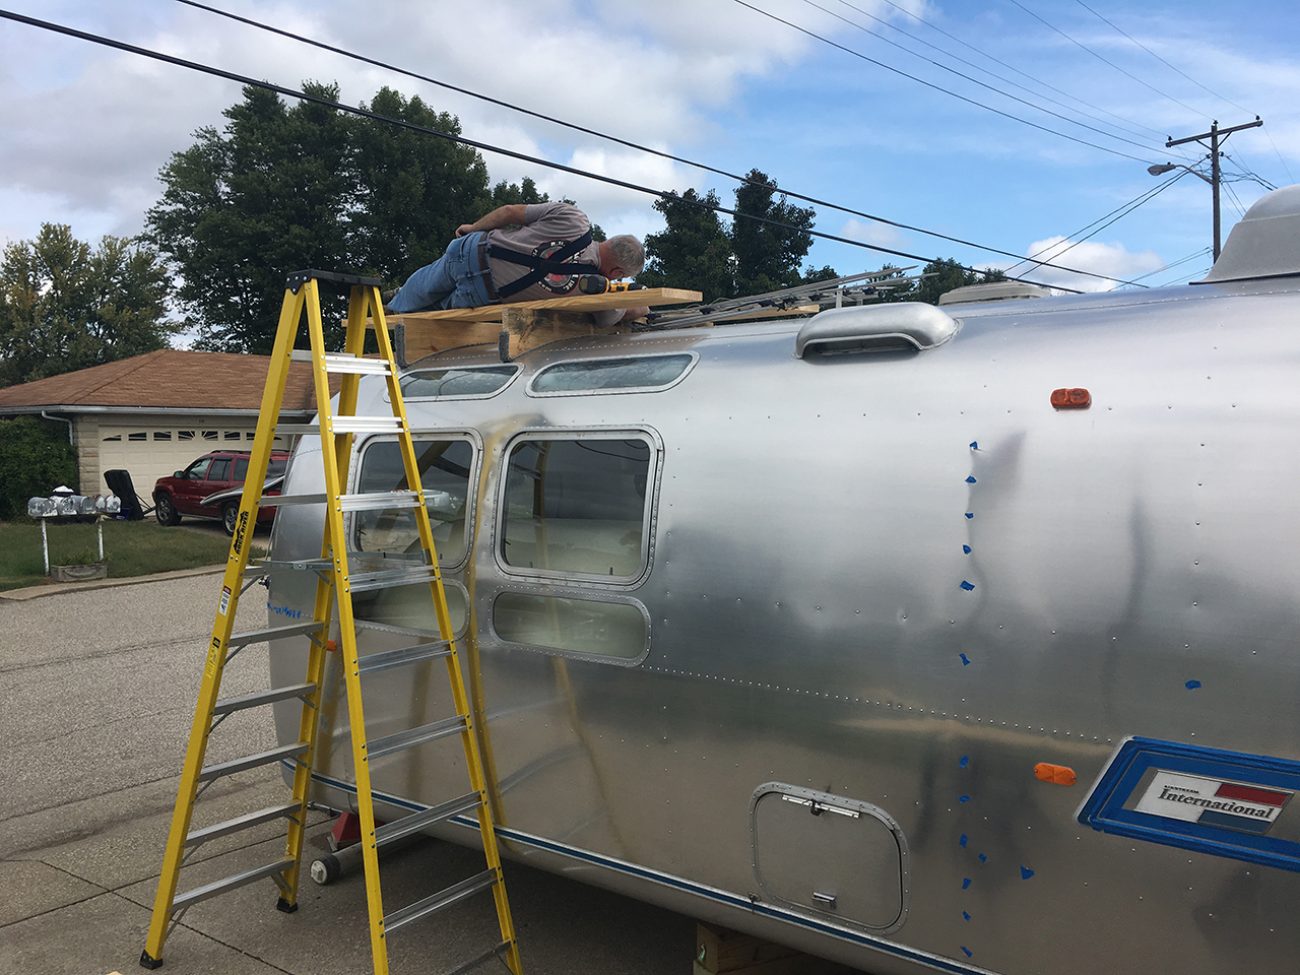
We received our air conditioner last week and we are hoping to replace the old one this week as well. My dad has made this awesome contraption that fits the curve of the Airstream and it sits up on the ribs so that he can be up on top of the trailer without messing up the top. It made the fan installation much easier.
This weeks to do list looks something like this...
- Replacing Bad/Old Rivets On The Outside
- Installing Air Conditioner
- Installing 2 More Fantastic Fans
- Caulking Windows and Seams
- Caulking Interior Rivets and Seams
- Cleaning Up Stabilizers and Painting
- Finish Cleaning Up Interior Walls
- Clean Windows
- Work On Replacing Window Gaskets
- Figure Out How to Remove Paint From Window Frames
- Deciding on Insulation Method and Order
- Finalize Kitchen Cabinet Plans
We are still waiting on axels to be finished and for our new tires to get in. We are also waiting on our gray tanks. Once both of these things come in (in a couple weeks), we will be getting things done a bit faster...or so I think.
Next up we finish the roof, reseal, add solar, and more.
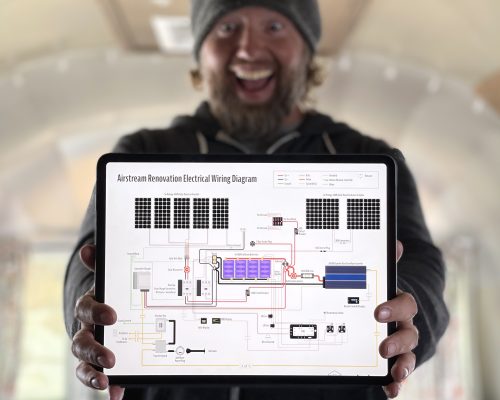
How much will your Airstream renovation cost?
Get a better understanding of what your project will cost with our renovation calculator!
Besides the intelligent spreadsheet, it includes includes links to everything we bought for our renovation + over 20 short videos where we share behind the scenes thoughts, details, & tips!
Apparel
Grab a fun, comfy t-shirt & help support our family.


About the Author
Ashley Longnecker is the fiercely independent tattooed and dreaded half of Tiny Shiny Home. She's a woodworker, photographer and maker of delicious baked goods. She loathes schedules and makes every day an adventure.
comments powered by Disqus