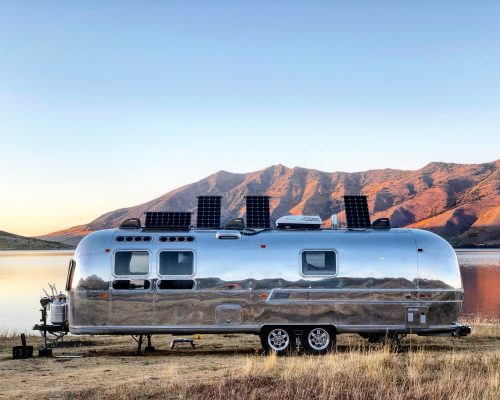
Airstream Renovation - Designing & Building our Bathroom
Guys, we are so far behind. Let me back up a bit and tell you about our bathroom.
We choose to go really functional with the bathroom. Instead of picking designer tile and spending way too many hours grouting said tile, we chose a simple bathtub with a plastic inclosure and shower curtain.
Seeing that we didn’t have a plan for the bathroom until the day before we started building, I am super happy with how it turned out.
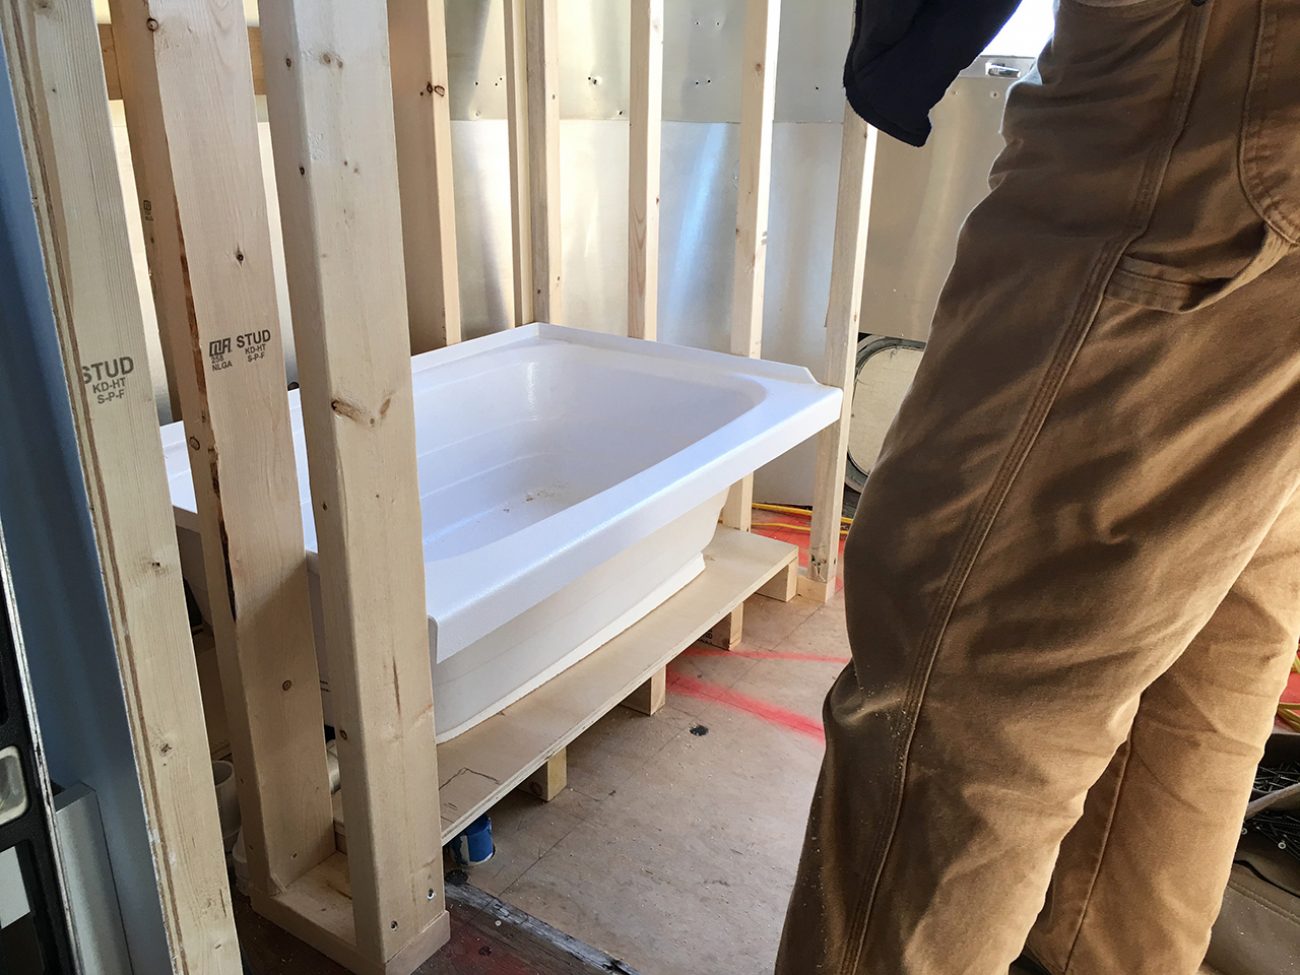
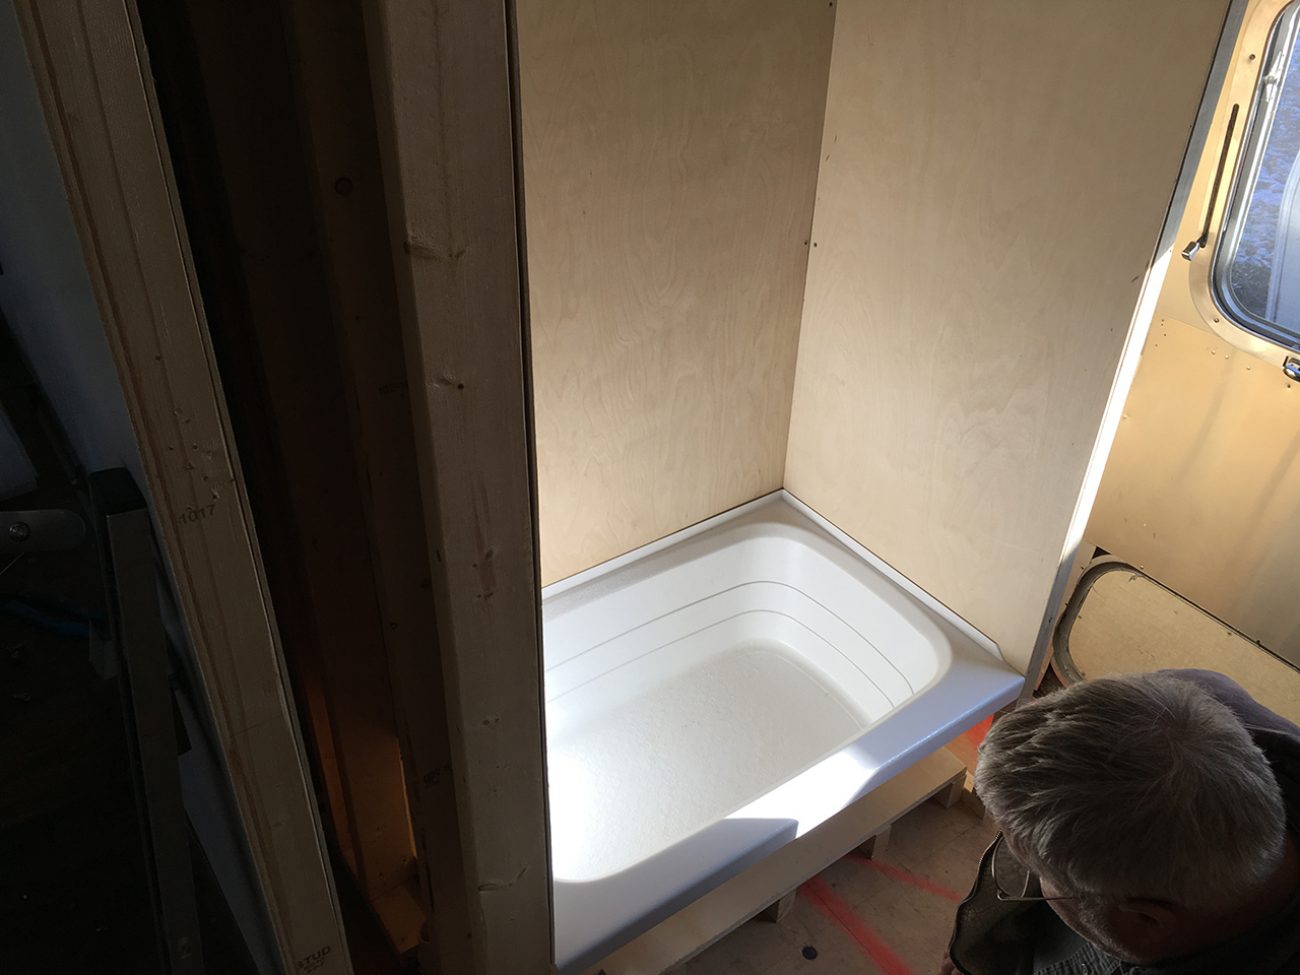
The day the tub arrived we quickly got it inside so we could measure and make a game plan. We knew we would have to raise the tub due to the P-Trap but we were able to keep our rise at around 3 inches instead of the 5 that we thought we would need. Every inch counts in an Airstream.
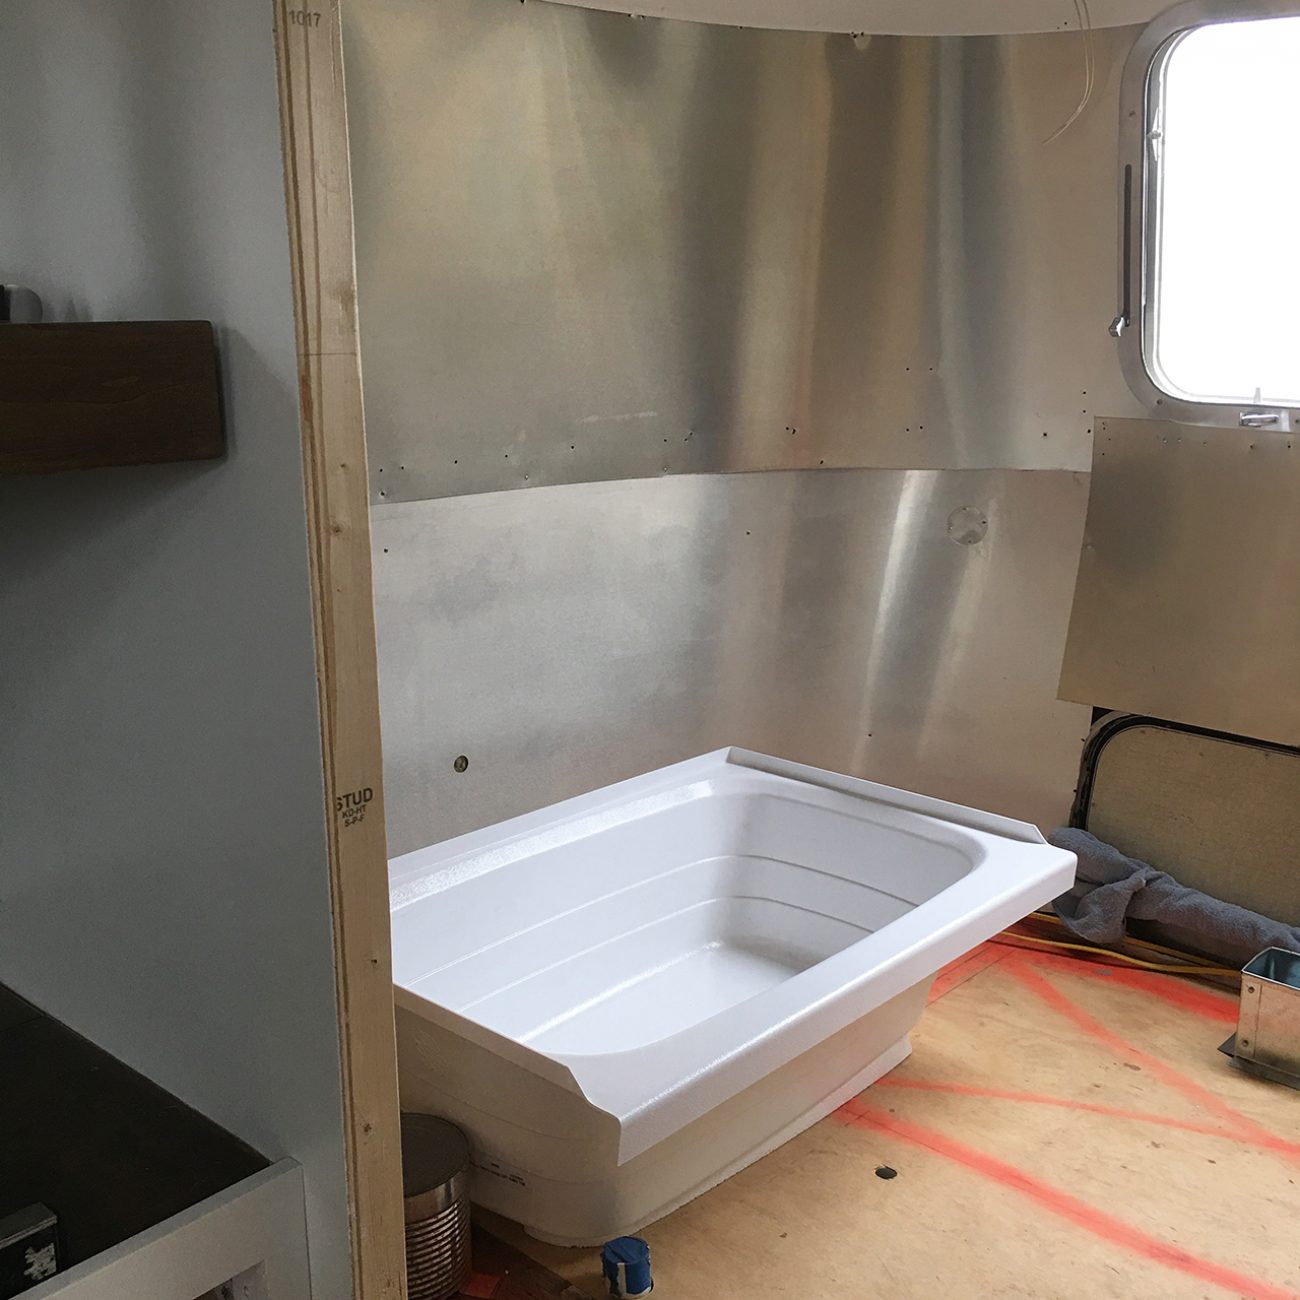
I have said it many times but it is still true...My dad knows how to do everything. He spent so many hours thinking about how to keep the tub as low as possible and we are so thankful for all he knows. This could have never happened without him. None of it!
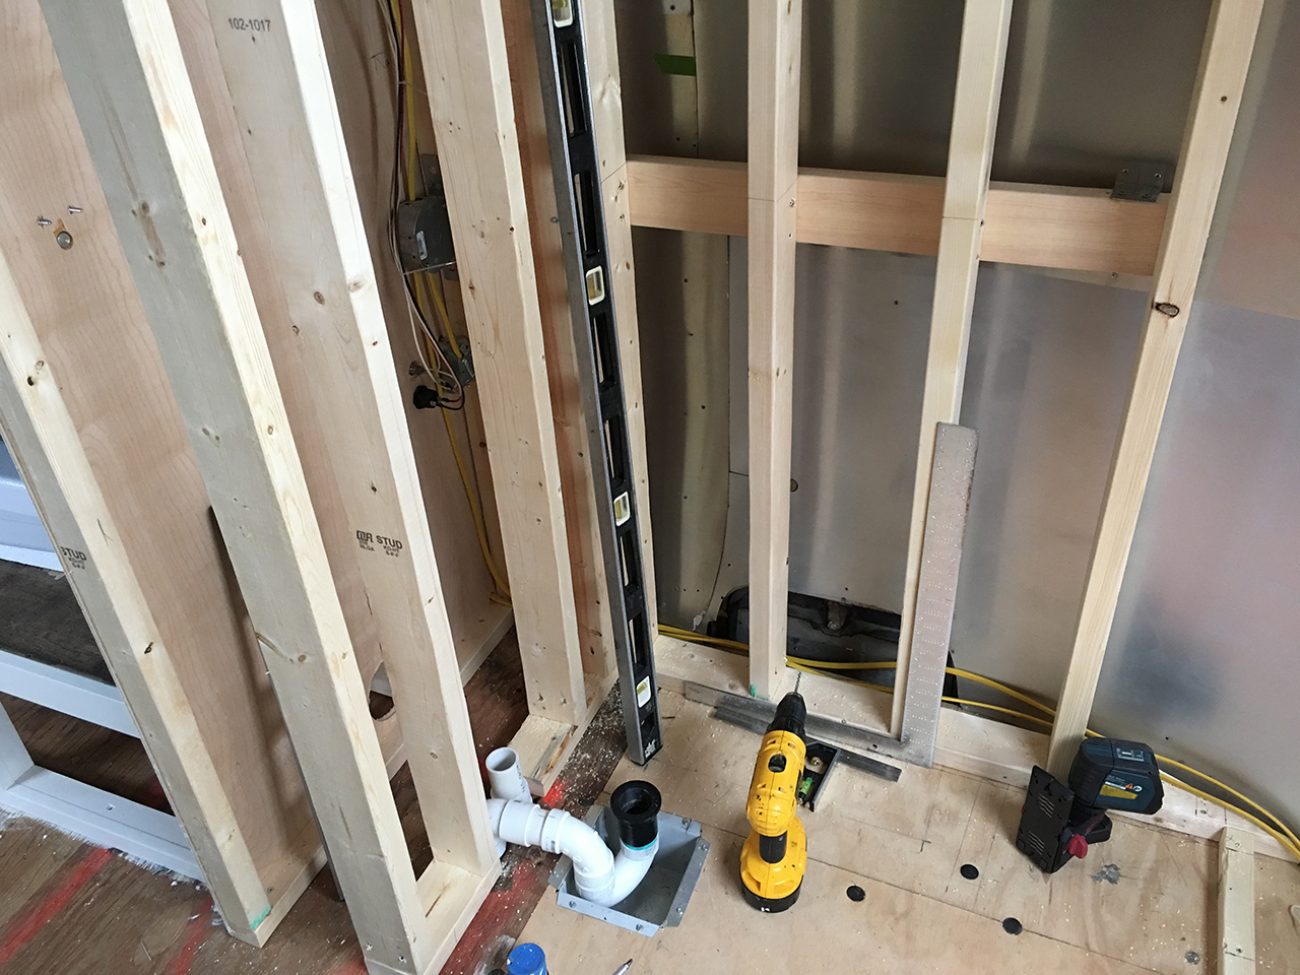
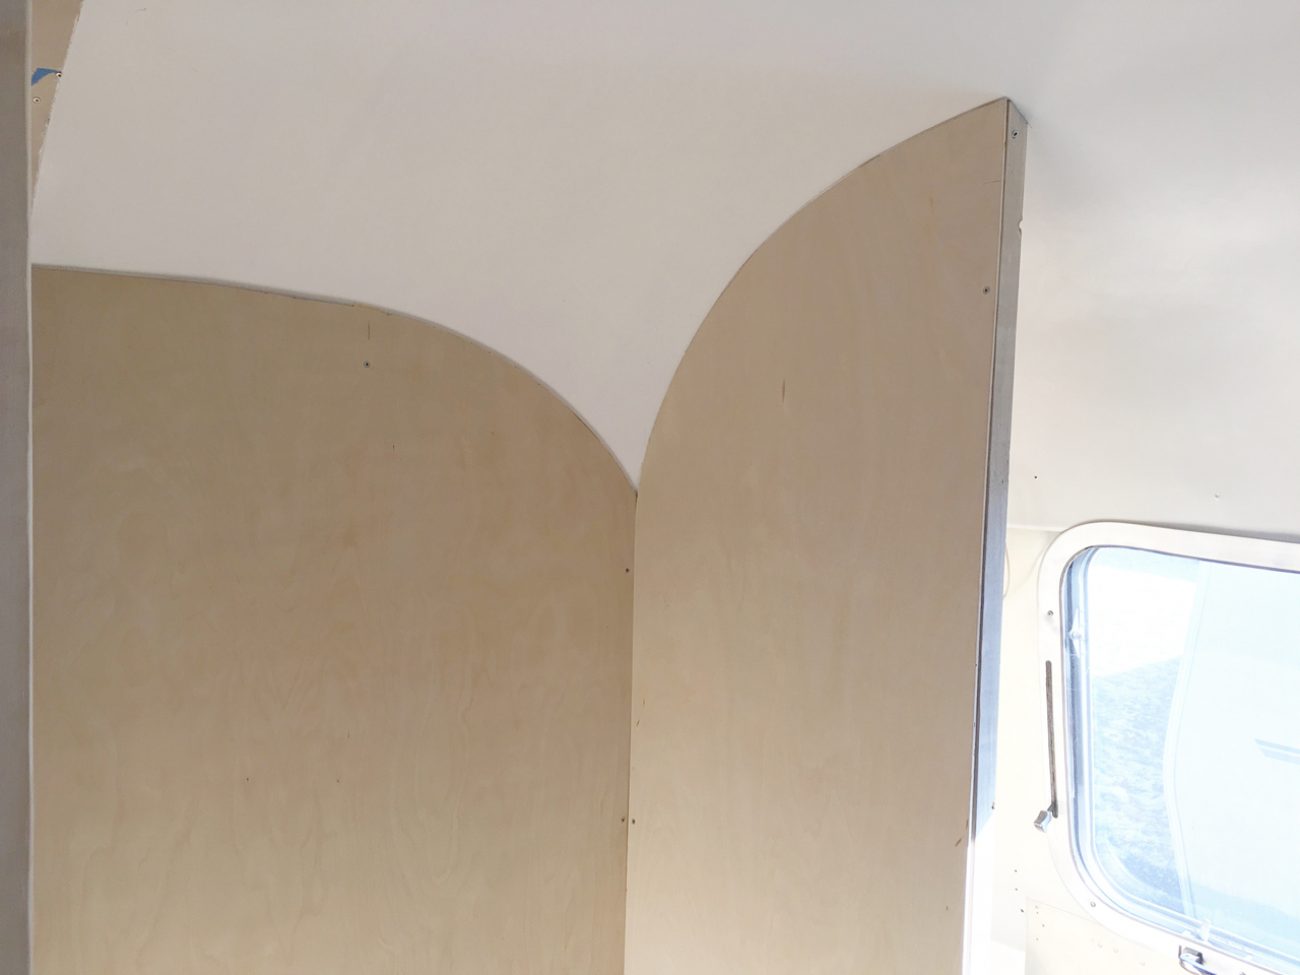
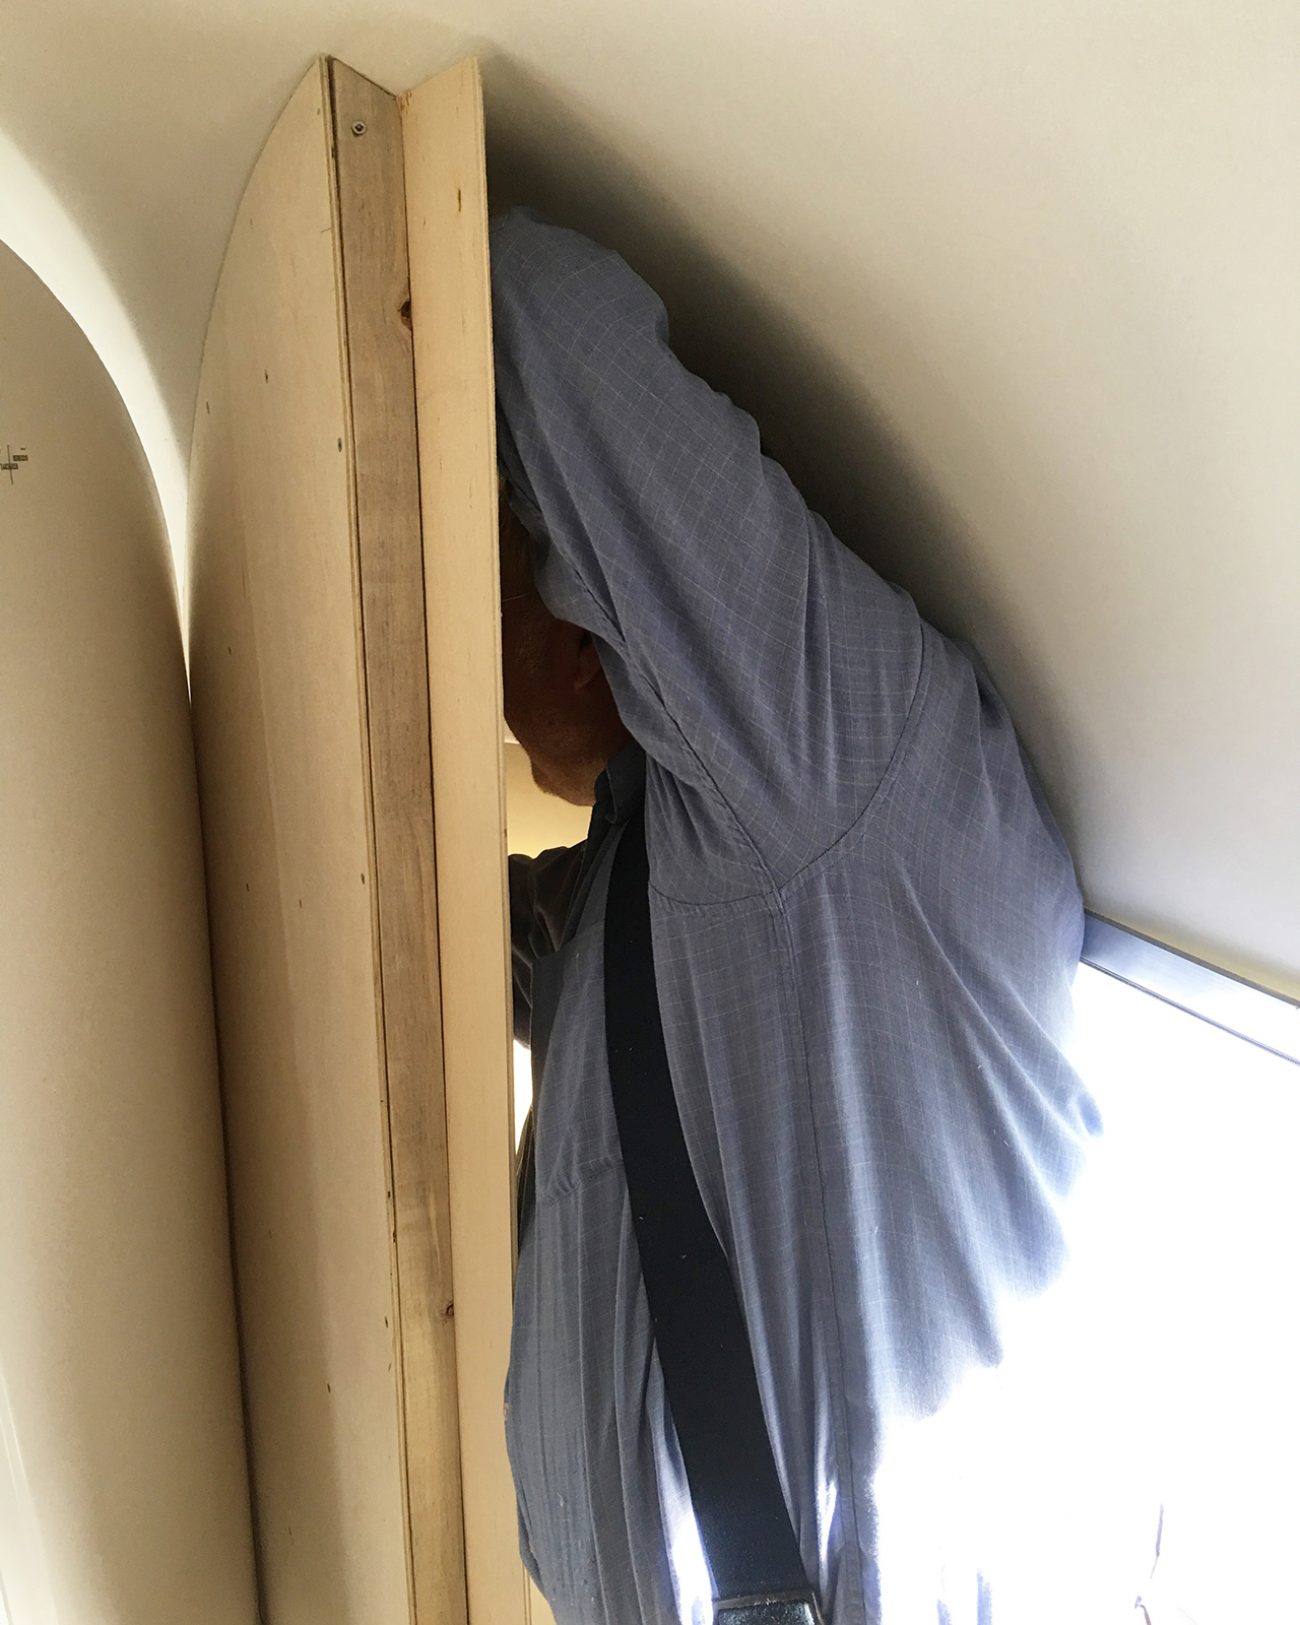
Once we had a game plan walls went up quickly. Each board cut to different angles on the top. The precision dad has with his tools is just amazing to me. He cut most of these with a hand saw!
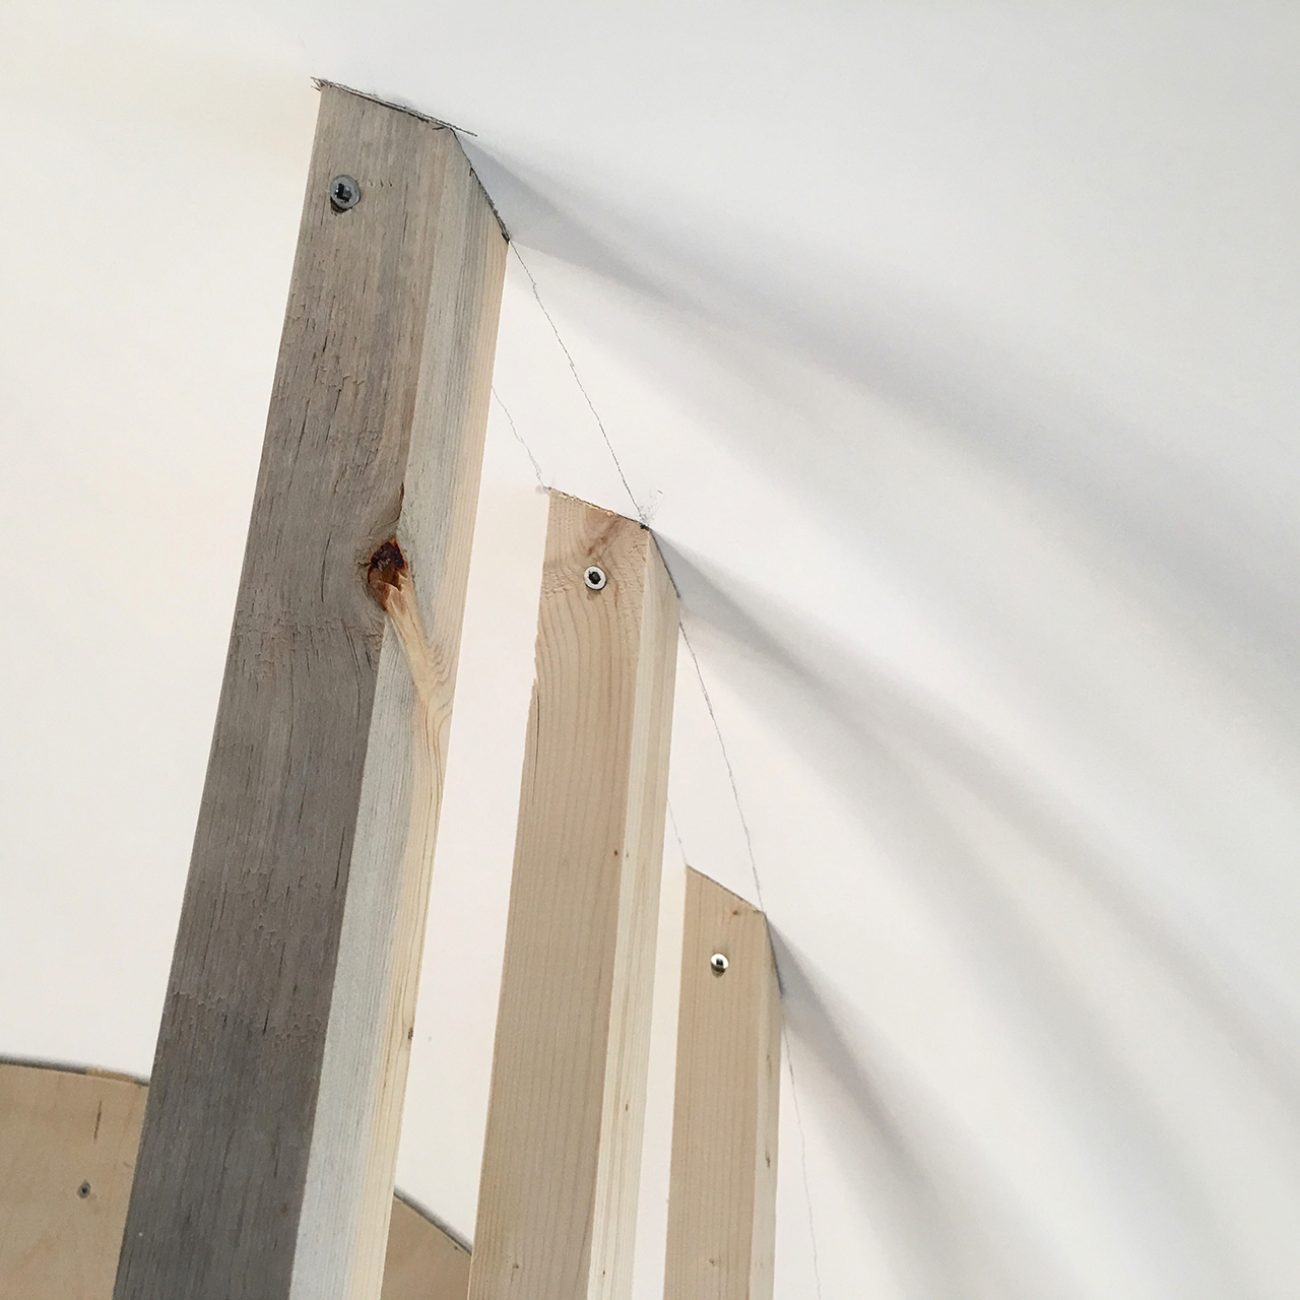
Once the studs were up it was time to make the plywood walls. Let me tell you, we are so tired of cutting curved walls. This bathroom had so many curved walls. We're over it. But it was no surprise how Dad was able to master the curve, even in tight places.
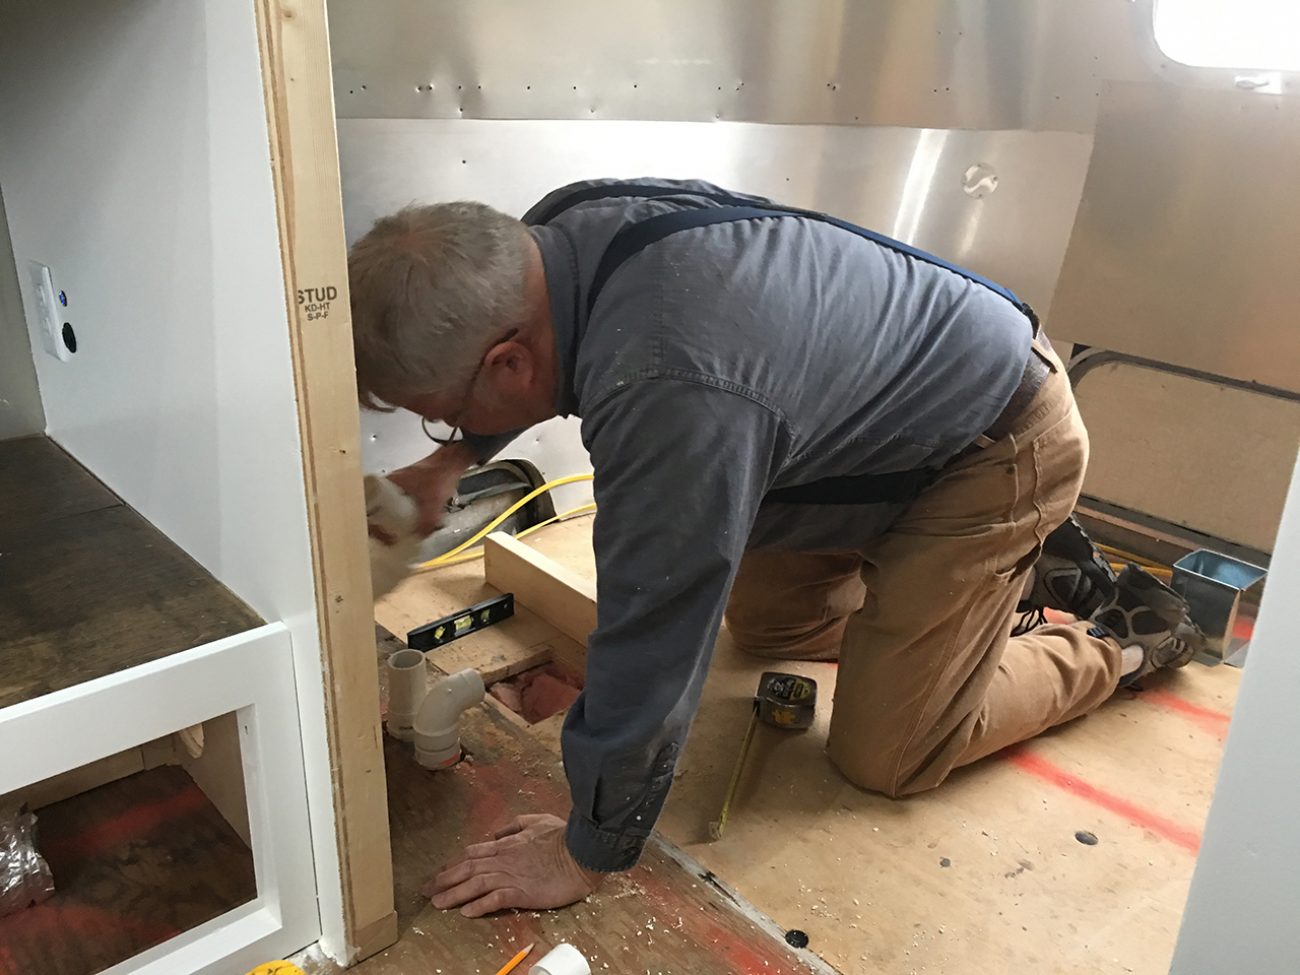
Now, time to get that tub in on the platform and get the drain in.
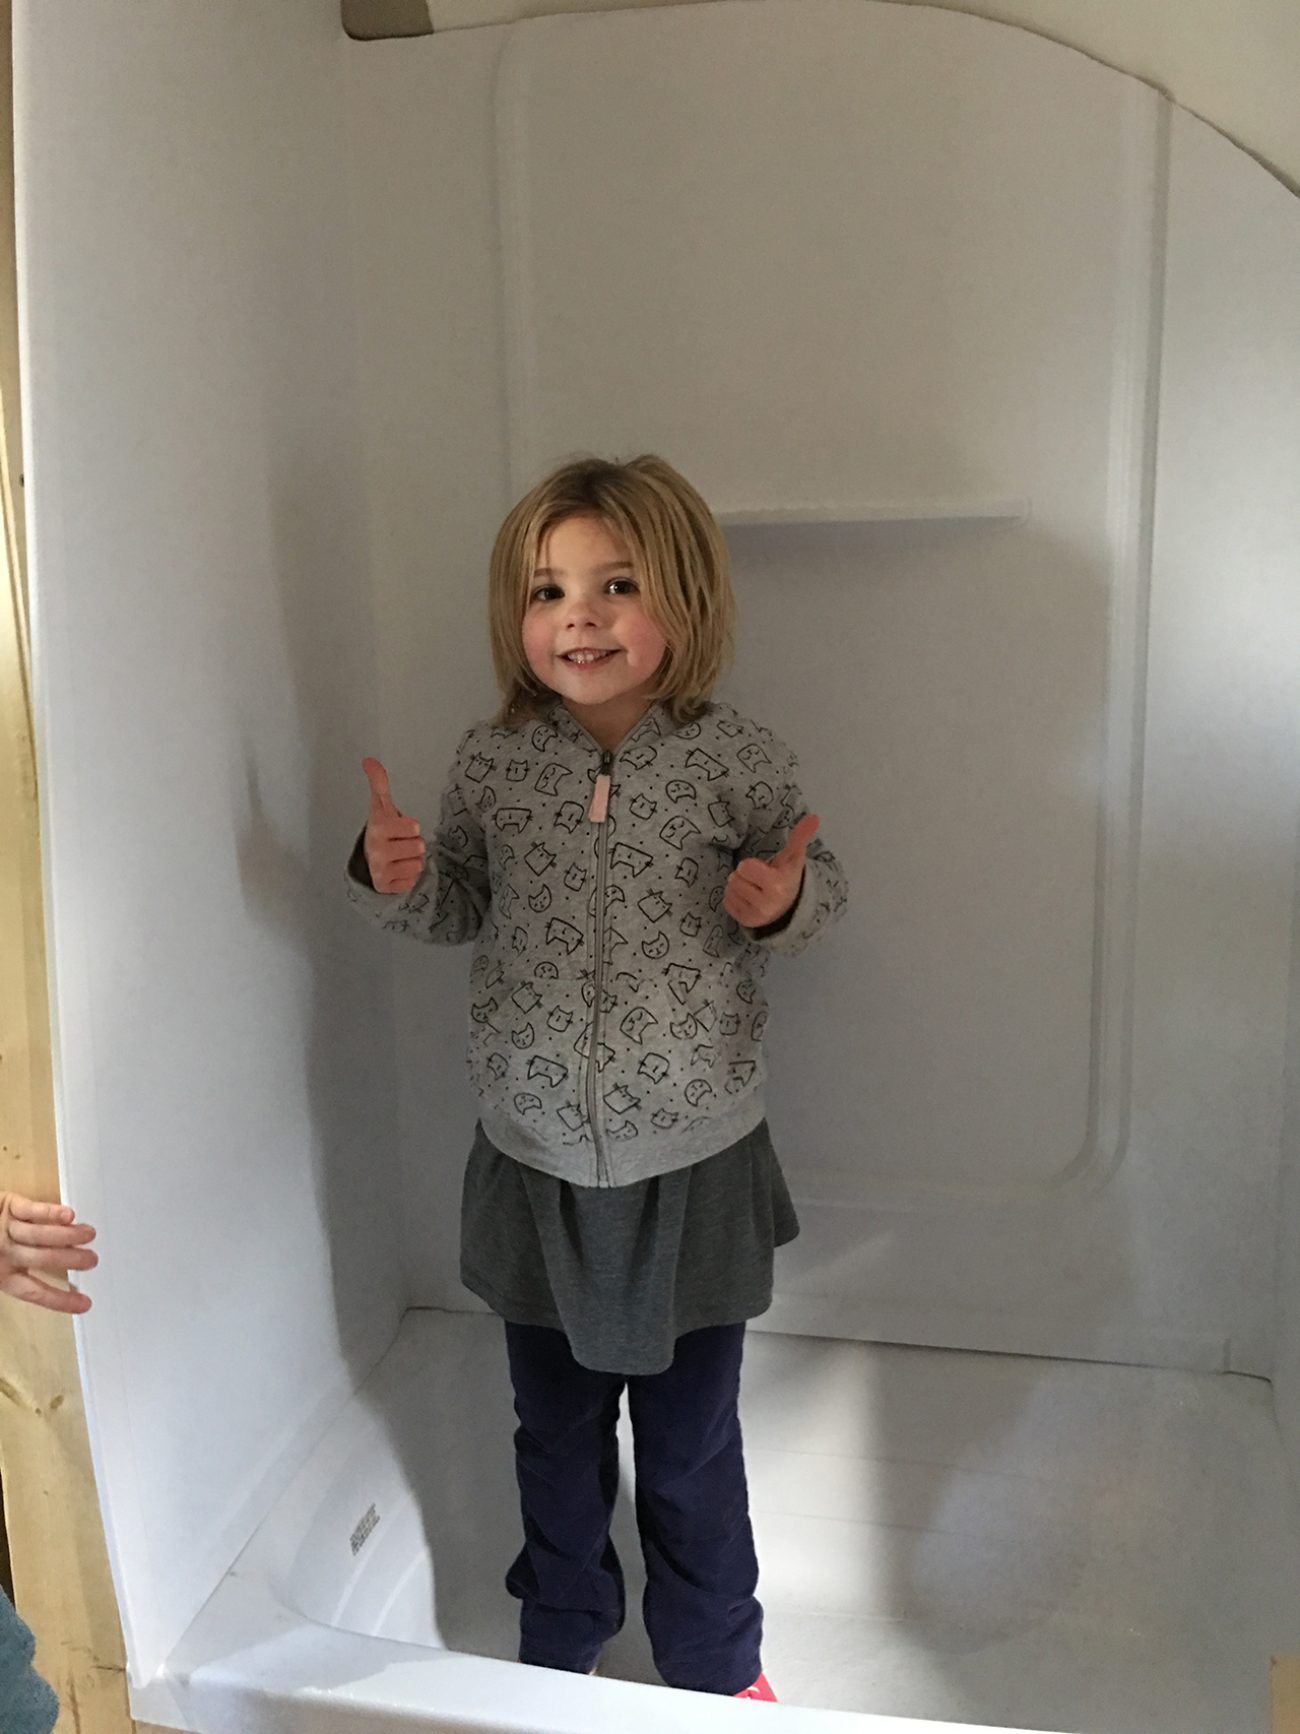
With all the walls in place, now it was time to cut the plastic enclosure to fit the walls. One wrong cut and we'd have to order another one. Glad I've got the pro, even when he won't let me help.

Ada approves.
Jonathan's going to get huge thighs from all the squats he'll have to do in the shower.
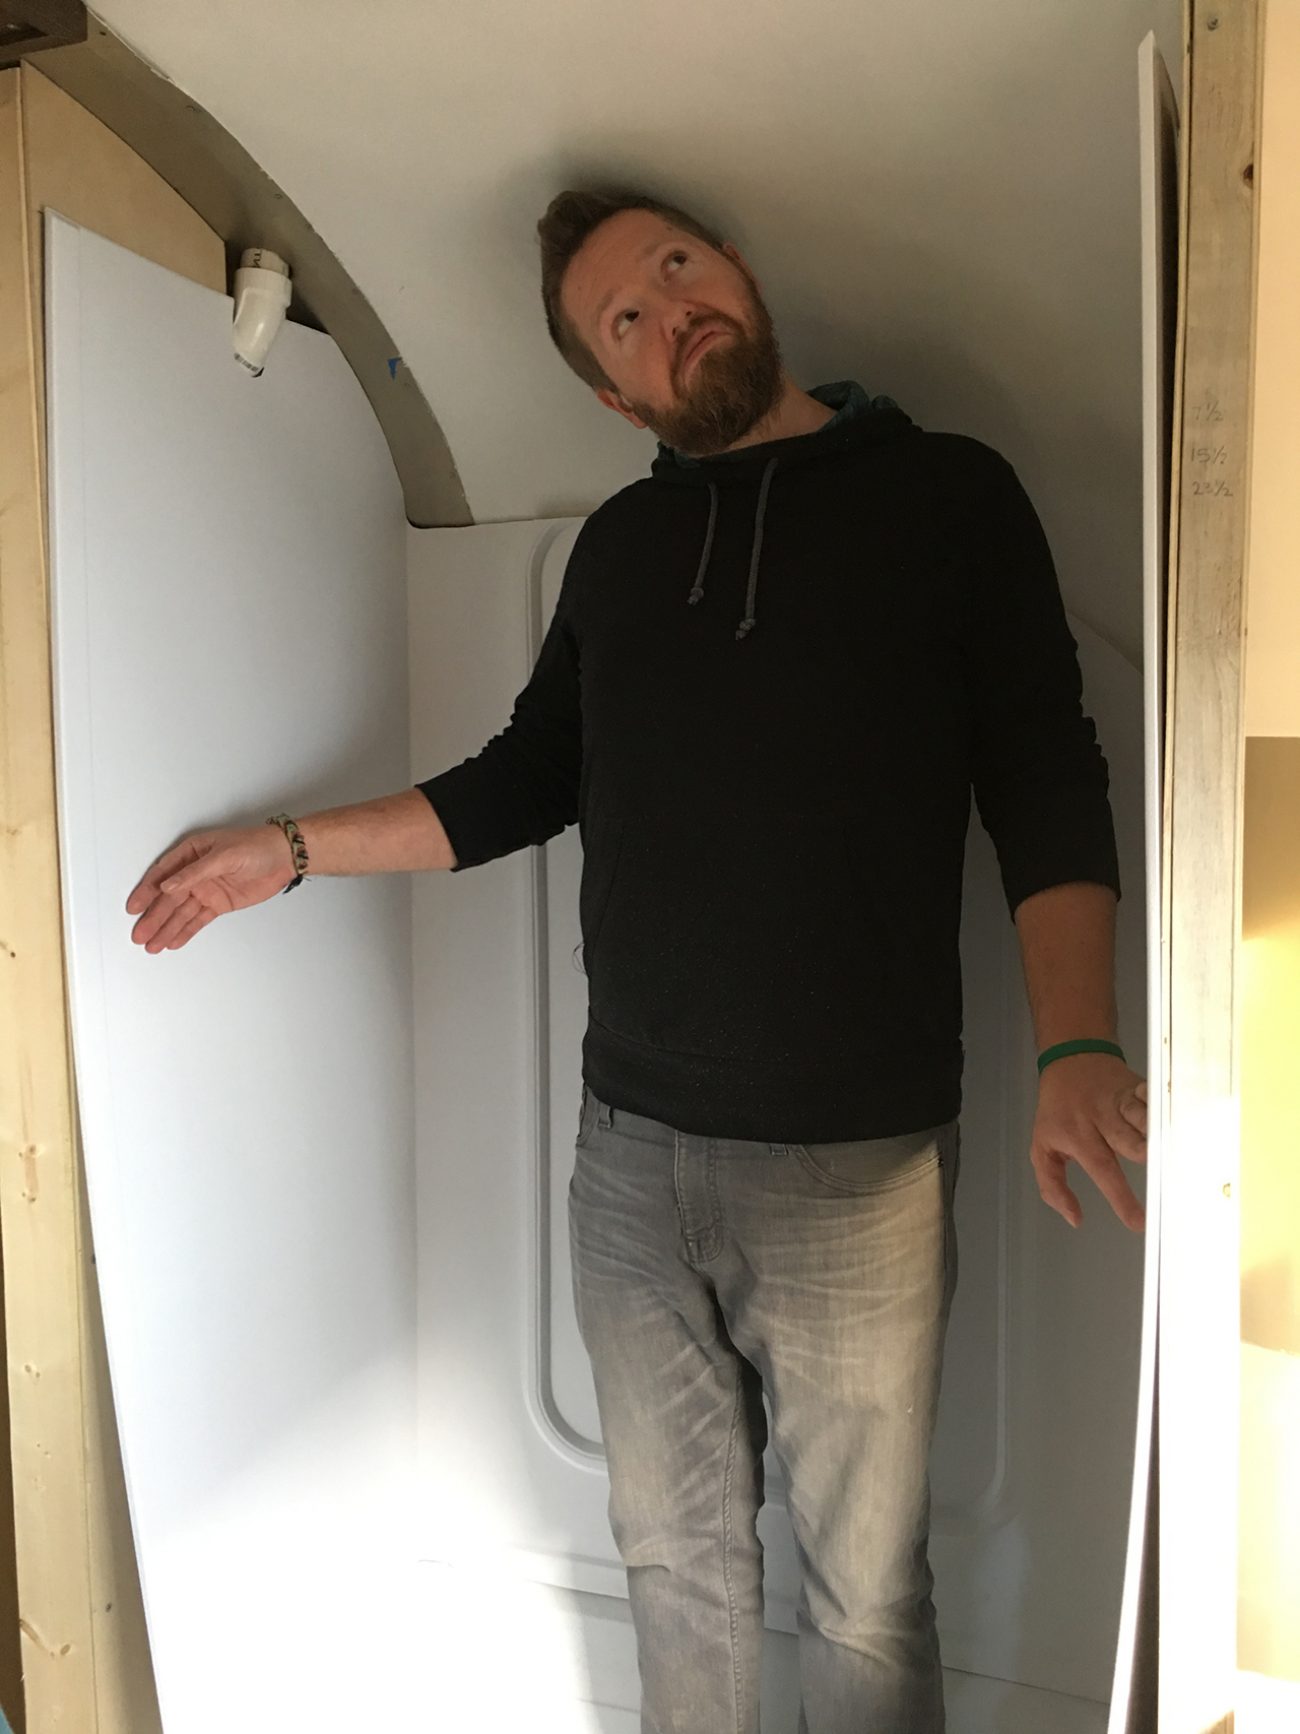
Now on to the vanity. We wanted to keep it as small as possible but utilize as much storage as we could in this small room. Maybe you remember from our last post that we had already built the 'closet' on the opposite side of the tub. It's getting really crowded to do anything in here. At this point I knew Dad was counting down the days until he was done with this project. It's gone on longer than any of us cared for but we are all really happy with what we have created.
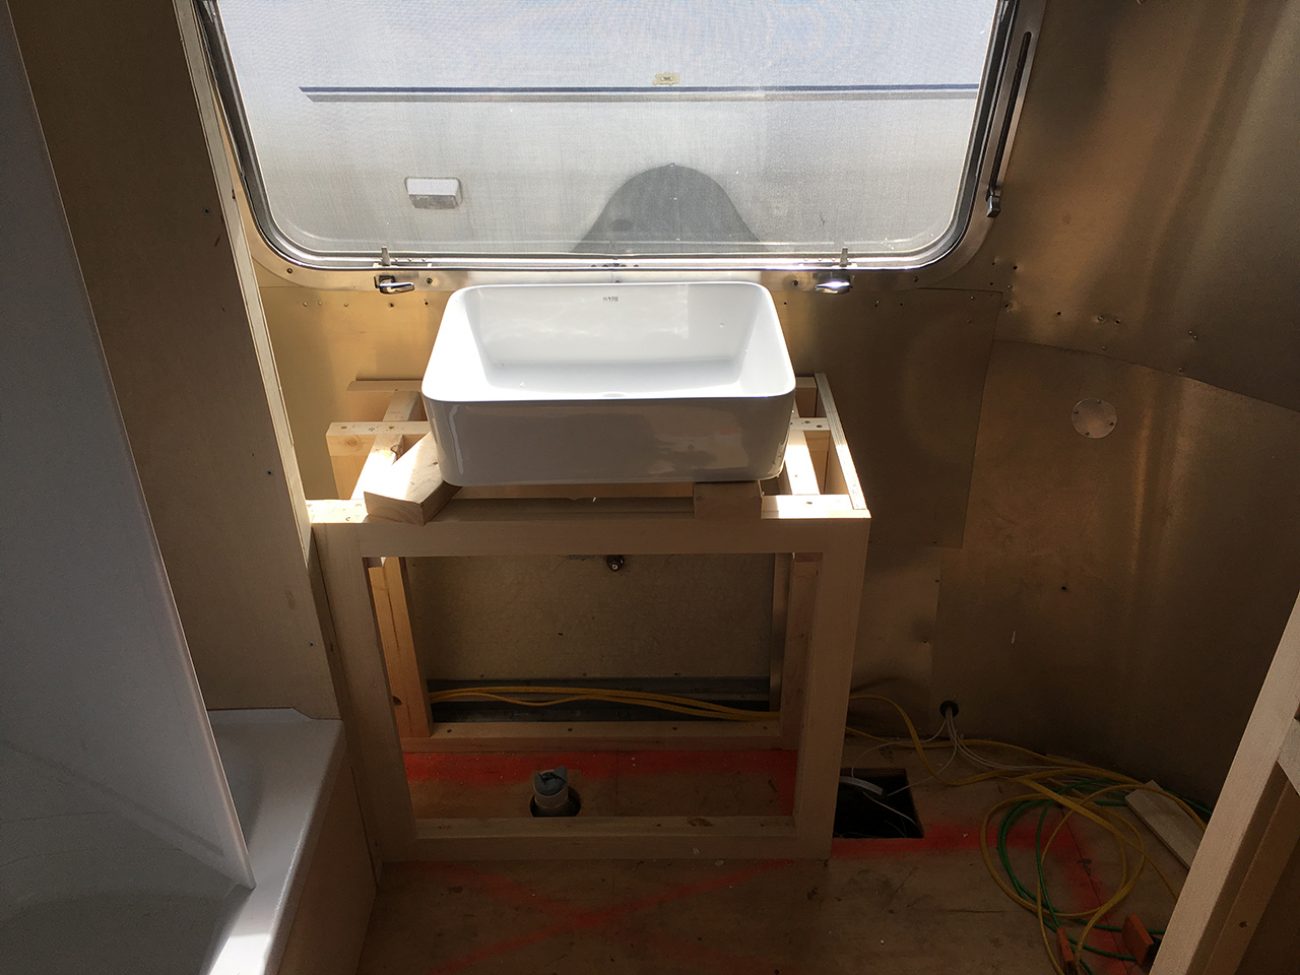
With everything built in the bathroom it was time for me to step in and paint and stain. That went quick and now that we have the vanity, it's time to get counter tops ordered!
Things are MOVING and we are so happy to be nearing the end of the renovation!
Become a Tiny Shiny Homie!
Subscribe to our patreon-style community & help support our family so we can keep making things for you! Get early access to videos, special behind-the-scenes updates, & goodies like exclusive stickers and name drops in our videos.
Signup & Become a HomieApparel
Grab a fun, comfy t-shirt & help support our family.


About the Author
Ashley Longnecker is the fiercely independent tattooed and dreaded half of Tiny Shiny Home. She's a woodworker, photographer and maker of delicious baked goods. She loathes schedules and makes every day an adventure.
comments powered by Disqus