Airstream Renovation: Weeks 7 & 8 - Rebuilding the Backend, Connecting Tanks, and Installing Axels and Wheels
Pardon me while I freak out for a bit! This has been a very exciting 2 weeks around here. I wish I could update the blog more often, but right now we are so busy with homeschool/work and full-time Airstream Renovation that I haven’t gotten nearly enough posts out. So, let me freak out a bit here and tell you what all has been happening...the short version!
Tomorrow marks 2 months that we have been here in Indiana. Honestly, I estimated two months to be done with it but we are pleased that as of yesterday we are almost completely done with the outside. Just a few more places to caulk and a few rivets to set and we’ll be checking to make sure it’s water tight.
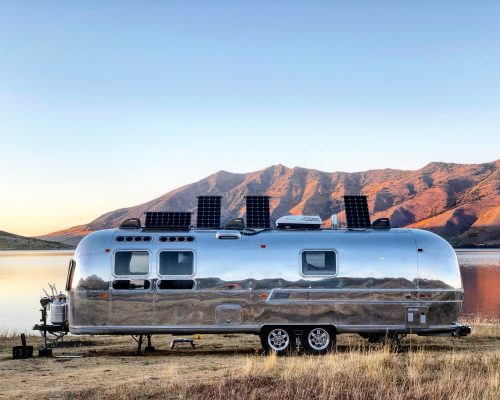
So, let me back up a bit. You may recall, at the end of week 6 we were so excited to have everything mounted to the roof! I’m happy to report that it’s all still up there and almost everything is caulked. We just have a few more solar panel feet to secure.
We removed the last of the vinyl from all the interior panels and now we only have one long panel that needs the adhesive removed. Of course it had to be the most impossible panel to work with. We will get it soon, just a lot of extra work hours to be spent on it and right now we have more important things to do while the weather is so nice.
I have been a caulking machine. I still have to caulk the roof seam on one side that runs the length of the trailer and around where our awning is attached. I’m not sure if it’s supposed to be caulked at the top there or not, but when it rains, and the awning is out, water just pours down the side of the trailer. Kind of defeating the purpose of the awning. So, I’m caulking it! Oh, and I have one annoying vista window that sits under the awning and is causing all kinds of problems to get to in order to remove the caulking and apply new. Just really in a bad place. But, once that’s done we should be done with caulking the outside. I have a few places inside that need some extra attention and then we’ll be able to test it to see if it’s water tight.
My dad removed the plexi glass from the interior vista windows when we were gone one day. They had film on the the plexi glass as well as the inside of the outer glass. So, we’ve read where most people are just removing the plexi glass so, that’s what we did and what a difference it has made. You can actually see out of them now!
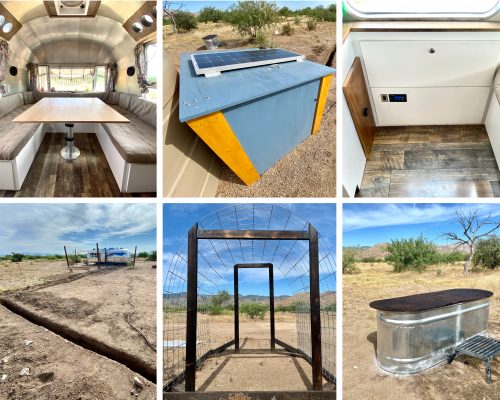
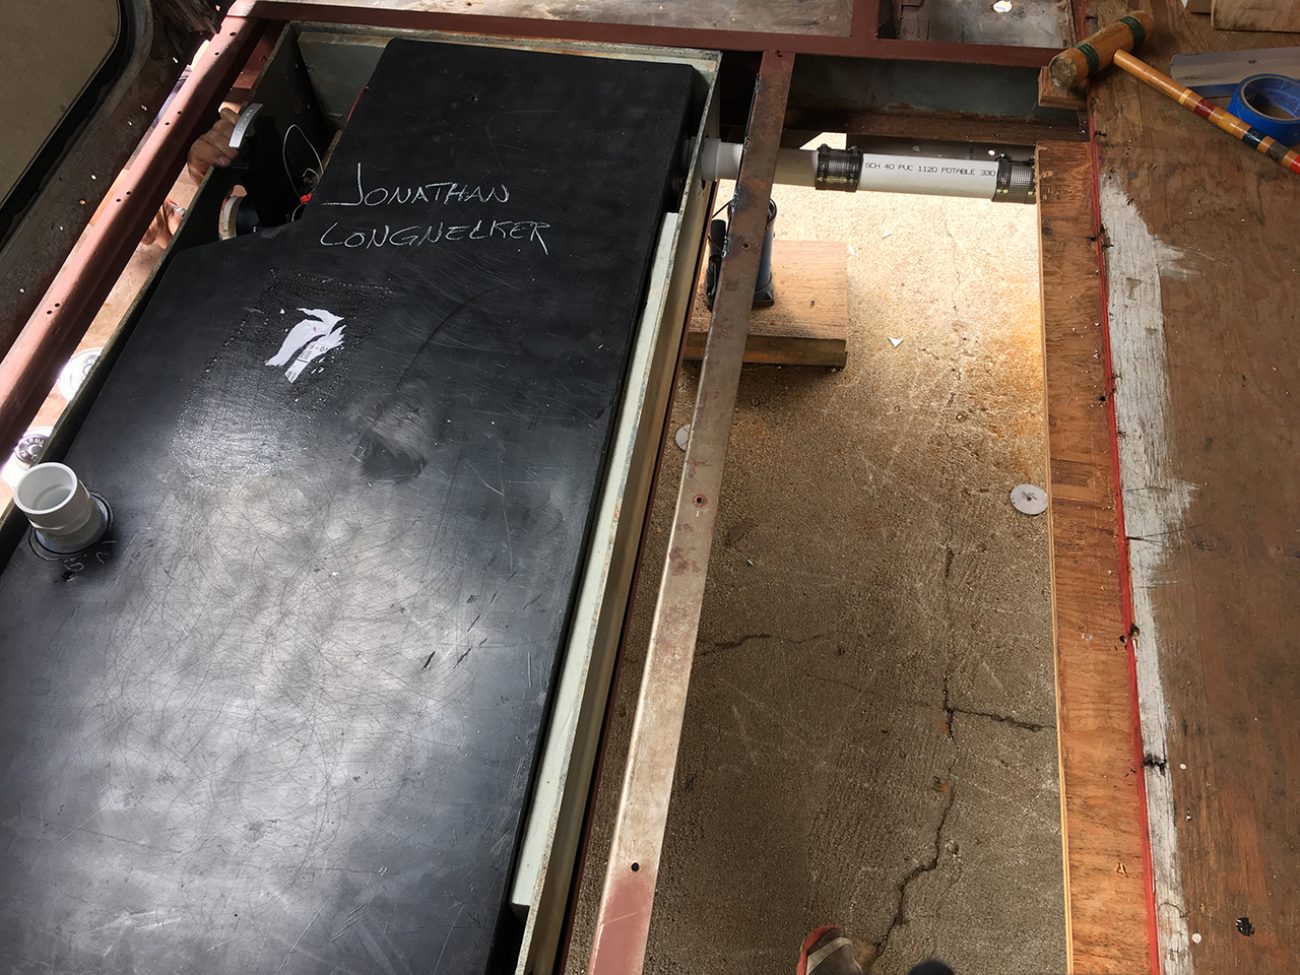
Some other big news is we now have a bathroom floor!
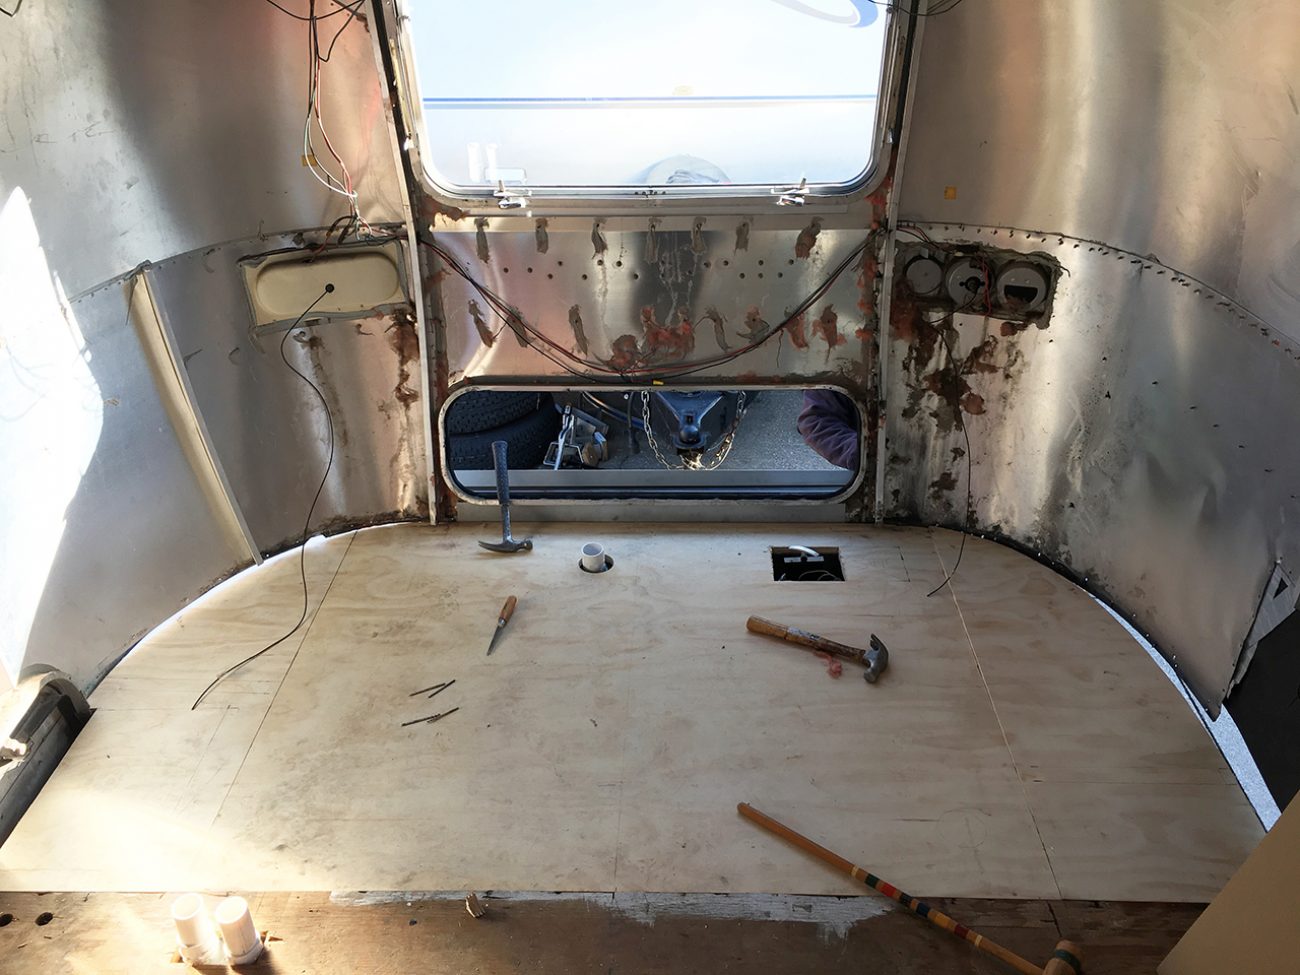
Before, the whole bathroom slanted down (which evidently this year and model are notorious for) so when we added the floor, we also added an 1/8 inch steel plate onto the frame so that it would raise it to the correct level. Now the floor feels level and we are no longer walking down hill.
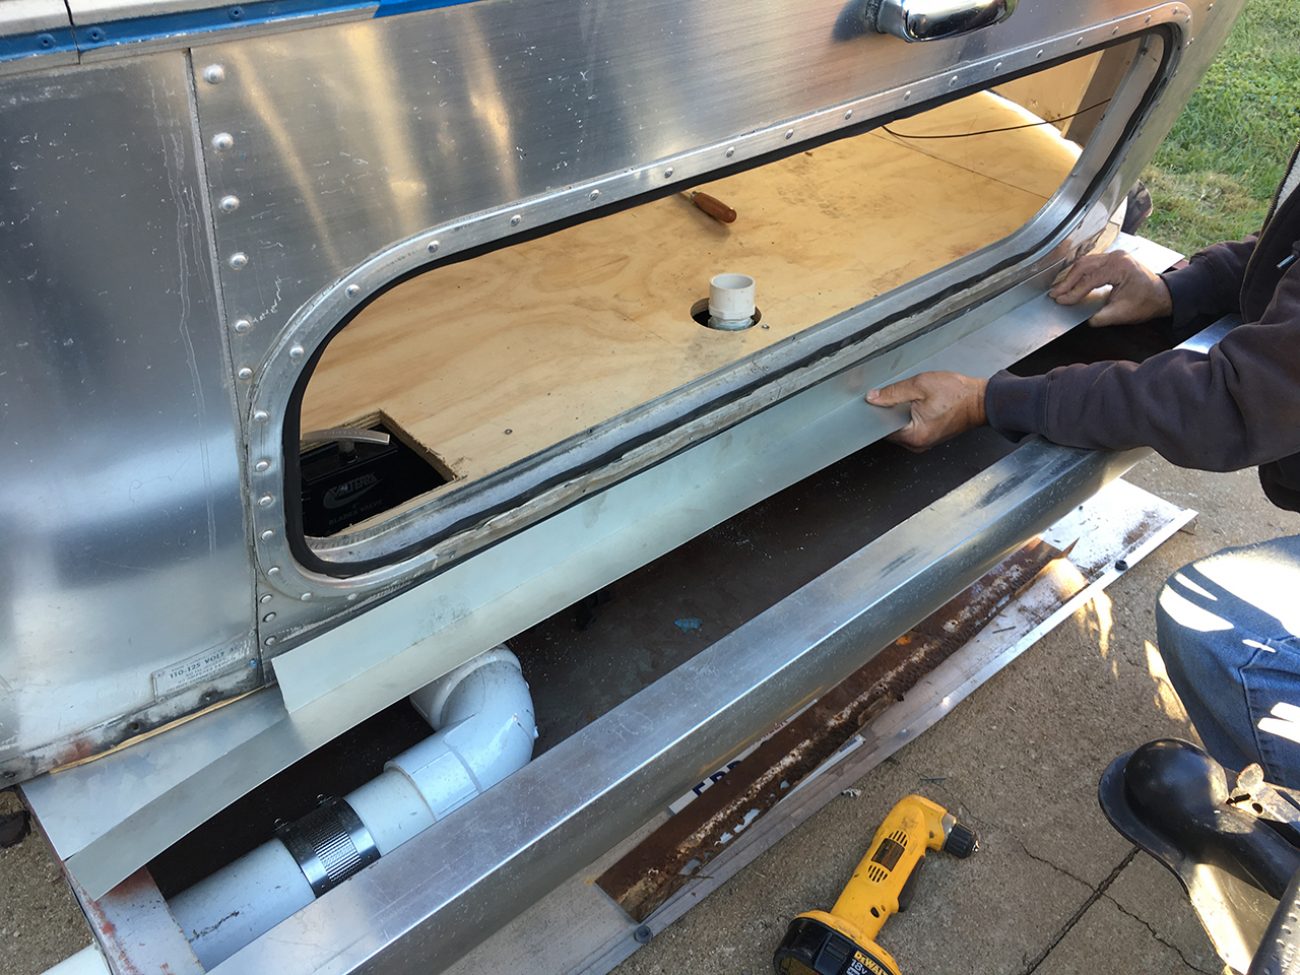
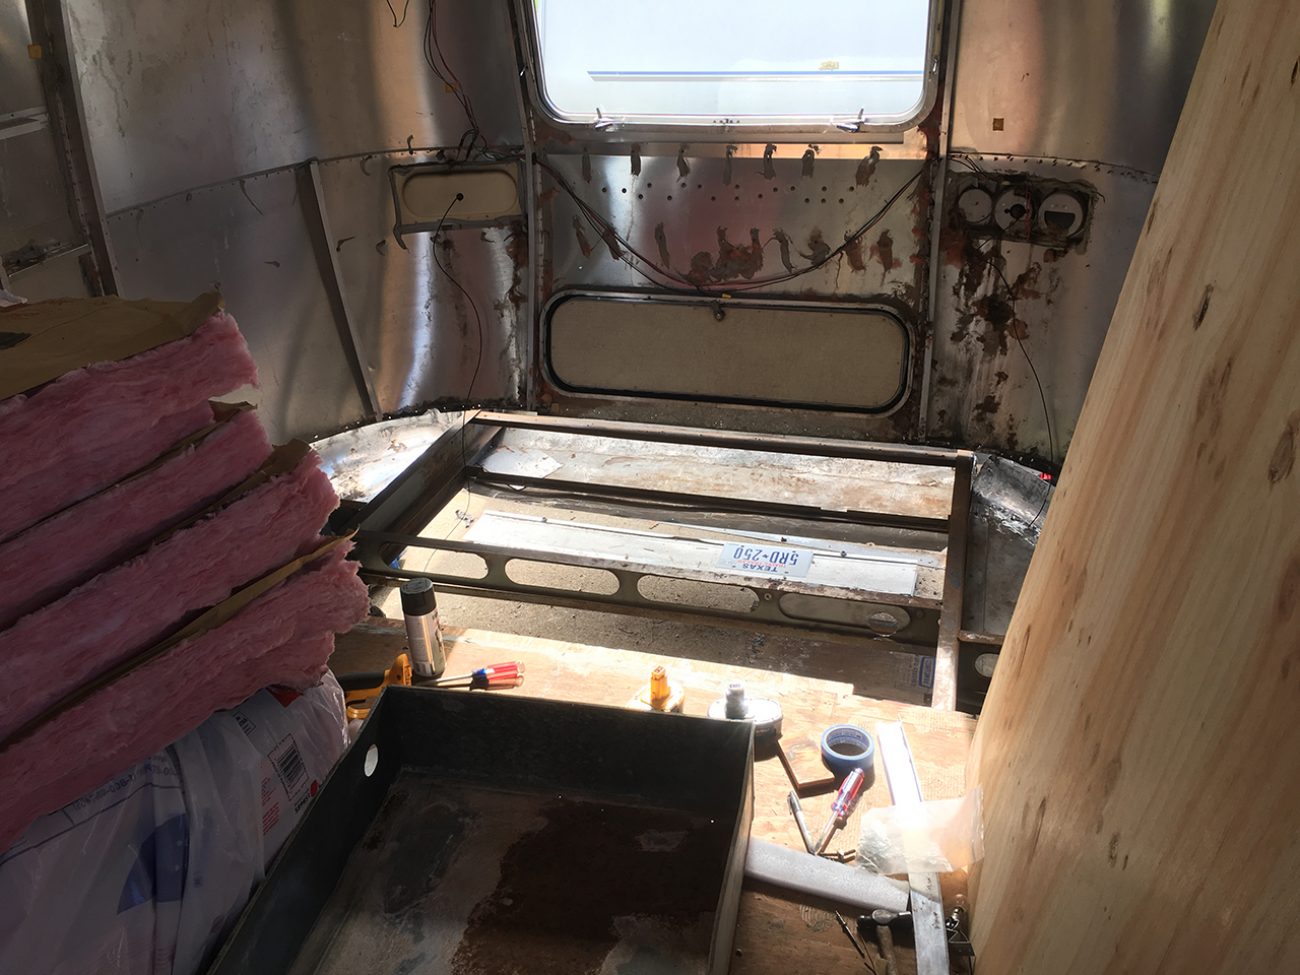
We were able to get both gray tanks installed and plumbed together so we now have nearly 40 gallons of gray water storage as opposed to 19! It's not the 80 gallons we had with the 5th wheel, but we'll take it!
It was such a happy day when that floor went in and the back got fastened back together. My dad was able to salvage the U channel in the back which was awesome because you cannot find those anywhere. It would have cost so much money to have it made and then you’re not even guaranteed that it will be an exact match.
It was a lot of work to get the back in back into position to get it all sealed up. It shifted a lot without that floor there to hold it in place.
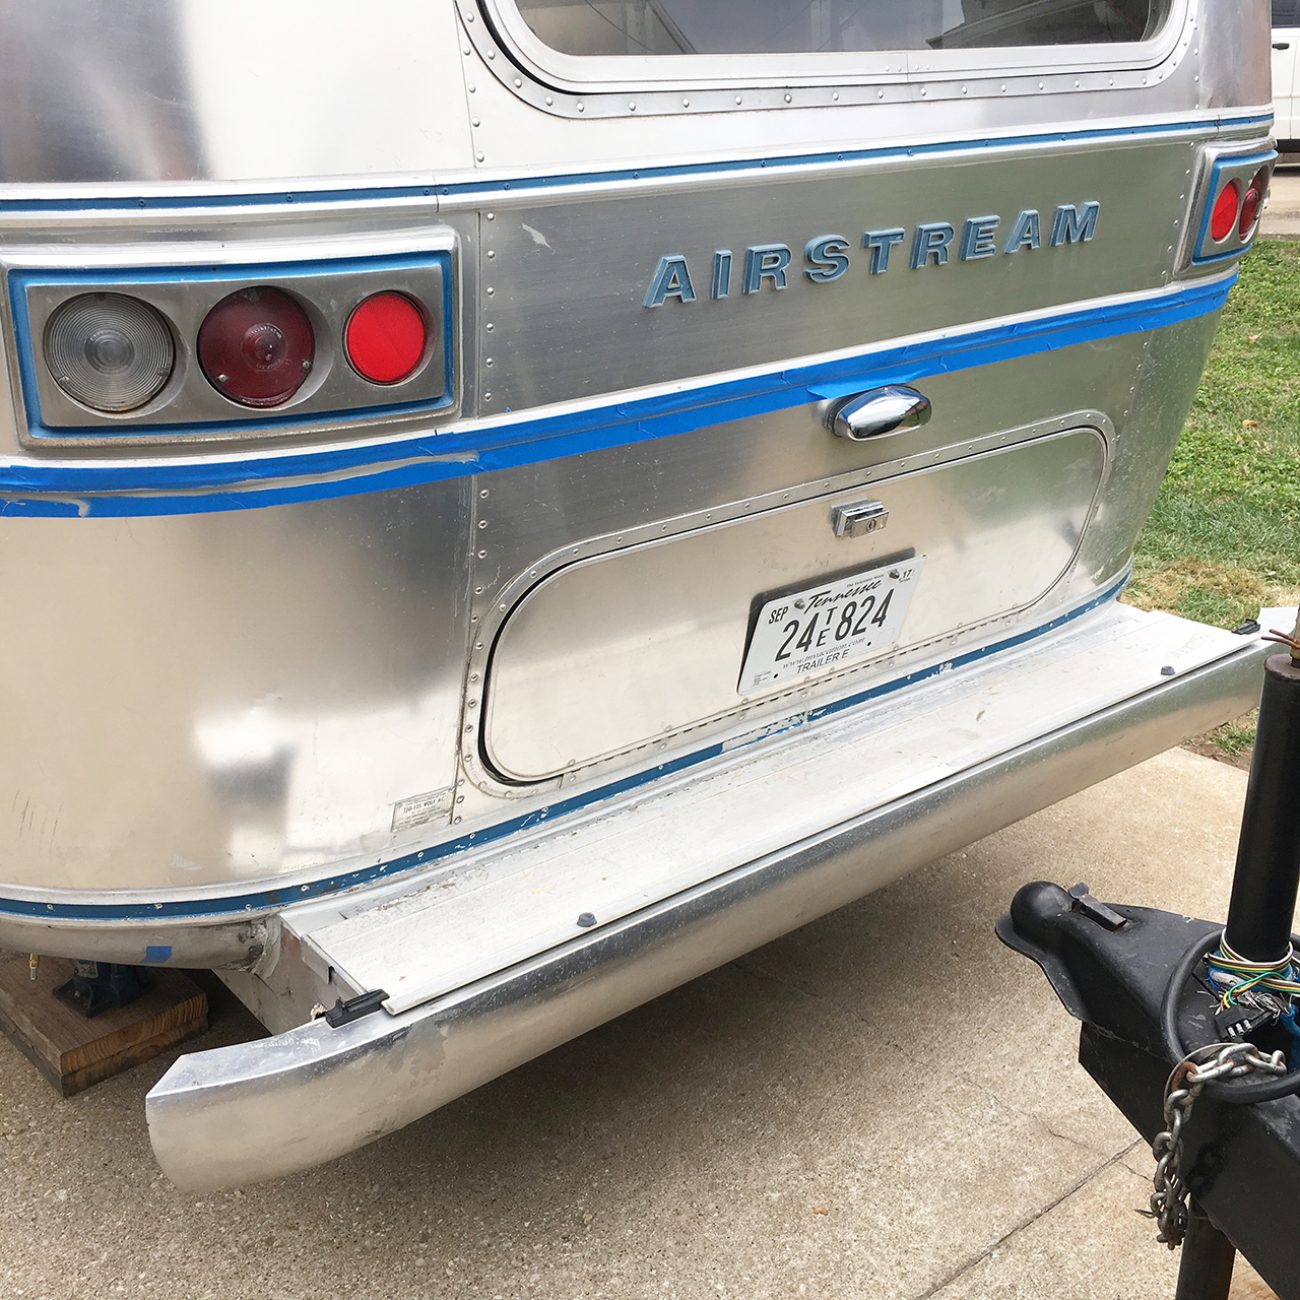
Just look at this sexy backside! The rub rail is back on, the bottom in insulated and rived in.
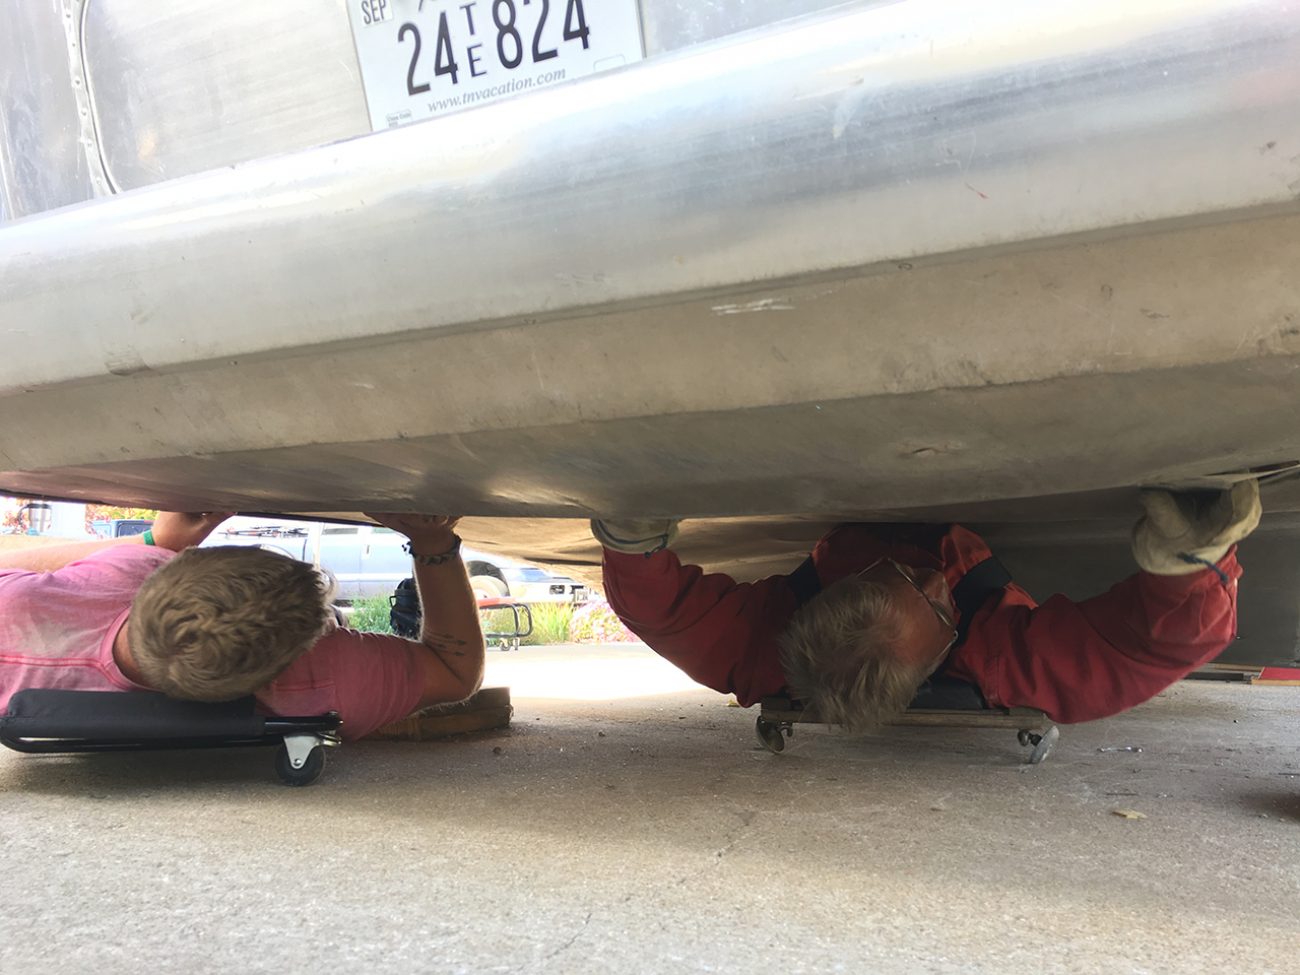
Now that the bathroom floor was back together and the tanks are in place we were finally able to insulate and close up the belly pan underneath. The guys were super cramped under there, but put in tons of rivets, patches and caulking to fill all the holes.
You have no idea how good it felt after waiting weeks on those tanks to come that we were finally able to close everything back up.
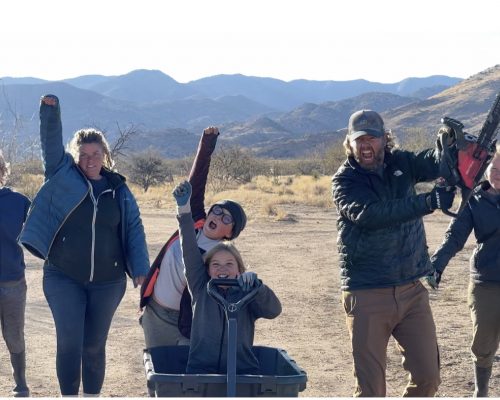
And now (drumroll, please) for the big news! (continued drumroll, because this is big!)
We have axles and wheels on!
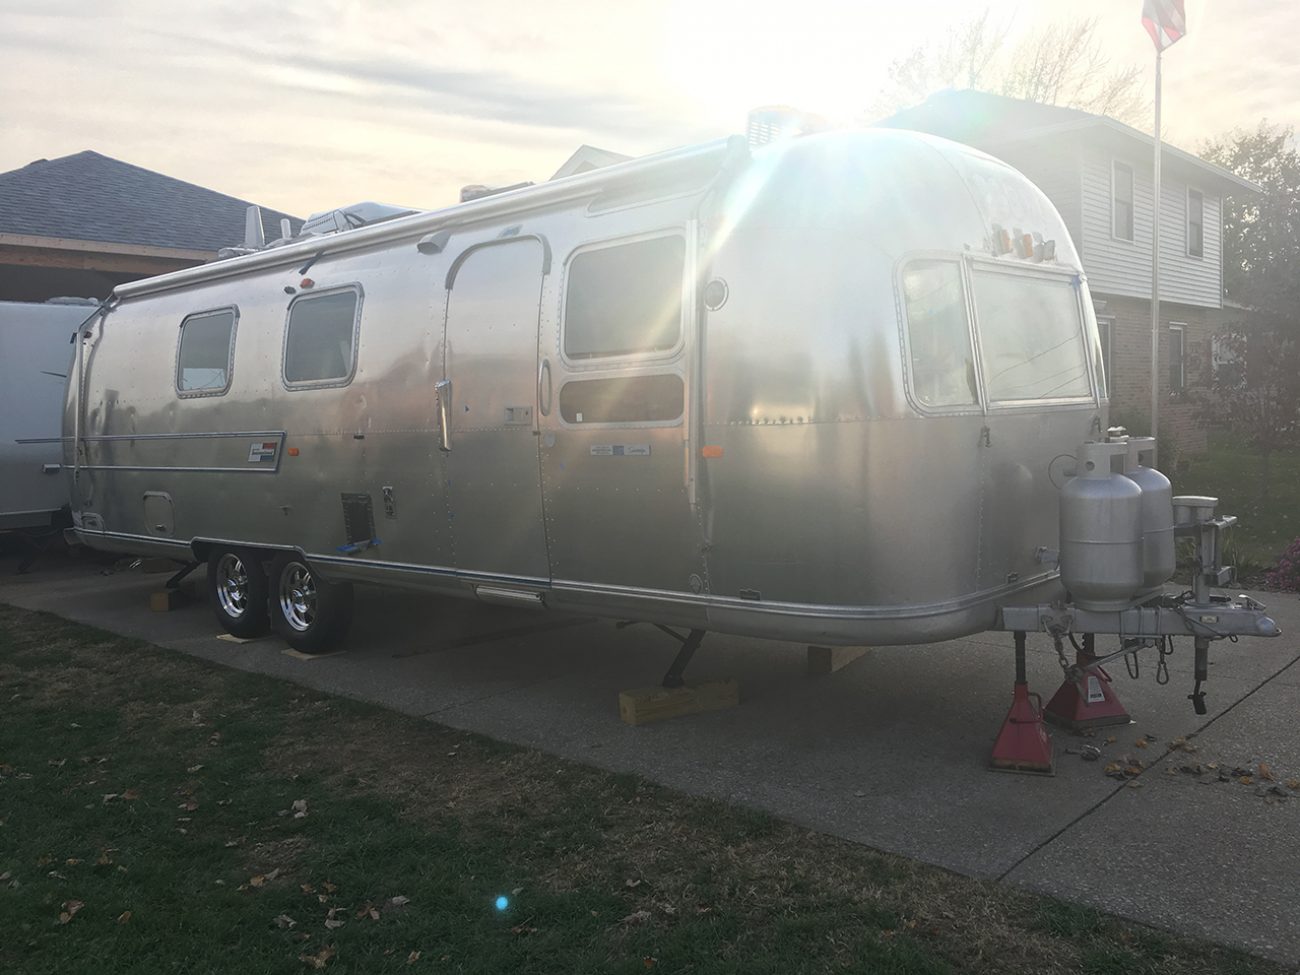
Holy cow! This is the best feeling so far. We are back on the ground, new 16 inch tires on the new Dexter Axles!
We only had one minor set back when installing the axles. We needed to make the notch a bit taller in size so that when the axles were installed, the bracket on the inside would rest at the top of the frame.
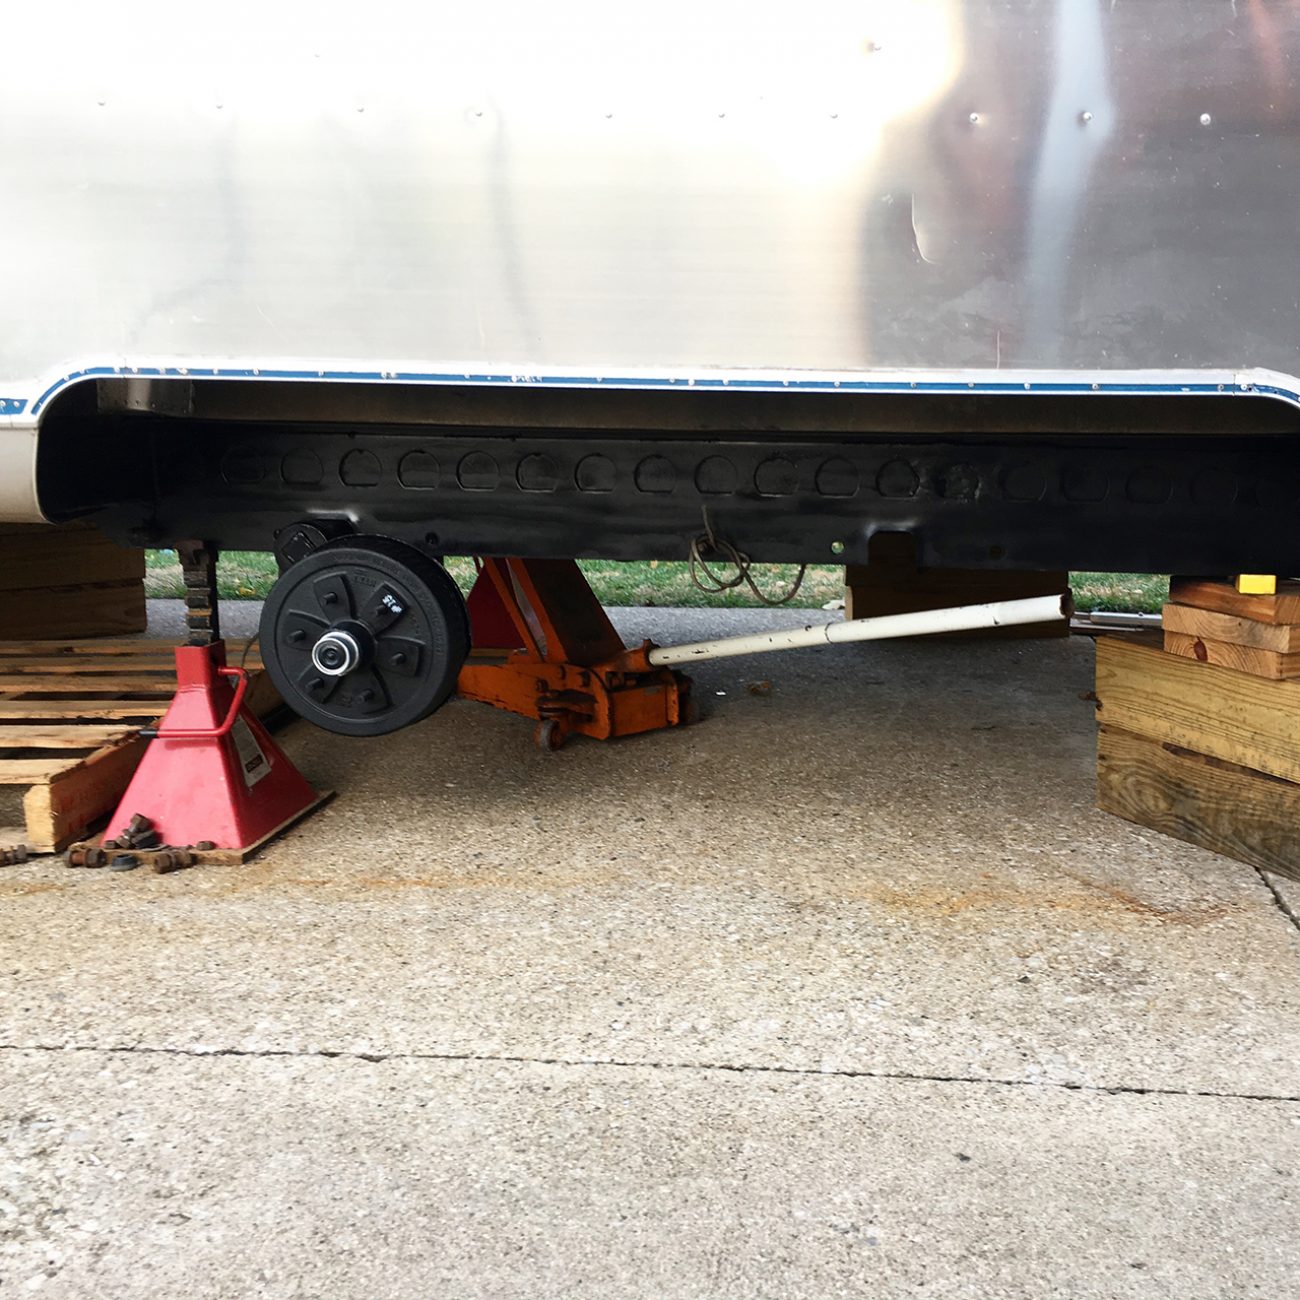
Luckily, my dad has a tool for everything and was able to get that taken care of real quick. You should have seen his face when those wheels were in place. Pure joy!
When Jonathan brought the new 16 inch tires over from storage, my dad said, “Those won’t work!”
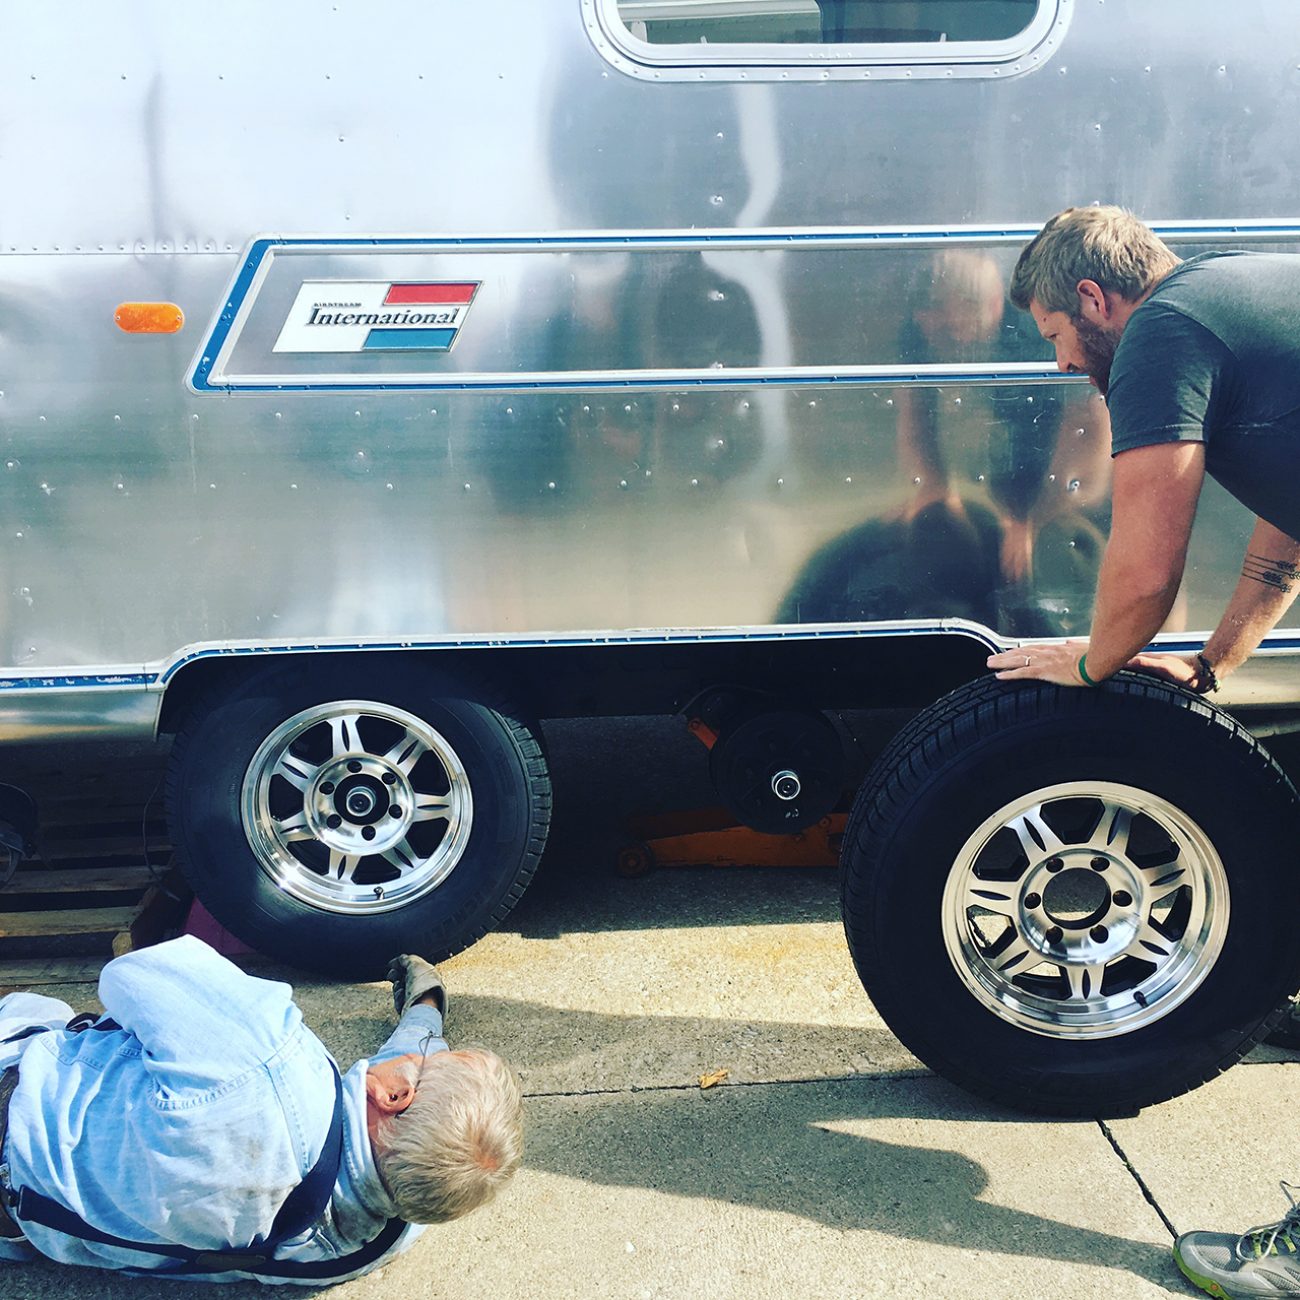
We were so worried that they weren’t going to fit in the space. See, when we ordered axles we had an option to have them set at 25 degrees or 45 degrees (the larger degree would give us a bit more of a lift). We chose 45 degrees since we had planned on getting a lift anyway. We questioned that choice the whole time we were waiting for them. Jon was so worried that the trailer would be sitting so high and look ridiculous. I told him that even if it was high, its ok cause we could use extra ground clearance.
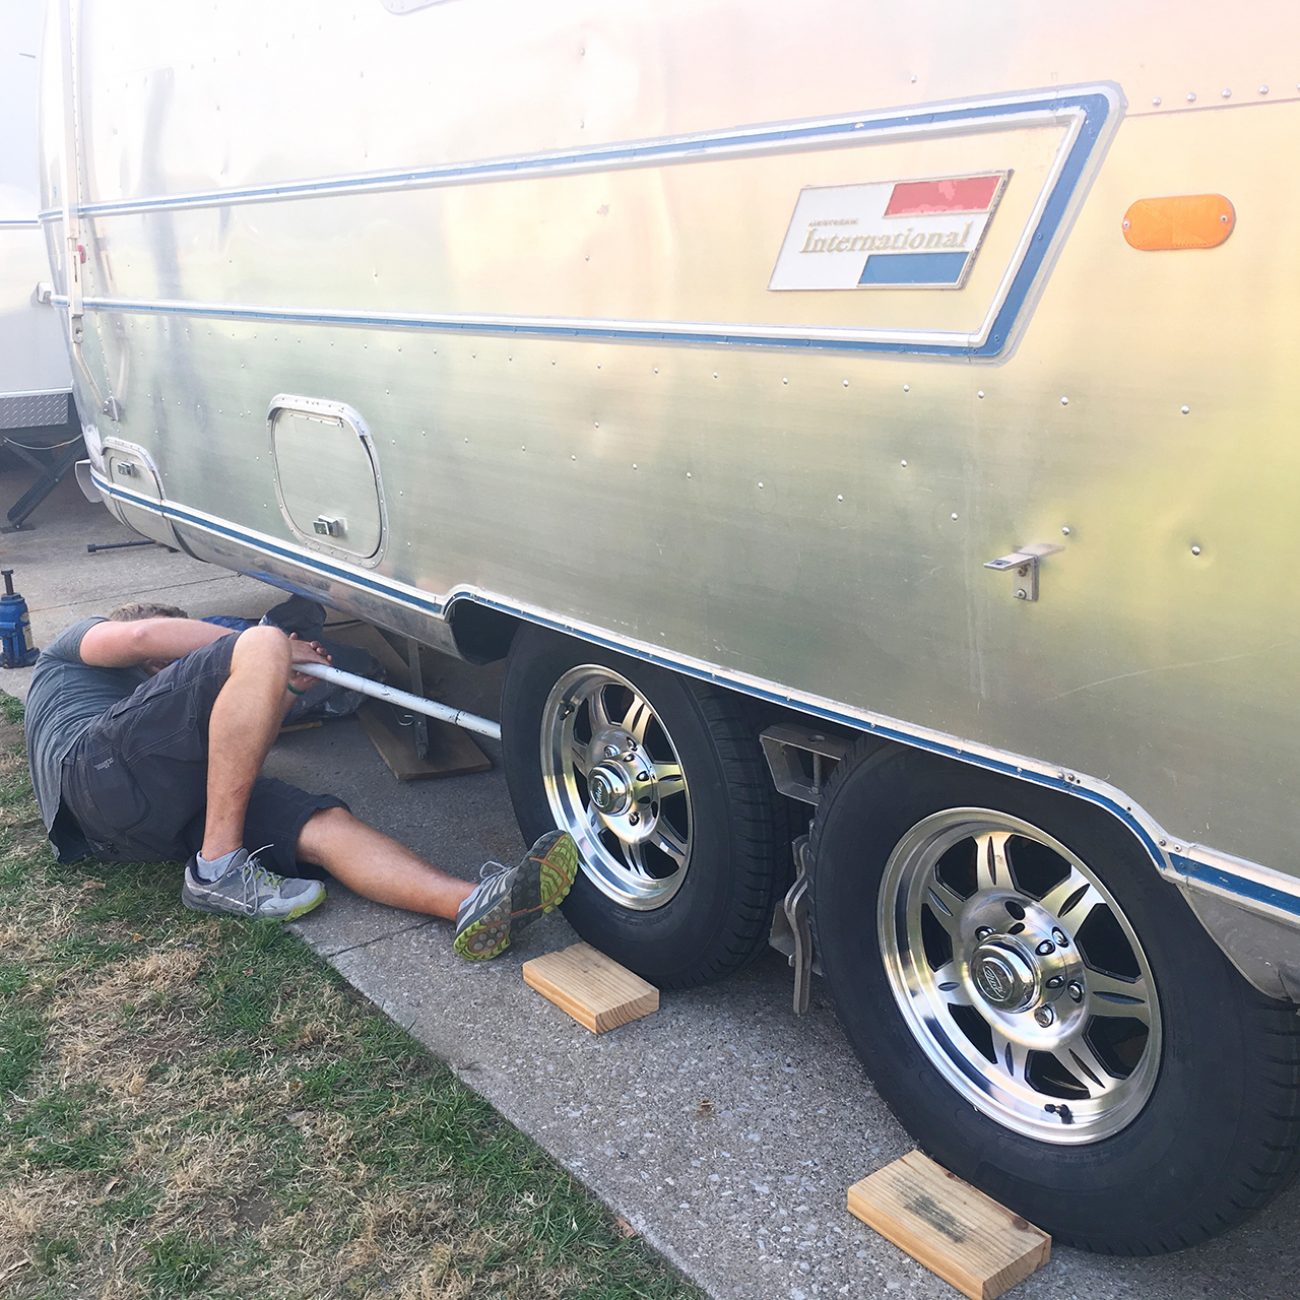
Turns out they fit! But barely. We now have one inch clearance from the tire to the front of the wheel well on the airstream. Shew, that was a close call. We are really happy with the axles we got from Waymire’s here in Indianapolis. Yes, the were wrong the first time, but they were so great to work with and they got us taken care of and the correct axles are solid. So happy with their work. No, we haven't driven with them yet, but so far, we would recommend you working with Grant at Waymire’s in Indianapolis.
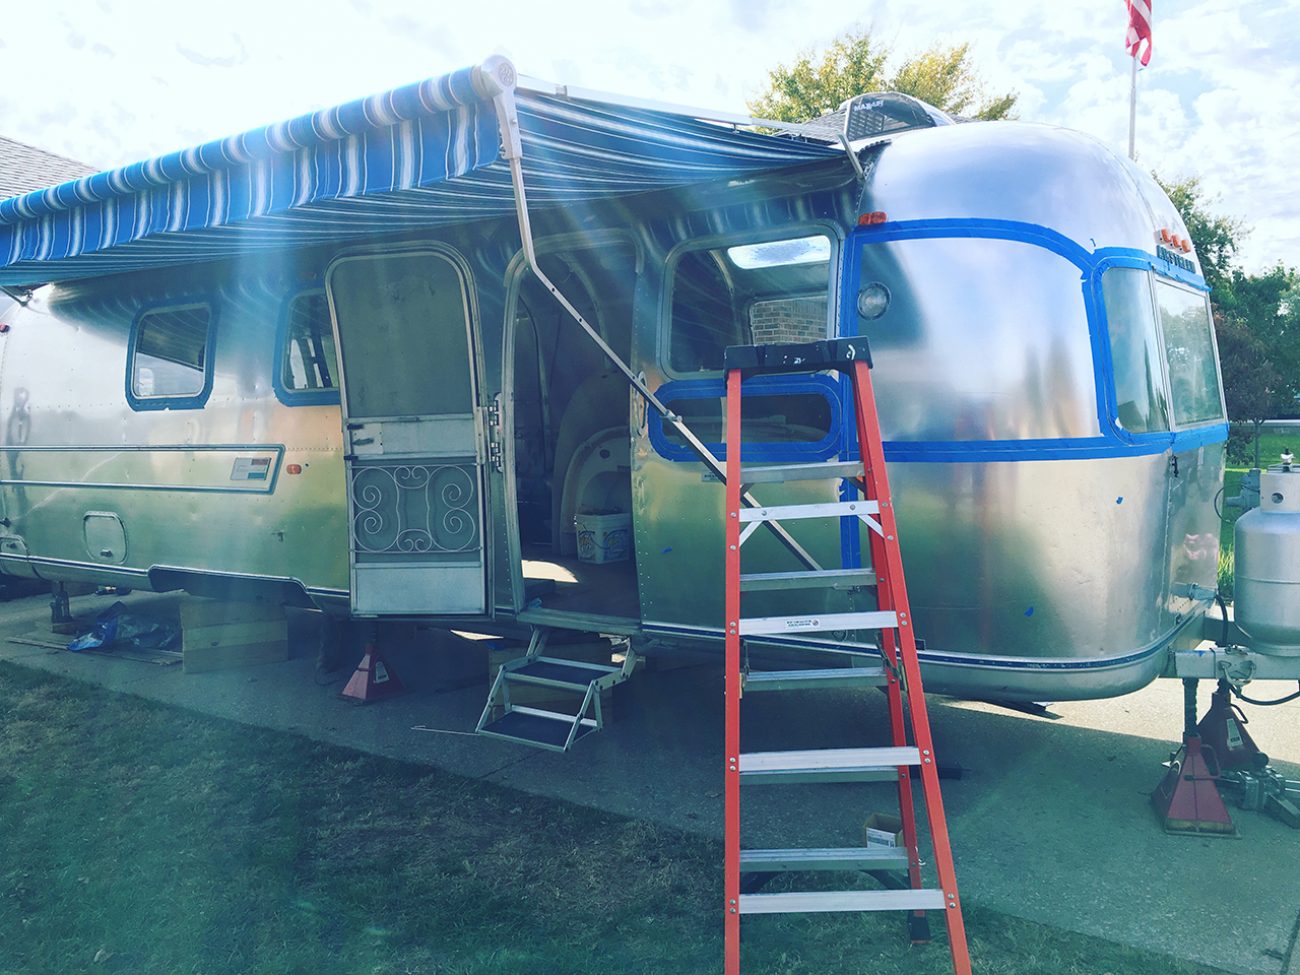
Oh, I almost forgot. We removed the AIRSTREAM letters from the front and back of the trailer and painted them a nice matte black.
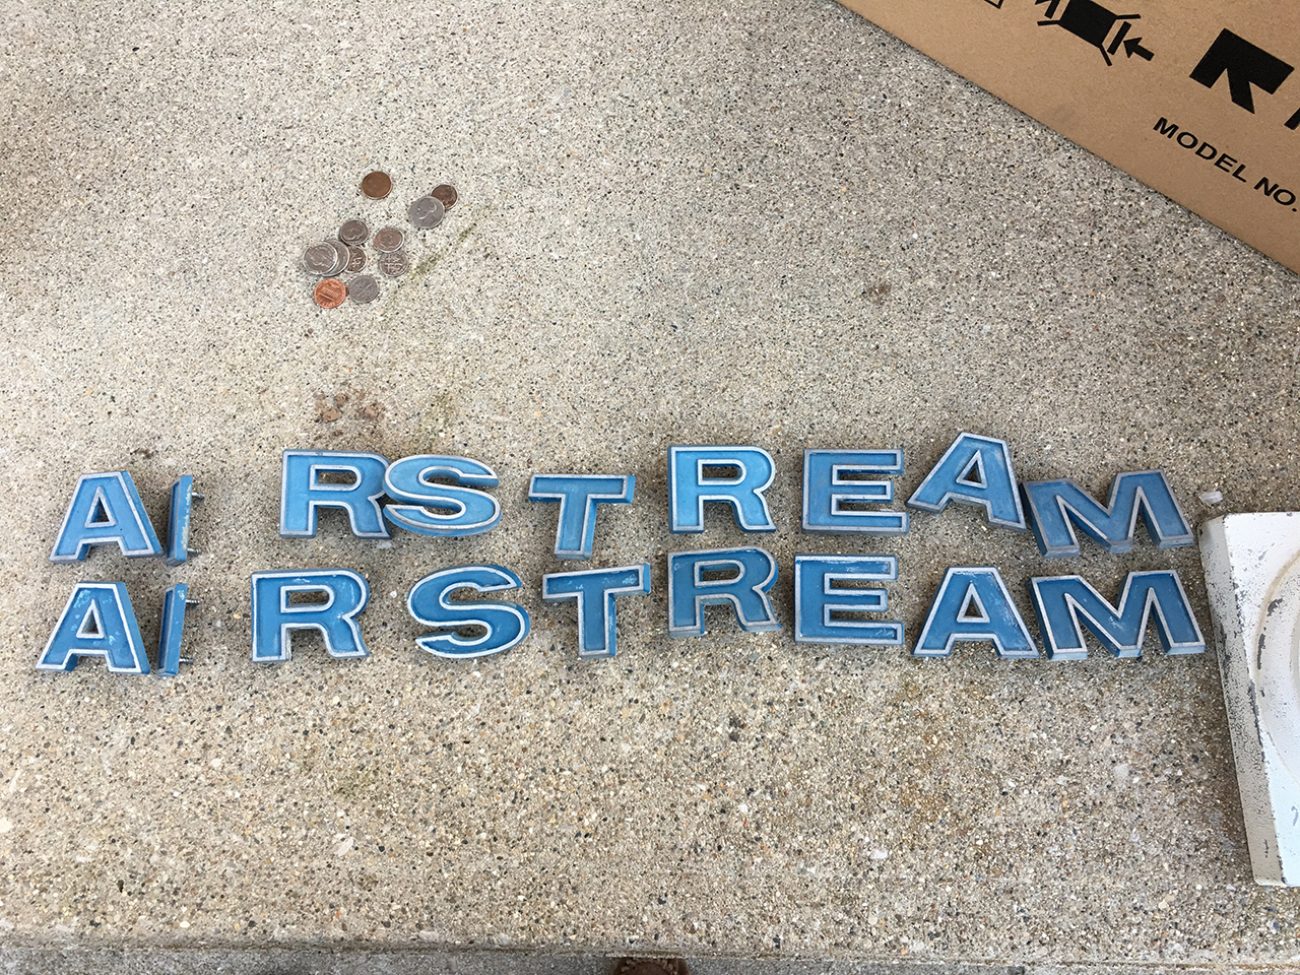
I think they turned out real well!.

I am also half way through removing the blue trim line around the trailer. We will leave it alone until we decide if it’s worth painting it black. At this point, I vote for leaving it alone. Here's a quick video of how we removed the stripe
I couldn’t leave out the most important detail of all. This past week we were able to celebrate our youngest son’s birthday! Jax Maddox turned 7 and we are so thankful for him. He has been such a blessing to us. He’s so funny, smart, thoughtful and kind. He’s always making us laugh with his goofy faces. That young man has brought us so much joy and we are so very thankful that we were able to spoil him a bit on his big day. Grandpa even took him for a birthday bike ride and he loved it!
So, with the outside being almost complete here’s what the next couple of weeks look like for us.
- Finish caulking the solar panel feet
- Finish caulking the vista window on top
- Fix the few marked rivets on the outside
- Reattach the AIRSTREAM letters and caulk
- Reattach the lights on the front and caulk
- Check to make sure it’s water tight
- Start adding insulation
- Start wiring
- Possibly start installing interior panels!!!
How much will your Airstream renovation cost?
Get a better understanding of what your project will cost with our renovation calculator!
Besides the intelligent spreadsheet, it includes includes links to everything we bought for our renovation + over 20 short videos where we share behind the scenes thoughts, details, & tips!
Apparel
Grab a fun, comfy t-shirt & help support our family.


About the Author
Ashley Longnecker is the fiercely independent tattooed and dreaded half of Tiny Shiny Home. She's a woodworker, photographer and maker of delicious baked goods. She loathes schedules and makes every day an adventure.
comments powered by Disqus