Airstream Renovation: Weeks 18-19 - Kids Folding Bunk Beds & Charging Ports
Guys and Girls, we have picked up some serious momentum since our last update. We left off having just installed our lower pantry cabinet, one lower bunk bed and one wall between them.
In just two weeks the inside of the Airstream looks like a totally different place. Let’s see what’s changed.
So right after the last post we drove down to Knoxville to spend a few days with my family for Christmas. The kids had gone down the week before and got to spend that whole time with my parents.
Ashley and I got a week of non-stop date nights and a bunch of work done on the Airstream and the kids had so much fun. They love hanging out with my Mom and Dad!
By the time we made it back, Ashley’s dad had already built the second lower bunk and added the back walls. Whoah!
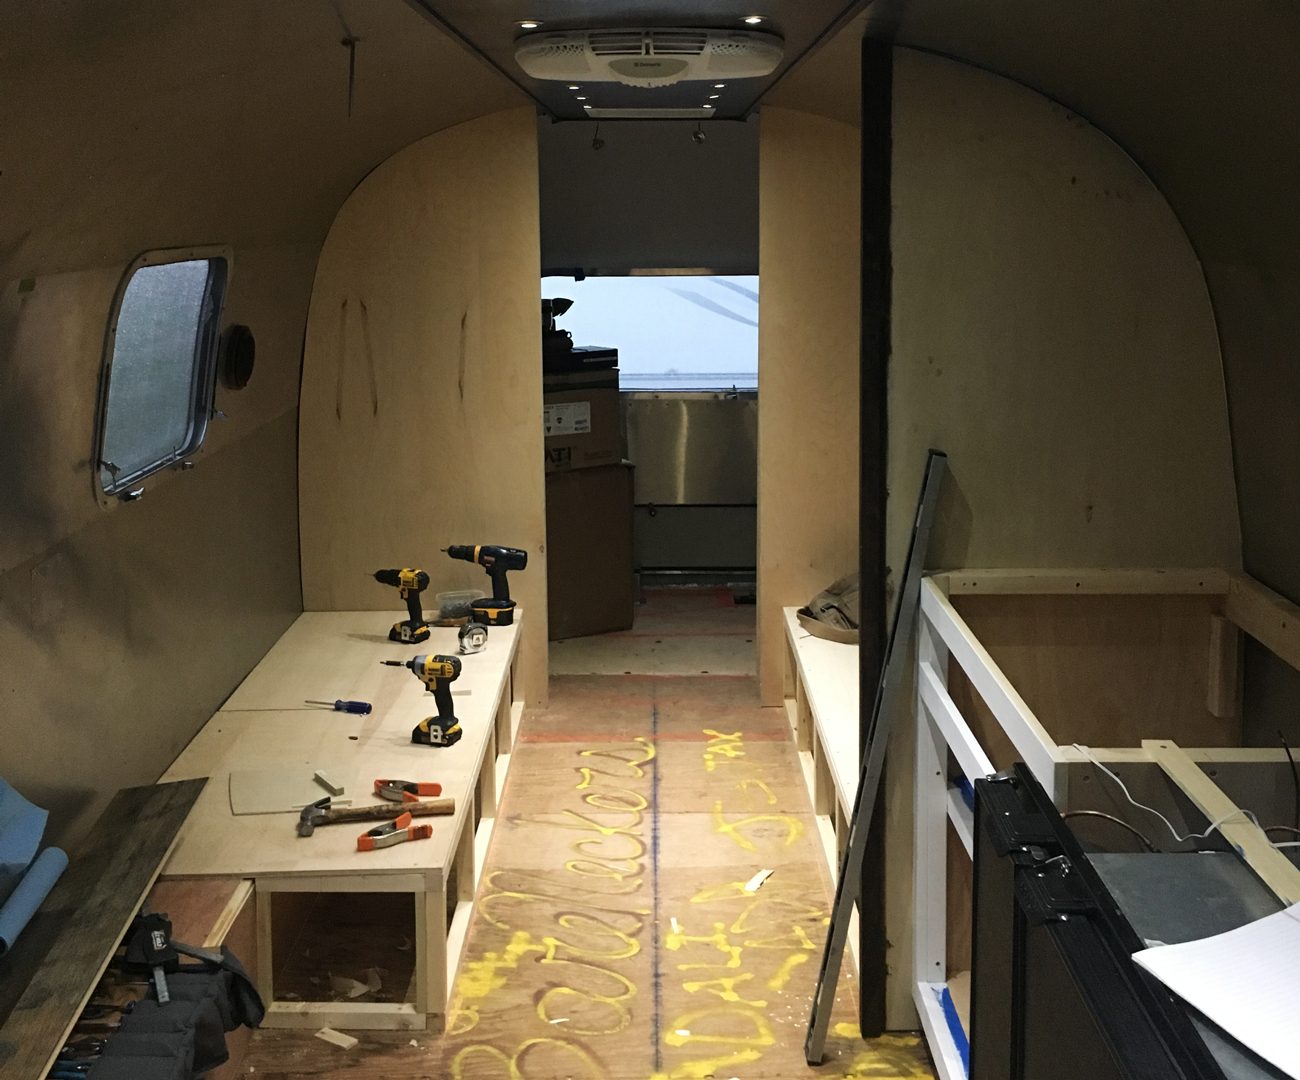
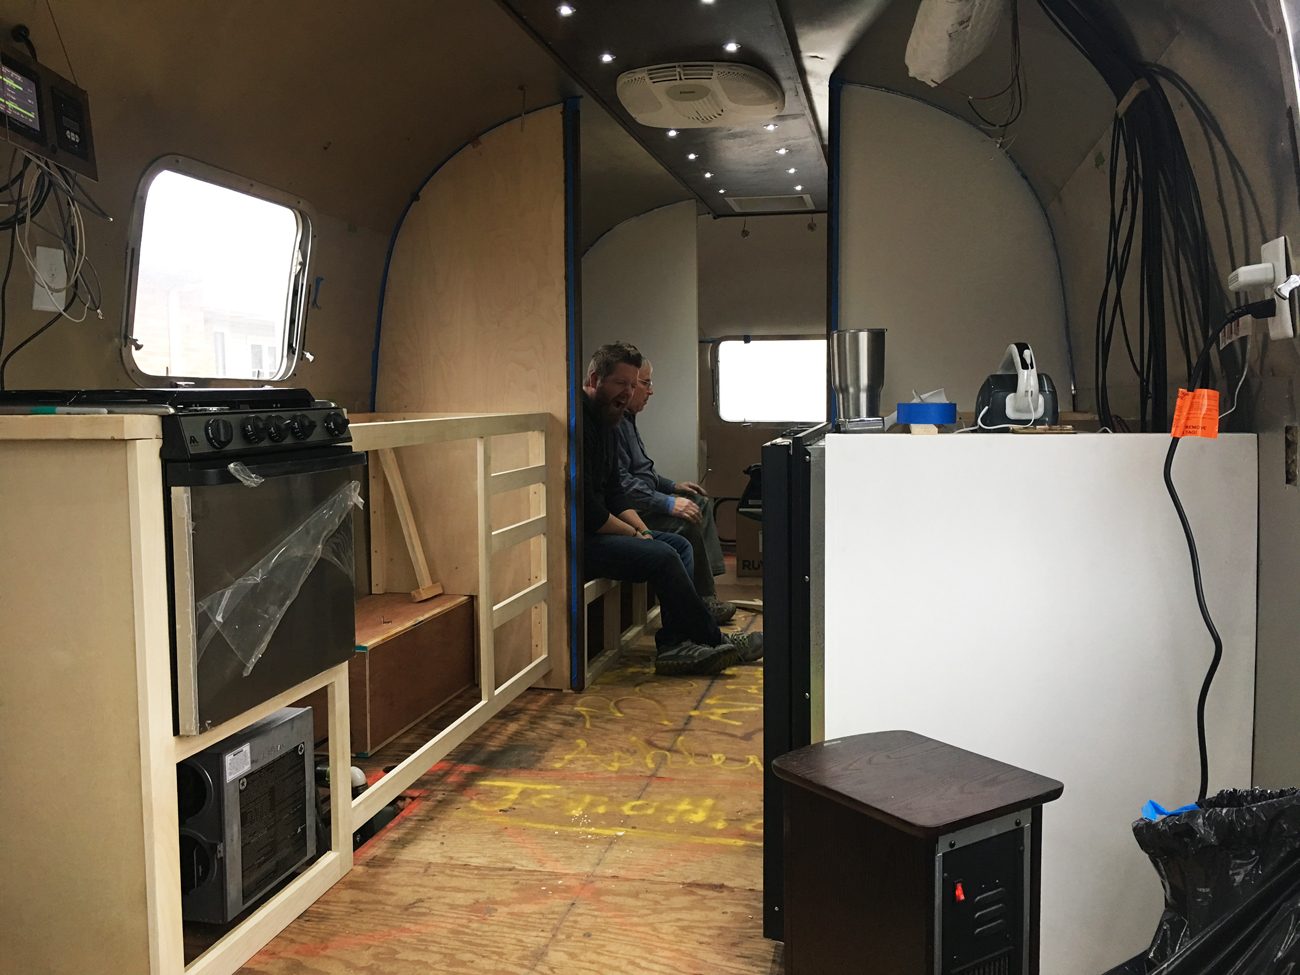
After that we added the wall in front of the new bed and the framing for the kitchen area. We even got the oven temporarily installed and out of the walk way.
Related - I have no idea why I look like I'm screaming.
Then it was time to finally make our crazy bunk bed plan a reality. A couple of months ago we were talking and planning with Ashley’s sister and she gave us the great idea to make the top bunks fold down and make couches during the day. Great idea, but how in the world were we going to make something like that work?
Well, if Ashley’s sister gets credit for the idea, Ashley’s Dad gets credit for making it a reality. We puzzled and planned for a couple of days trying to figure out how to put it together.
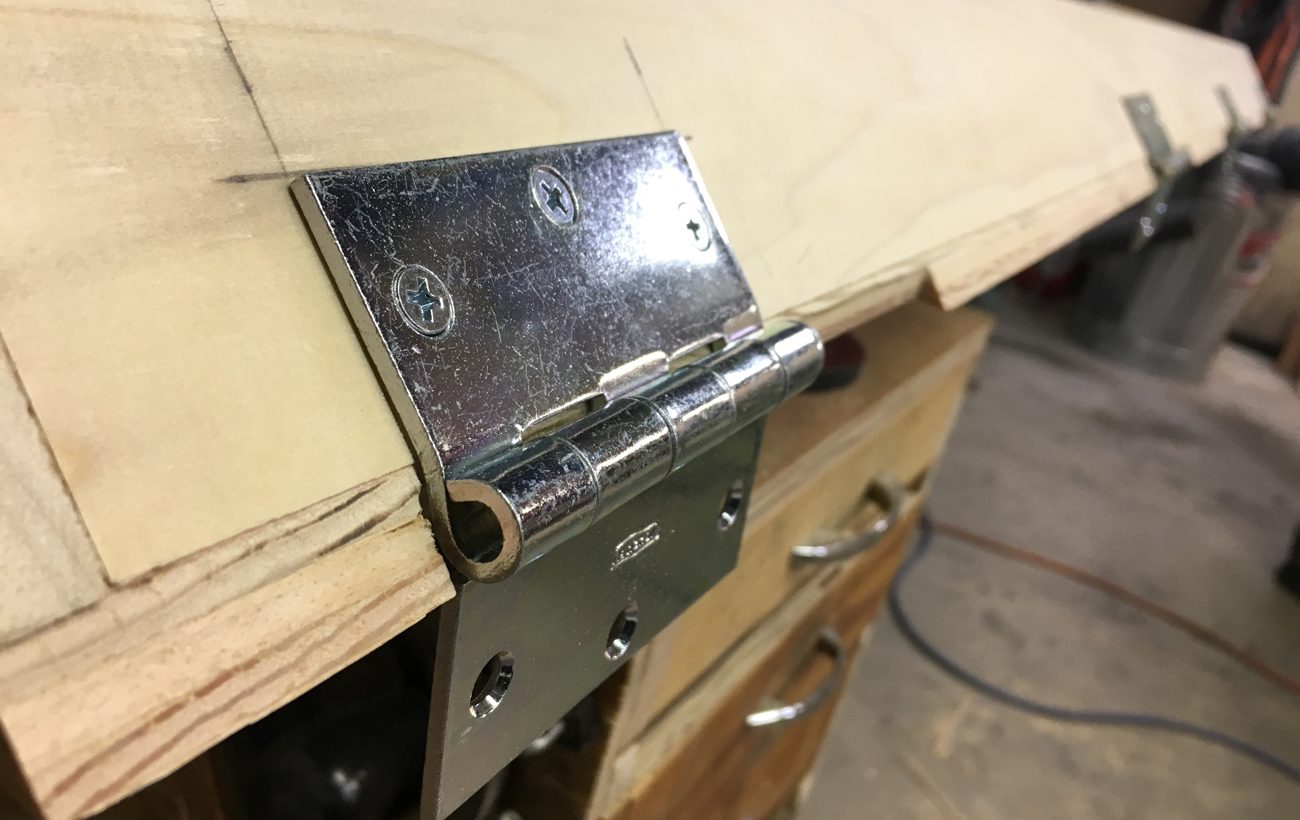
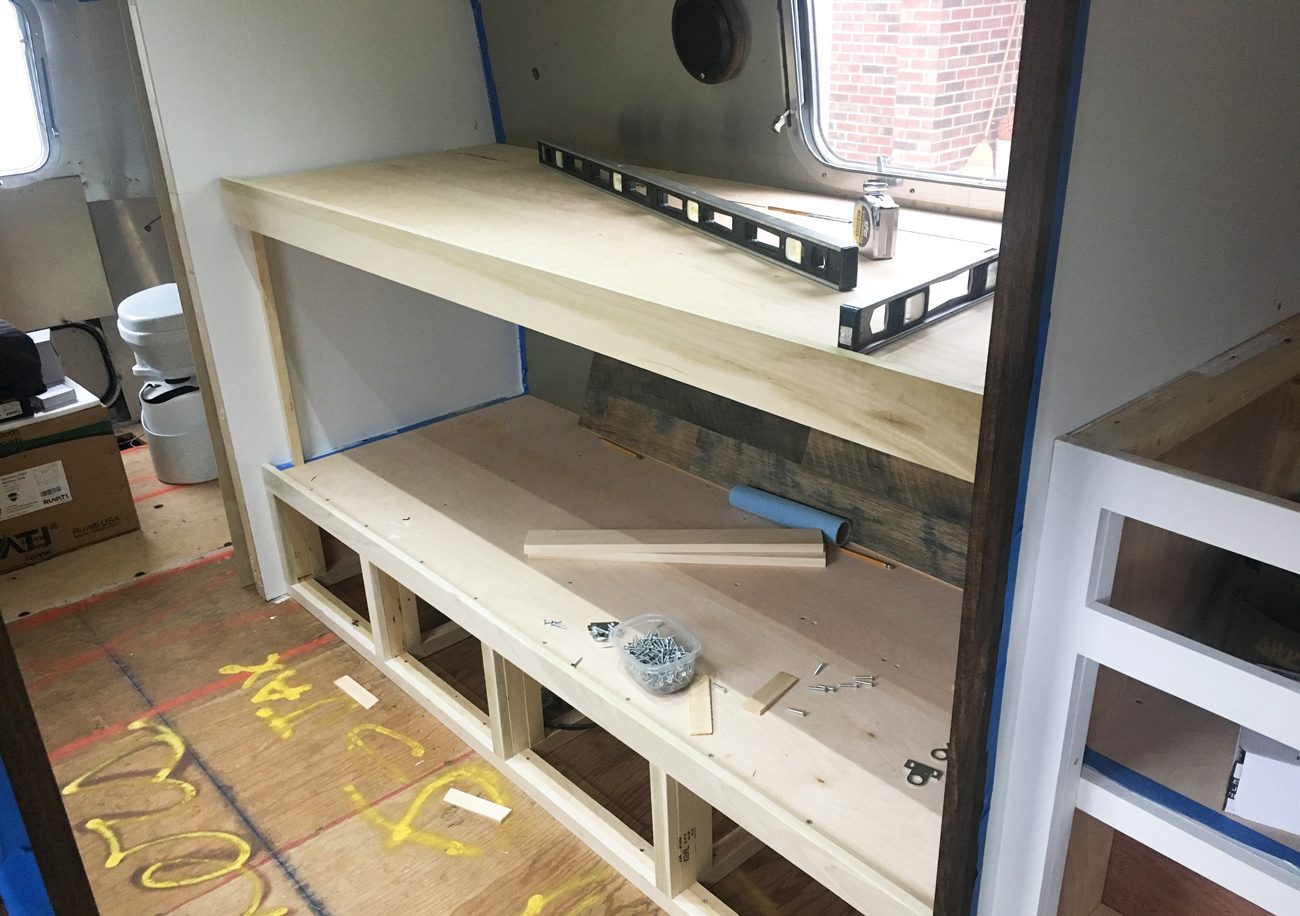
The key was making the top out of two pieces. This little piece was our test run for how the hinging would work. The 45 degree angles allow it to fold down without running into itself.
We could also set the hinges down and notch out around the top piece so that the surface would be flat all the way across. We’d be using poplar for the framing to keep things light and finished plywood for the main surface.
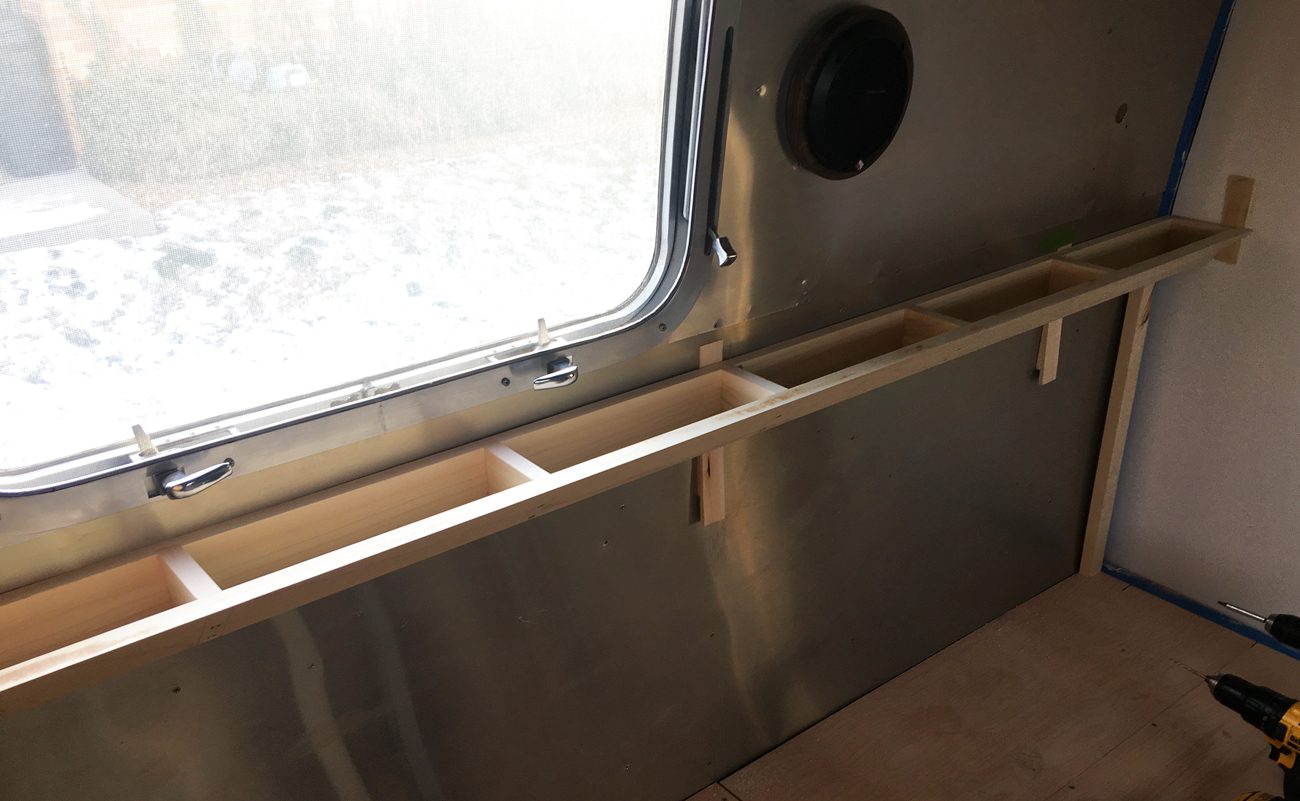
We got the small pieces built and installed into the Airstream’s ribs with self-drilling screws and then into the walls on each side. It was solid as a rock.
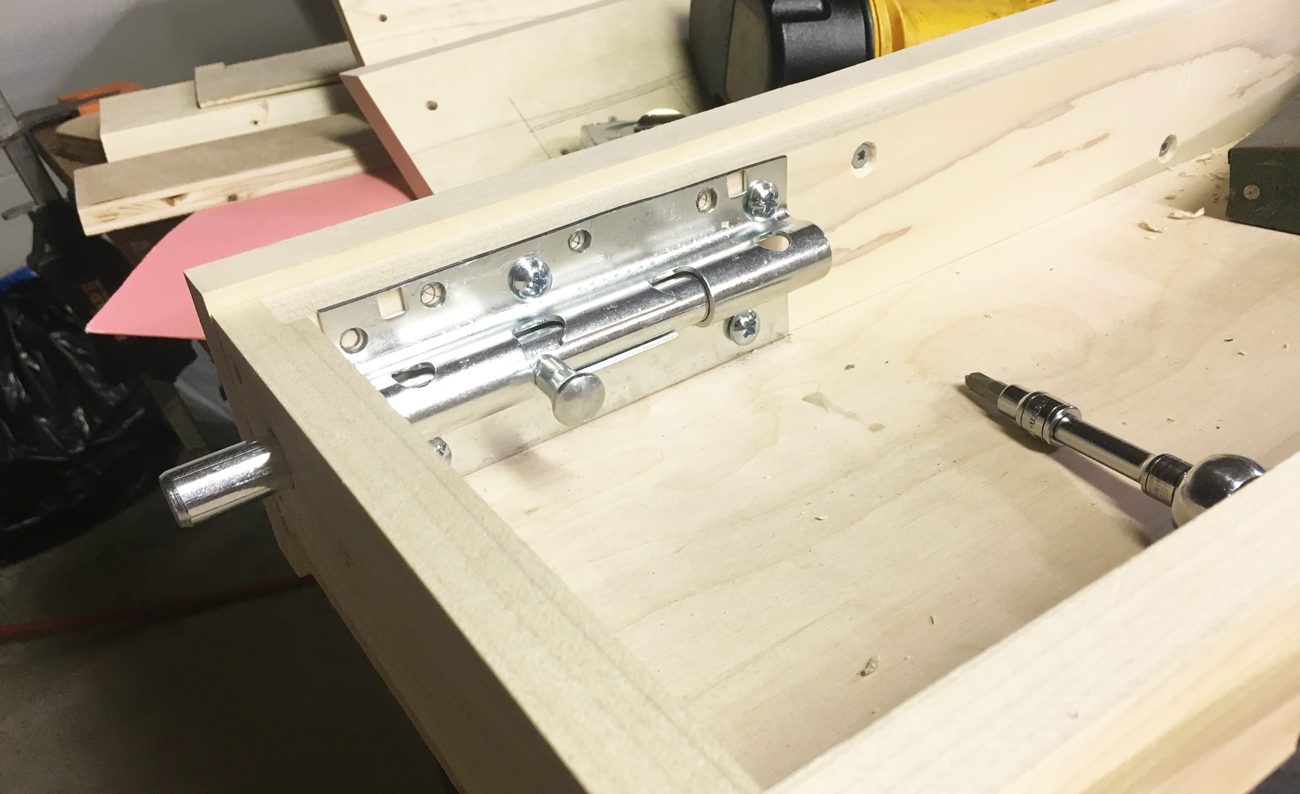
Then we set about building the main bed part. It also had the 45 degree angle. For this one we ran the supports longways for added stability and installed massive barrel bolts that would go through the side of the bed into holes in the walls on each side.
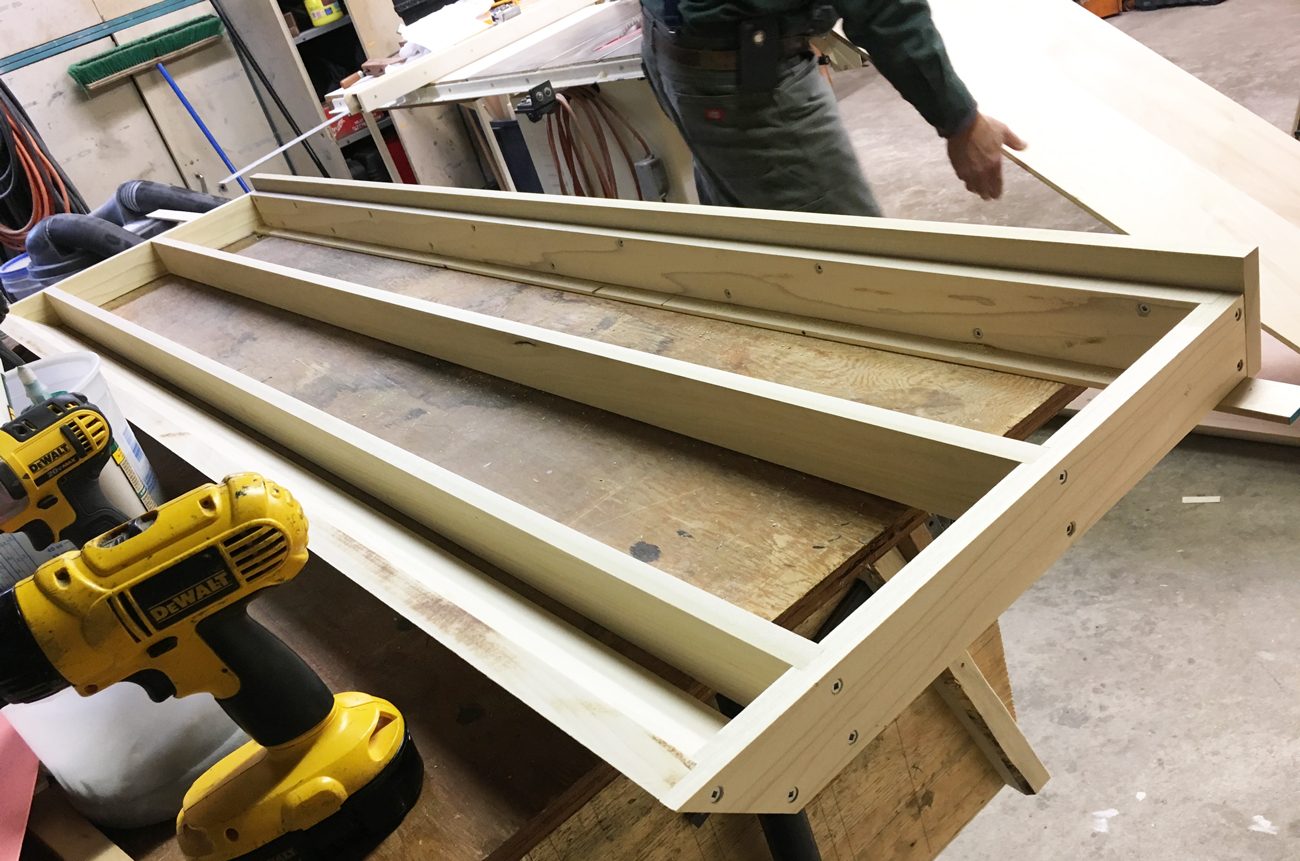
It should go without saying that there was measuring, re-measuring and more measuring. The hinges were installed and finally it was time to join it all together.
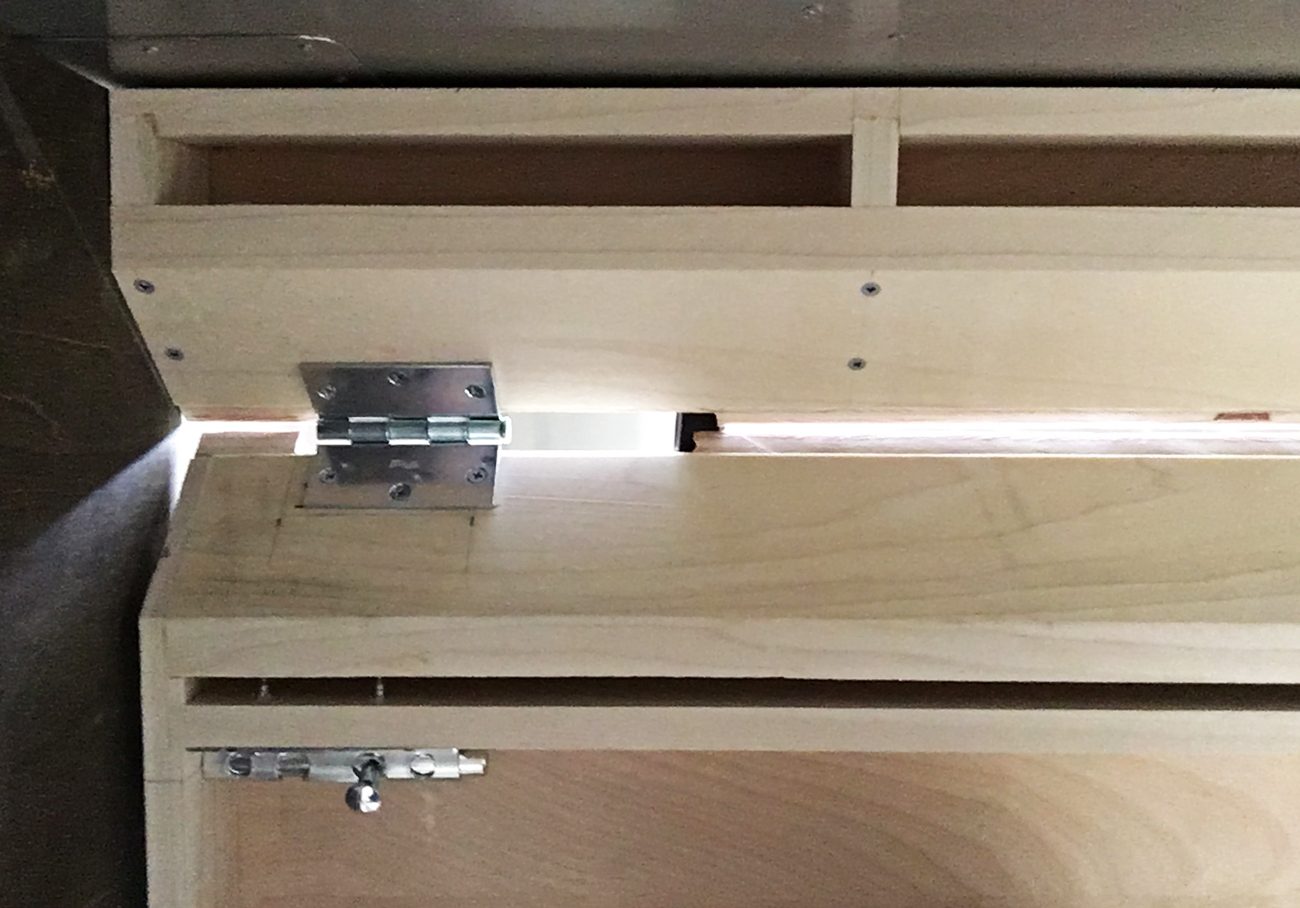
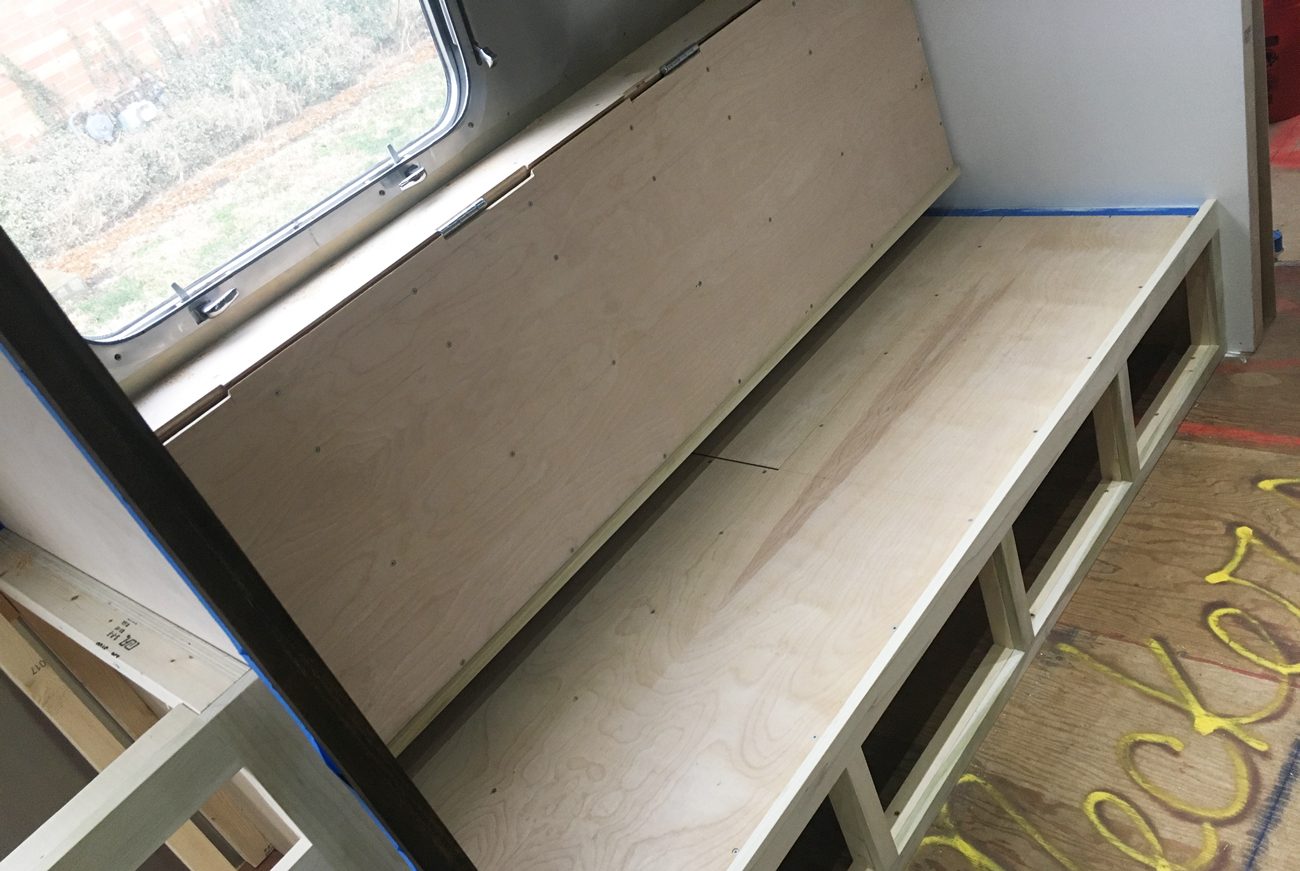
This is a shot from underneath so you can see how the short wall piece and larger bunk piece fit together.
It worked! Both sides went in without any problems. We were so excited. We still had a lot of prep work to do on this area, though.
Thanks to our notching out around the pins we were able to detach the main part of the bunk and take it back in the garage for staining.
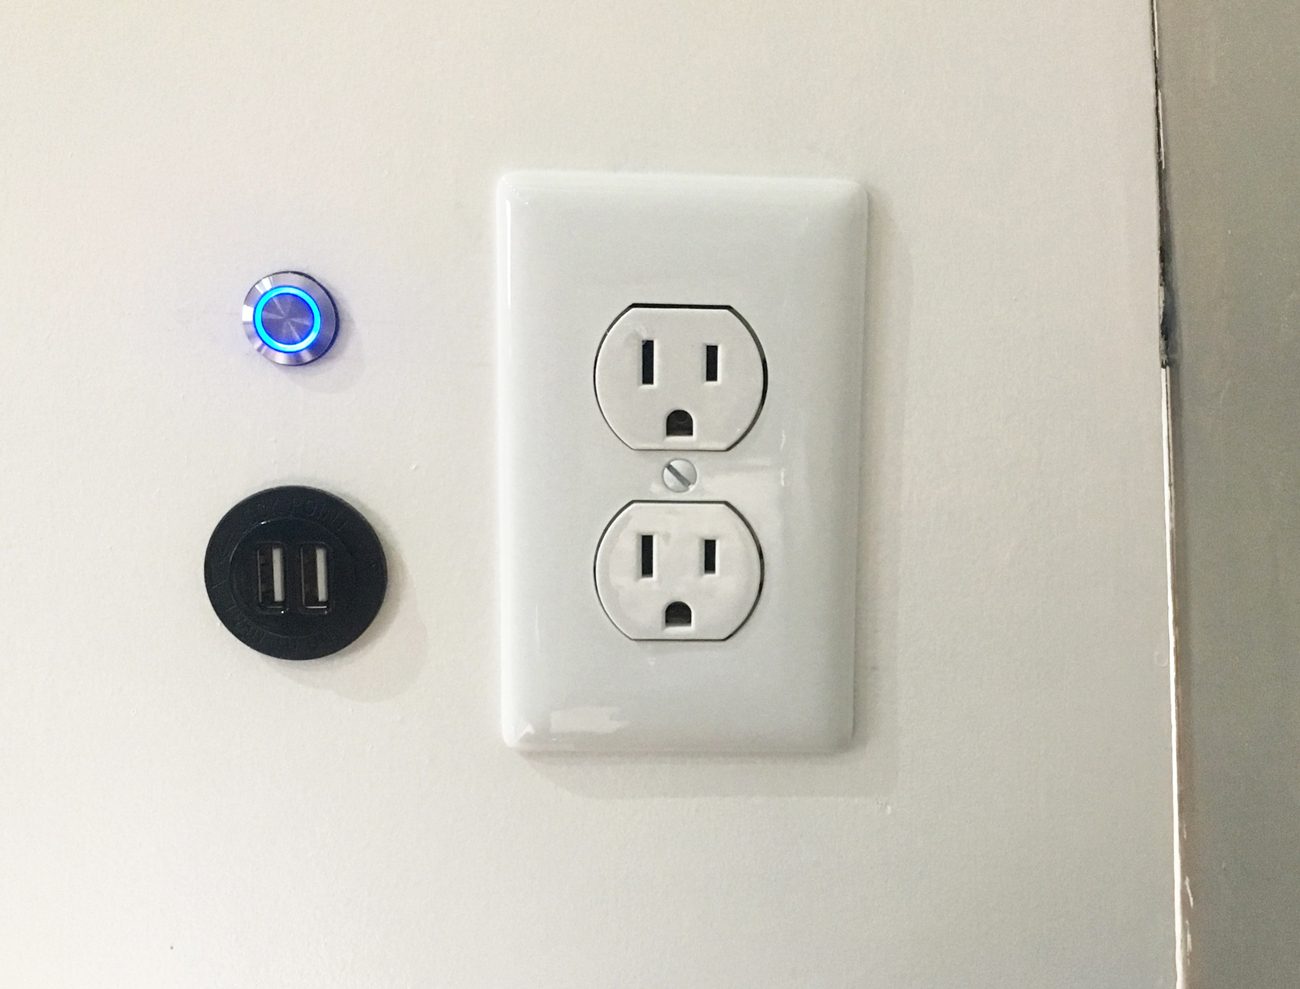
Then it was time to get to work on the electrical. We wanted the kids to each have their own highly functional space so we installed a reading light, 12v socket with USB plugs and a 110v plug in each bunk. Awesome idea, but man did it take a long time to cut all the holes and run the wire for all that. Geez.

While we worked on this Ashley was rocking it staining the top bunks and painting most of our facing frames and walls. All of a sudden our super rough walls and beds started looking finished!
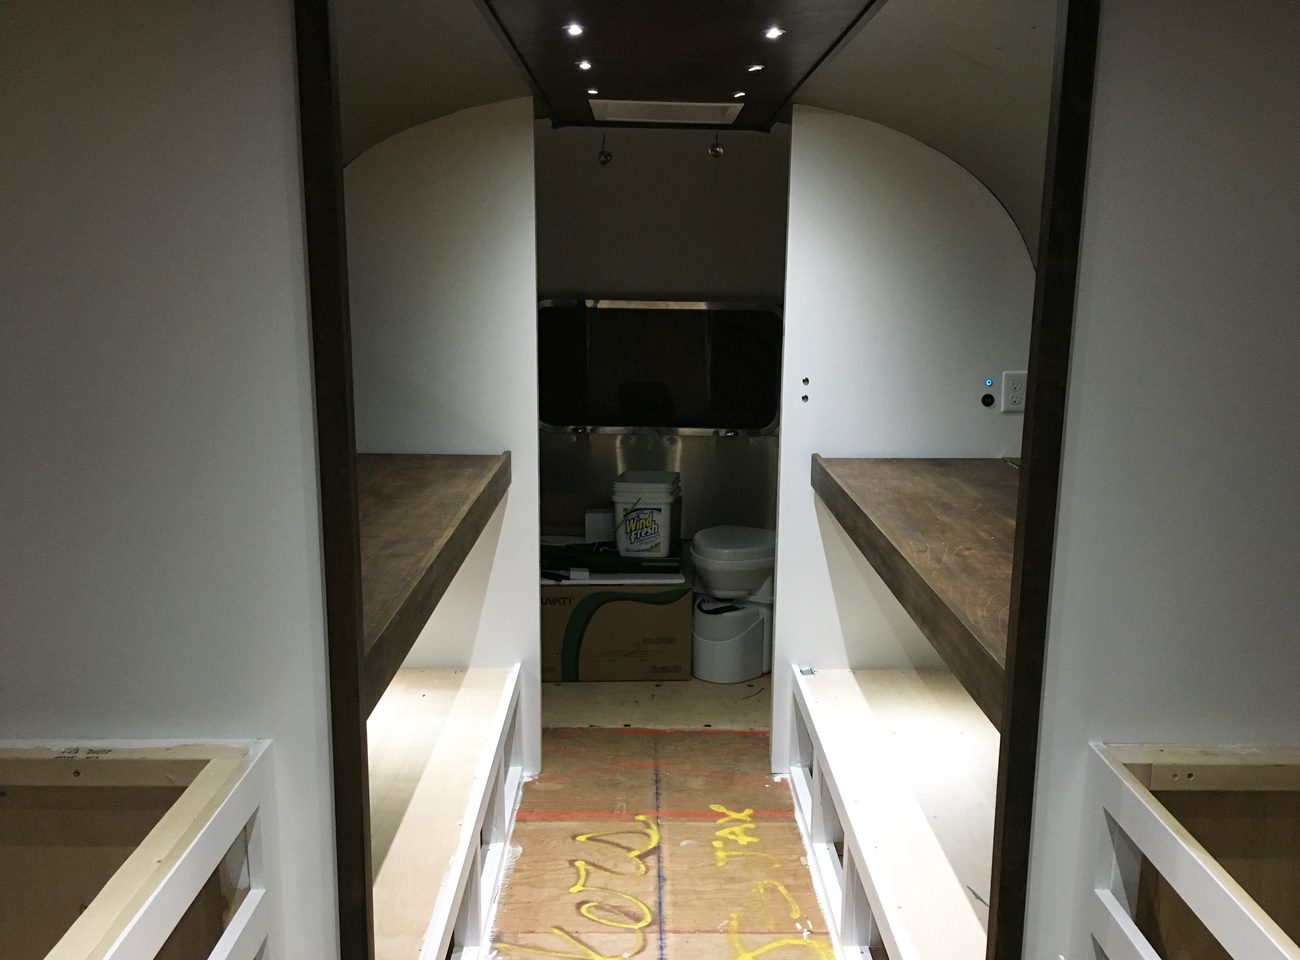
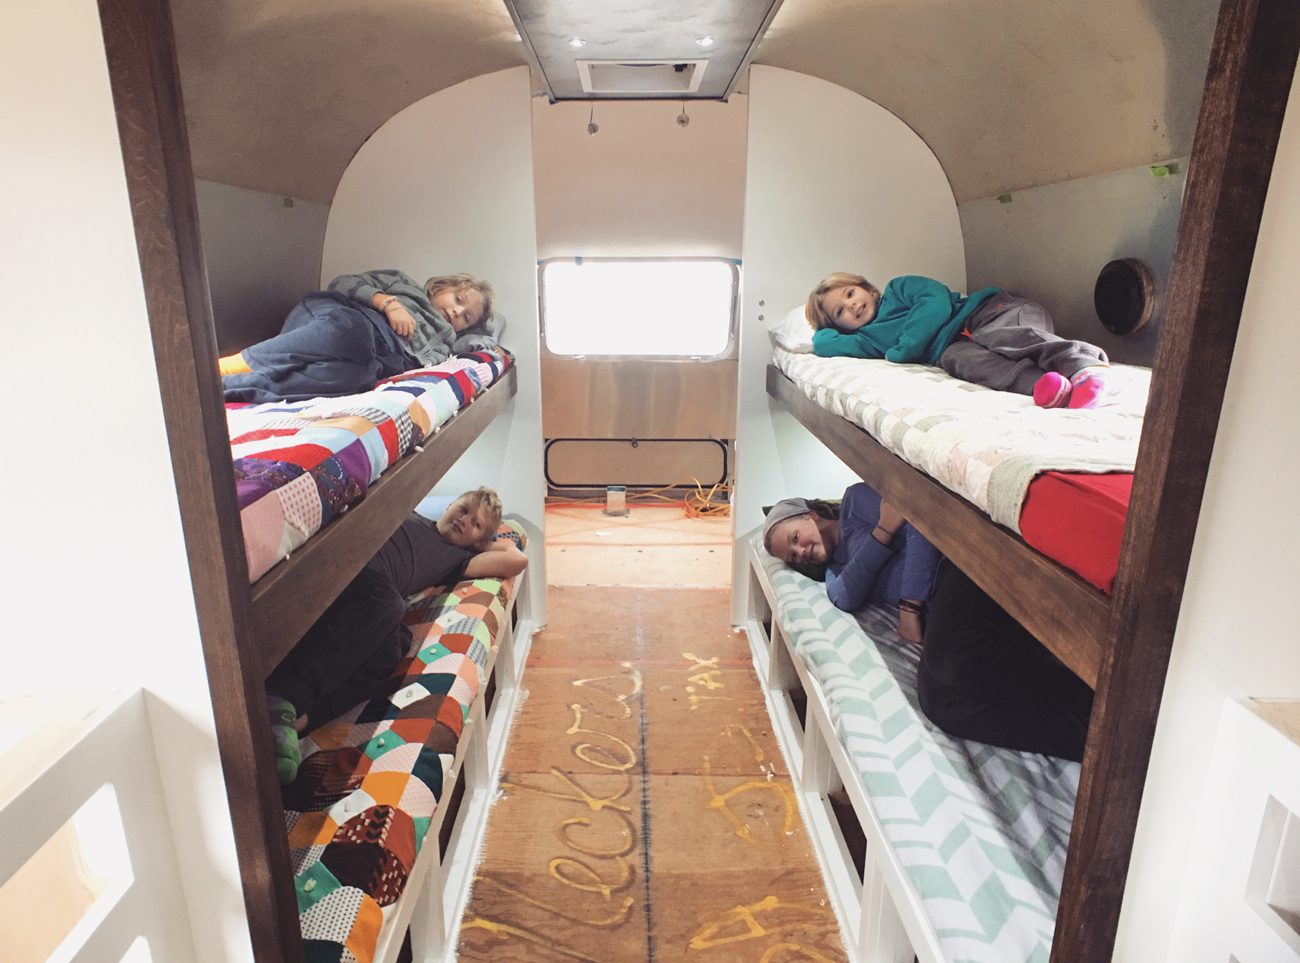
By the time the wiring was done, the final coat of wax had been put on the beds and we were able to put them back in for good!
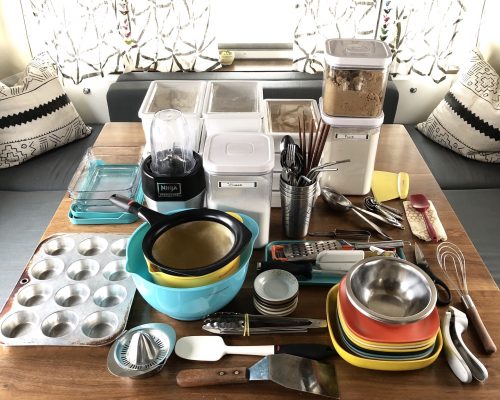
After tons of research Ashley found the perfect foam supplier about an hour from Martinsville. We ordered our pieces for the kids bunks and the dinette and picked them up this weekend so we could take them out for a test run.
Everything fit and the kids are really excited about their new space! While we had it all there we took some time to take pictures and make a few videos explaining how they work.
So yeah, the last two weeks have seen a massive change in here. Next up we’ll be building the overhead storage for the kitchen and kids rooms, the pantry and the wire chase and trash can concealer up near the front.
And if we get a decent weather day, we might even get propane run so we can start using our furnace! Either way, we’re getting much closer. We might even have an ETA on this whole thing soon.
And that is very exciting.
How much will your Airstream renovation cost?
Get a better understanding of what your project will cost with our renovation calculator!
Besides the intelligent spreadsheet, it includes includes links to everything we bought for our renovation + over 20 short videos where we share behind the scenes thoughts, details, & tips!
Apparel
Grab a fun, comfy t-shirt & help support our family.


About the Author
Jonathan Longnecker is the strongly opinionated tattooed and bearded half of Tiny Shiny Home. He loves making music, figuring out nerdy solutions, exploring the outdoors, and living off-grid.
comments powered by Disqus